-
Open a browser window and log into your SonarQube/Sonarcloud console.
-
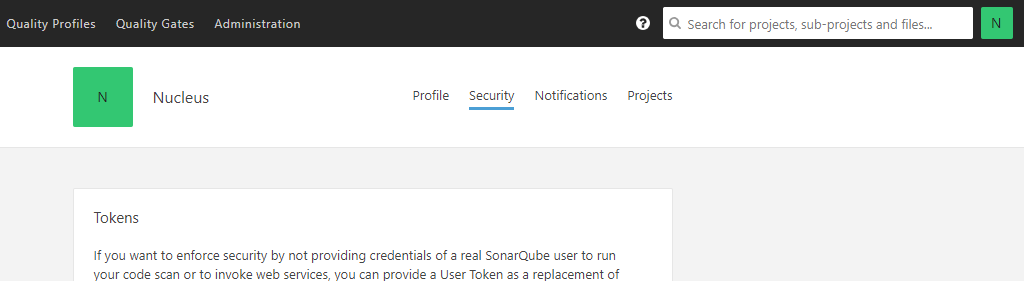
Click on your avatar in the top right corner of the screen and select Account.

- Select the Security tab on the next page.
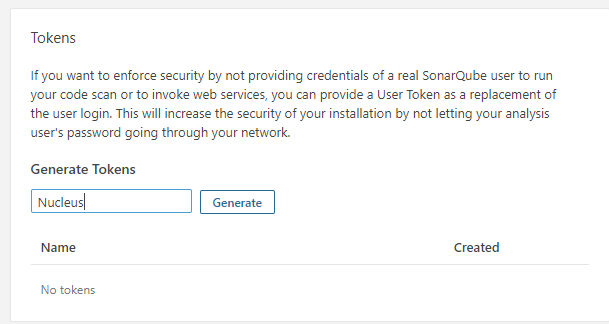
- Enter in a name to the token section for the Nucleus access token.
-
Click Generate
-
You should now see an API key which has been generated. Copy this token.

-
In a 2nd browser window, log into your Nucleus console.
-
Navigate to Integration Hub > Connector Setup
-
Select the SonarQube icon.
-
In the Create SonarQube Connector popup, enter in the following:
| Field | Description |
|---|---|
| Name | Name to identify the Sonarqube connector in Nucleus |
| Description | Optional description to add some details about the connector for other users |
| Sonarqube URL | URL to your base Sonarqube installation or SonarCloud |
| Username | The username you use to log into Sonarqube (the account which generated the API token) |
| Token | The token you copied in step 6. Paste the token from step 6 into this field. |
| Import Options | Select which findings you want to import from Sonarcloud (Vulnerabilities, Security Hotspots, Bugs, and/or Code Smells). |
-
Click Save Connection and wait for confirmation that the connector has been saved.
-
Click Verify Connection and wait for confirmation that the connector was able to successfully reach your SonarQube installation.
You are all done! Your SonarQube connector is all set up! Navigate to Integration Hub > Import via Connector to start importing scans!
If you have any questions, please contact us through the support center.