Overview
Nucleus enables you to sync your web application scan data directly from the Acunetix Online and Acunetix On-Premises consoles into Nucleus using an automated connector. The connector uses APIs provided by Acunetix to seamlessly sync data into Nucleus projects for use in analysis, triage, automation and reporting.
The Acunetix connector supports ingesting web application scans from the Acunetix Online (SaaS) and the Acunetix On-Premises Scanner appliance.
Please note that the Acunetix connector does not support the SaaS products Invicti Enterprise or Acunetix 360, which are instead supported by the Netsparker connector.
Connector Setup
Connector Setup Checklist
Follow the steps in this checklist to successfuly set up this connector:
-
API Access
Generate API credentials in Acunetix. -
Connector Configuration
Create and configure the connector in your Nucleus project. -
Data Ingestion
Create data ingest rules to ingest vulnerabilities from Acunetix Online or Acunetix On-Premises
1. API Access
- Navigate to your Acunetix Online or Acunetix On-Premises console.
- Browse to Account Name > Profile.
- Scroll down until you see the section titled API Key.
- Generate or copy the API Key present in this section.
2. Connector Configuration
-
Open Nucleus and go to Integration Hub > Connector Setup.
-
Under the Scanners section, click on the Acunetix icon. You will see the following popup:
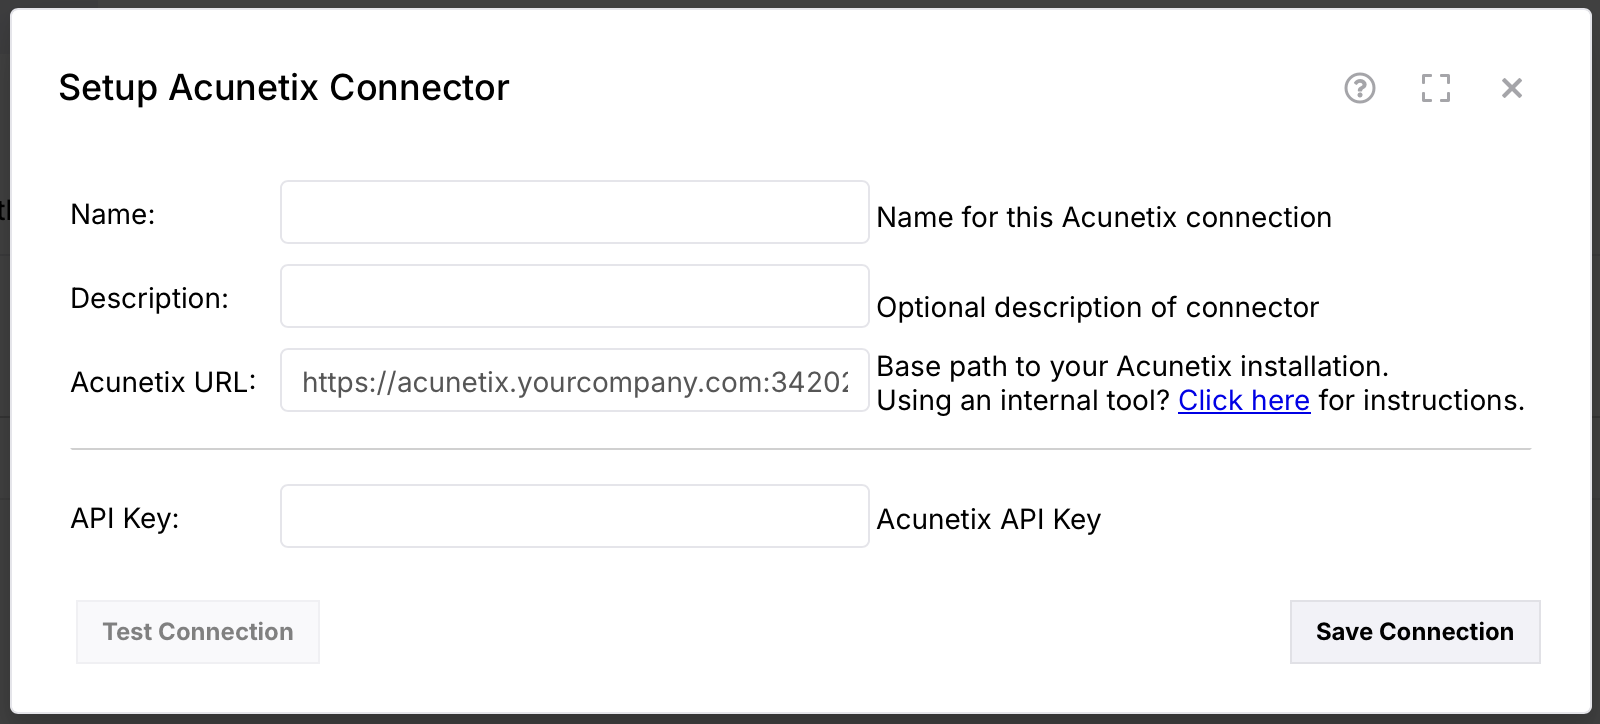
-
In the Setup Acunetix Connector popup, enter the following information:
| Field | Description |
|---|---|
| Name | Enter an optional name for your connector. |
| Description | Enter an optional description for your connector. |
| Acunetix URL | Enter the URL (including port number) of your Acunetix scanner. |
| API Key | Enter the API Key that you copied in section 1. |
- Click Save Connection.
- Click Test Connection
3. Data Ingestion
- Go to Data Ingest > Import via Connector.
- Select the Acunetix connector you just created.
- Select the website scan that you want to ingest.
- Click Import to import immediately, or Auto Import Target to import on a schedule.