Overview
Nucleus enables you to ingest your Checkmarx One data directly into your Nucleus console using an automated connector. The connector uses the APIs provided by Checkmarx to seamlessly sync data into your Nucleus project for use in analysis, triage, automation, and reporting.
The Checkmarx One connector supports importing the following types of findings for all projects in your Checkmarx One tenant:
- SAST code and API vulnerabilities
- SCA code dependency and container dependency vulnerabilities
- KICS infrastructure as code compliance findings
Connector Setup
Connector Setup Checklist
Follow the steps in this checklist to successfully set up this connector:
- API Access
Generate a client id and secret key with the appropriate permissions. - Connector Configuration
Create and configure the connector in your Nucleus project. - Data Ingestion
Create a data ingest rule to ingest findings from Checkmarx One.
1. API Access
- Sign in to your Checkmarx One tenant with an administrator account.
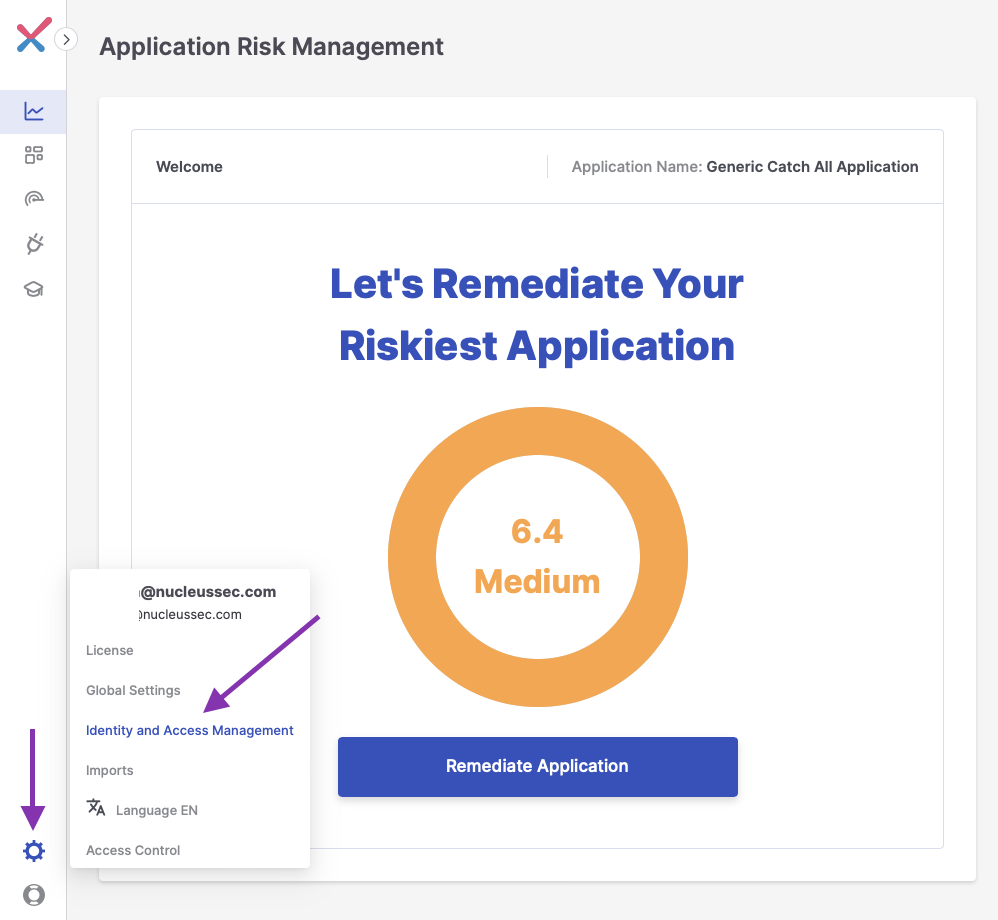
- In the bottom left hand side of the screen, click the cog and navigate to Identity and Access Management.
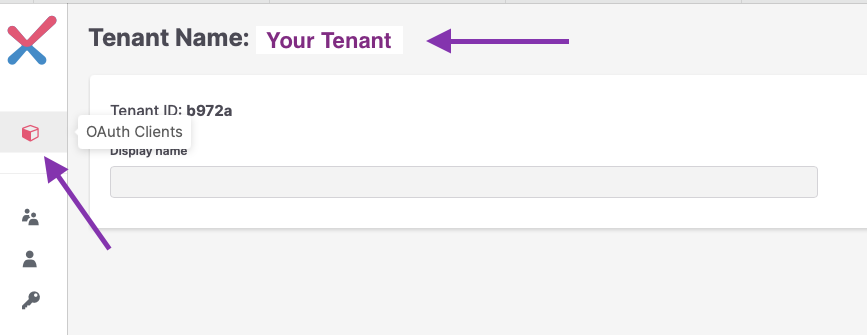
Make note of your Tenant Name, and then click OAuth Clients on the left hand side of the screen.
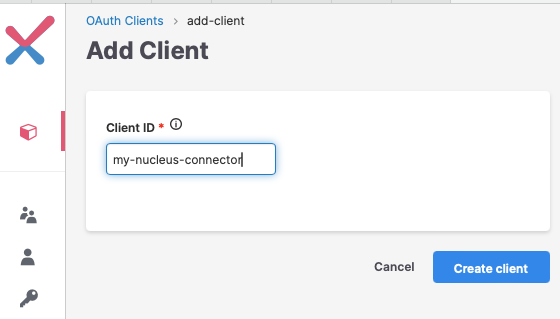
Click Create Client.

Enter a name for your Client ID and click Create client.
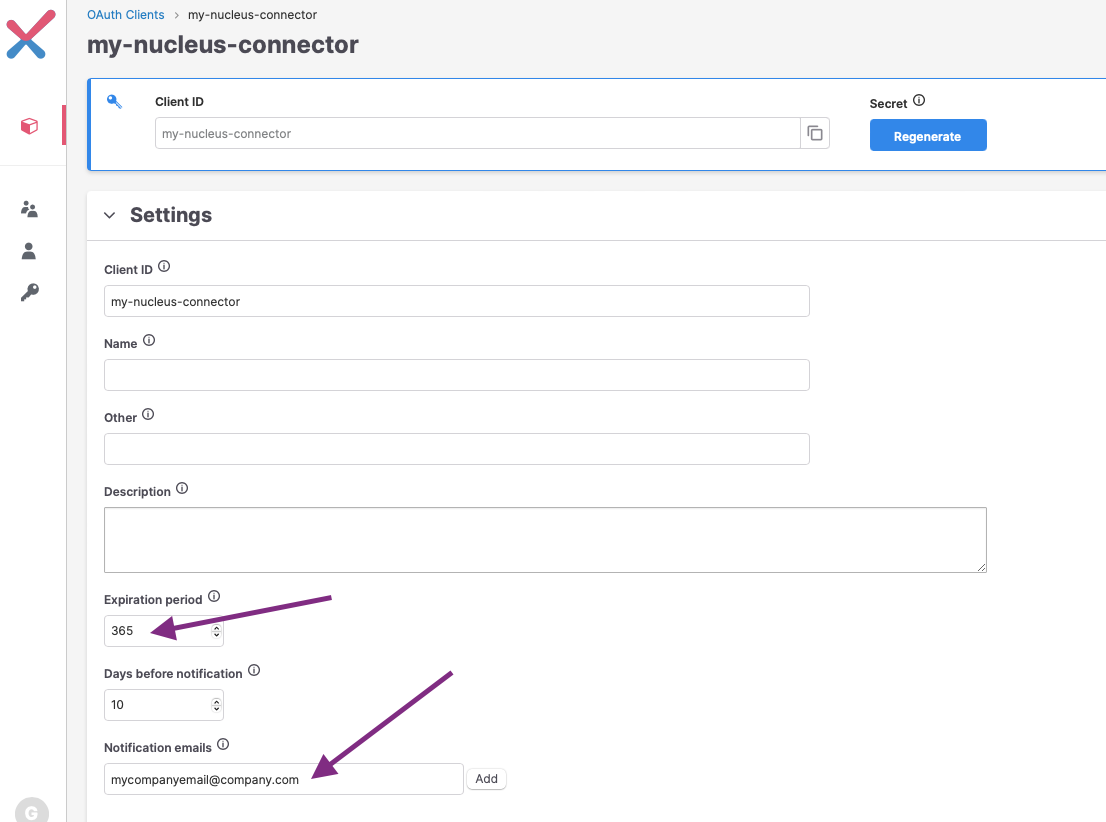
Update the Expiration period to 365 and enter an email address in the Notification emails field to ensure that you are notified prior to the client secret expiring
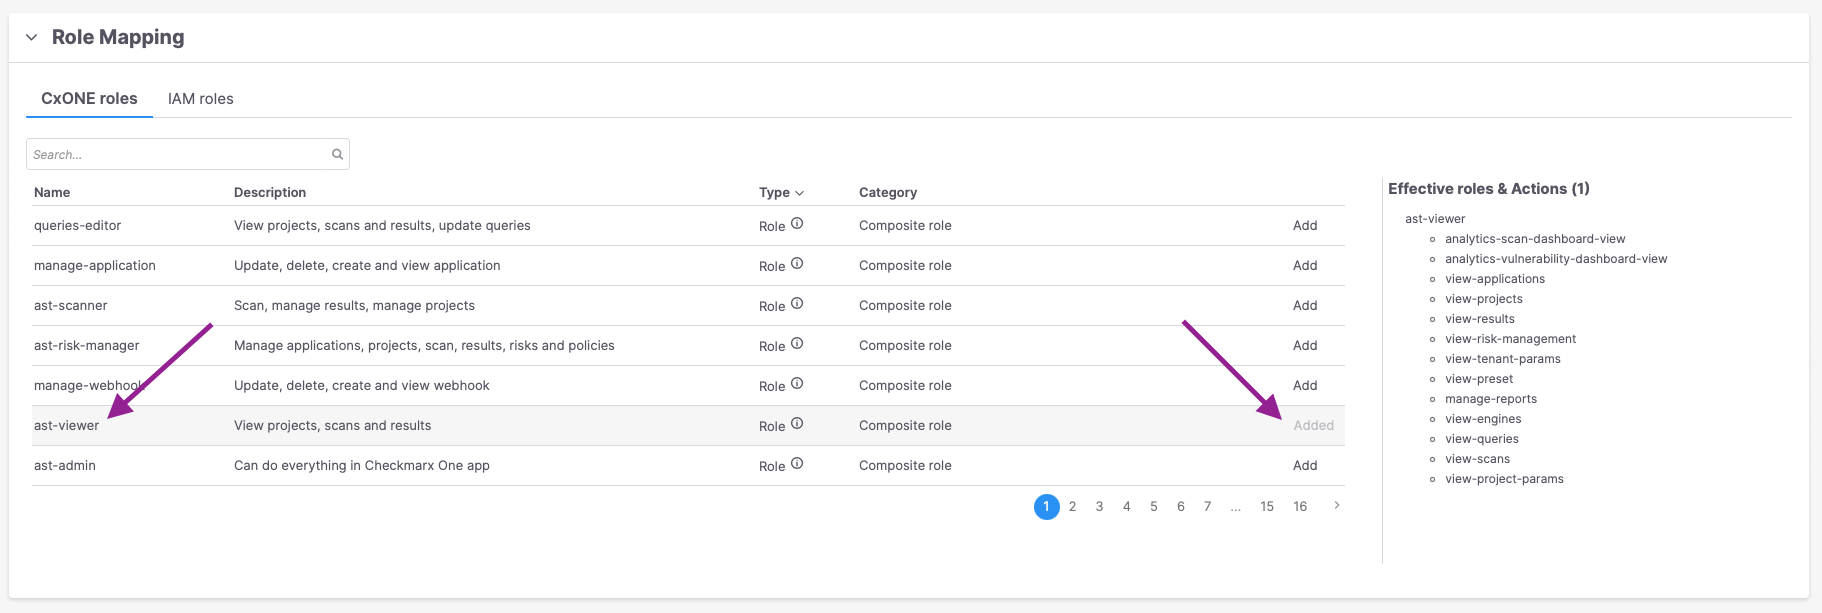
Under Role Mappings, add the ast-viewer CxONE role.
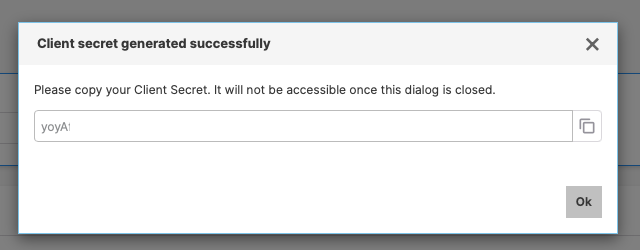
At the top of the page, under Secret click Regenerate. Make note of the newly generated secret for later.
At the bottom of the page click Save Client.
2. Connector Configuration
- Open Nucleus and go to Integrations > Connector Setup.
- Under the Scanners section, click the Checkmarx One icon. You will see the following popup:
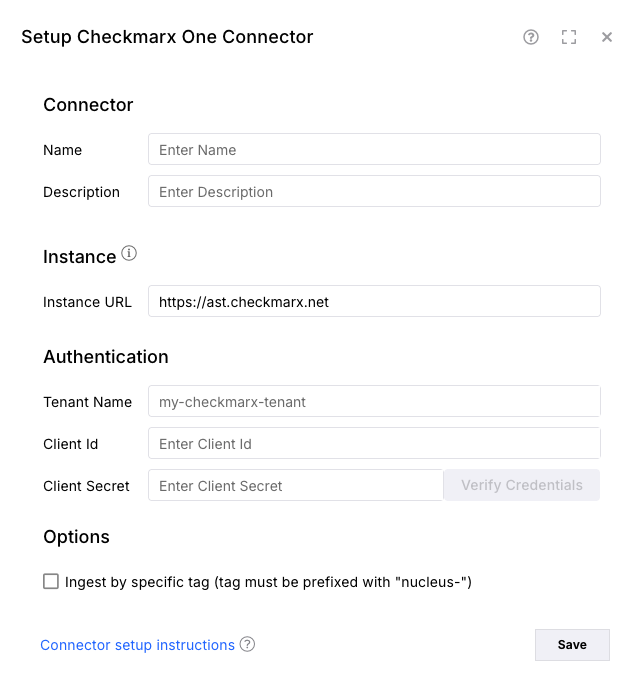
- In the Setup Checkmarx One Connector popup, enter the following information:
| Field | Description |
|---|---|
| Name | (Optional) Enter a name for your connector. |
| Description | (Optional) Enter a description for your connector. |
| Instance URL | Enter the url for your Checkmarx One Instance. |
| Tenant Name | Enter the tenant name from step 3 above. |
| API Key | Enter the client id from step 5 above. |
| API Secret | Enter the client secret from step 8 above. |
| Select Checkbox to ingest by tag | Only ingest assets that have the tag "nucleus-" applied from Checkmarx One |
- Click Verify Credentials.
- Click Save.
3. Vulnerability Data Ingestion
- Go to Integrations > Import via Connector.
- Select the Checkmarx One connector you just created.
- Select All Projects.
- Select a schedule to ingest data into Nucleus, or import immediately.
- Click Save & Finish.
Status Mappings
Statuses from Checkmarx One are mapped to Nucleus statuses in the following way:
| Checkmarx One Status | Nucleus Status |
|---|---|
| TO_VERIFY | Active |
| URGENT | Active |
| CONFIRMED | Active |
| NOT_EXPLOITABLE | False Positive |
| PROPOSED_NOT_EXPLOITABLE | Potential |
The status is also mapped to the State key in finding references.