-
Open a browser and login to GitHub.
-
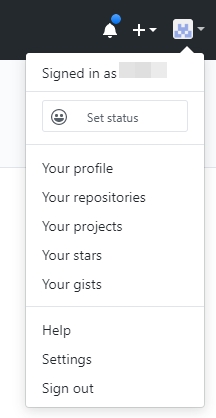
Browse to your avatar in the top right corner of the screen, then click on Settings.
-
Click on the menu item labeled Developer Settings.
-
Click on the menu item labelled Personal Access Tokens.
-
On this page, select Generate new token.
-
Enter a token description so you can remember what this connection is.
-
Check the public_repo box
-
Click Generate Token at the bottom of the page.
-
Copy the token which was generated (it is in green highlight).
-
In a 2nd browser window, open Nucleus and browse to Project Administration > Connector Setup.
-
Under the Issue Trackers section, click the GitHub icon.
-
In the Setup GitHub Connector popup, complete the following fields:
| Field | Description |
|---|---|
| Github URL | Enter the URL to the api of your Github instance. Note: For GitHub Enterprise Server, ensure that the URL includes the full API path, such as ending in /api/v3. |
| Repo | Enter in the project name for which this connector is set up, including the owner. For example, rampant/demo |
| Username | Enter the username you use to log into Github |
| Token | Enter the token which was generated in the Github console (the one copied to your clipboard) |
| Labels | This is an optional label that shows up in Github issues so you know where the issue came from. |
-
Click the Save Connection button and wait for the success message.
-
Click the Verify Connection button. You will be a message to notify you that the connection test was successful. Your connector is now setup properly.
-
Optional: Select a user from the Default Assignee dropdown menu in order to have that user be the default user when manually assigning issues so you don't have to select from the dropdown every time.
-
If you selected a default assignee, click Save Changes.
-
Close the popup window.