Overview
This article describes the necessary prerequisites for configuring a Jira connector in Nucleus to use OAuth authentication. OAuth 2.0 is the recommended authentication method for all Jira integrations. Legacy authentication methods (such as OAuth 1.0a) may result in reduced performance, limited support, and weaker security, and should only be used when OAuth 2.0 is not supported.
Connecting to Jira using OAuth 2.0 (Recommended)
In order for Nucleus to authenticate to Jira using OAuth 2.0 authentication, you must enable OAuth 2.0 in Jira for the Nucleus application. This will be used later when creating a Jira connector in Nucleus.
Follow the steps below to enable OAuth 2.0 in Jira:
- Log in to developer.atlassian.com, select your profile icon in the top-right corner, and from the dropdown, select Developer console.
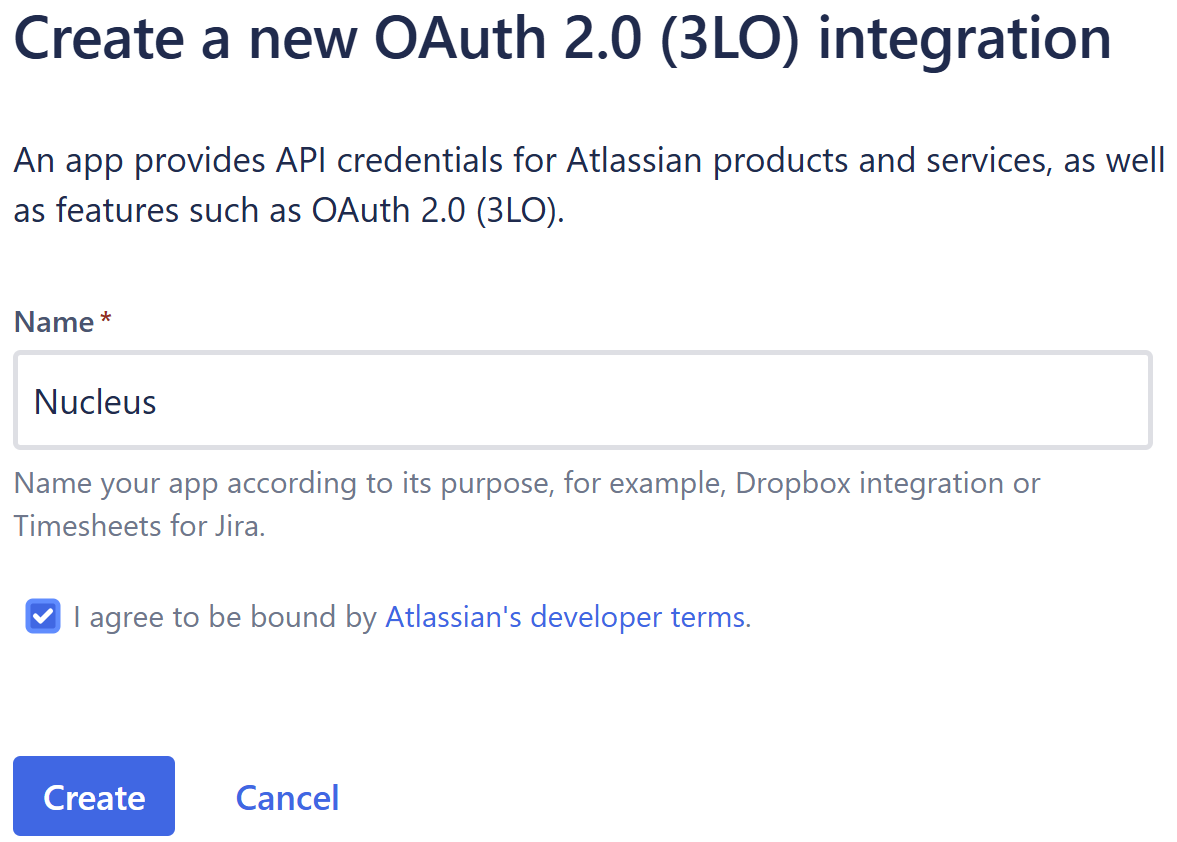
- Click the Create button, then select OAuth 2.0 integration.
- Enter a Name for the integration, for example 'Nucleus', then click Create:
- Under OAuth 2.0 (3LO) grant type, select Resource-level grant. This limits the integration to the specific Jira site(s) selected during user authorization, which is required for Nucleus.
- Click Create:
.png)
-
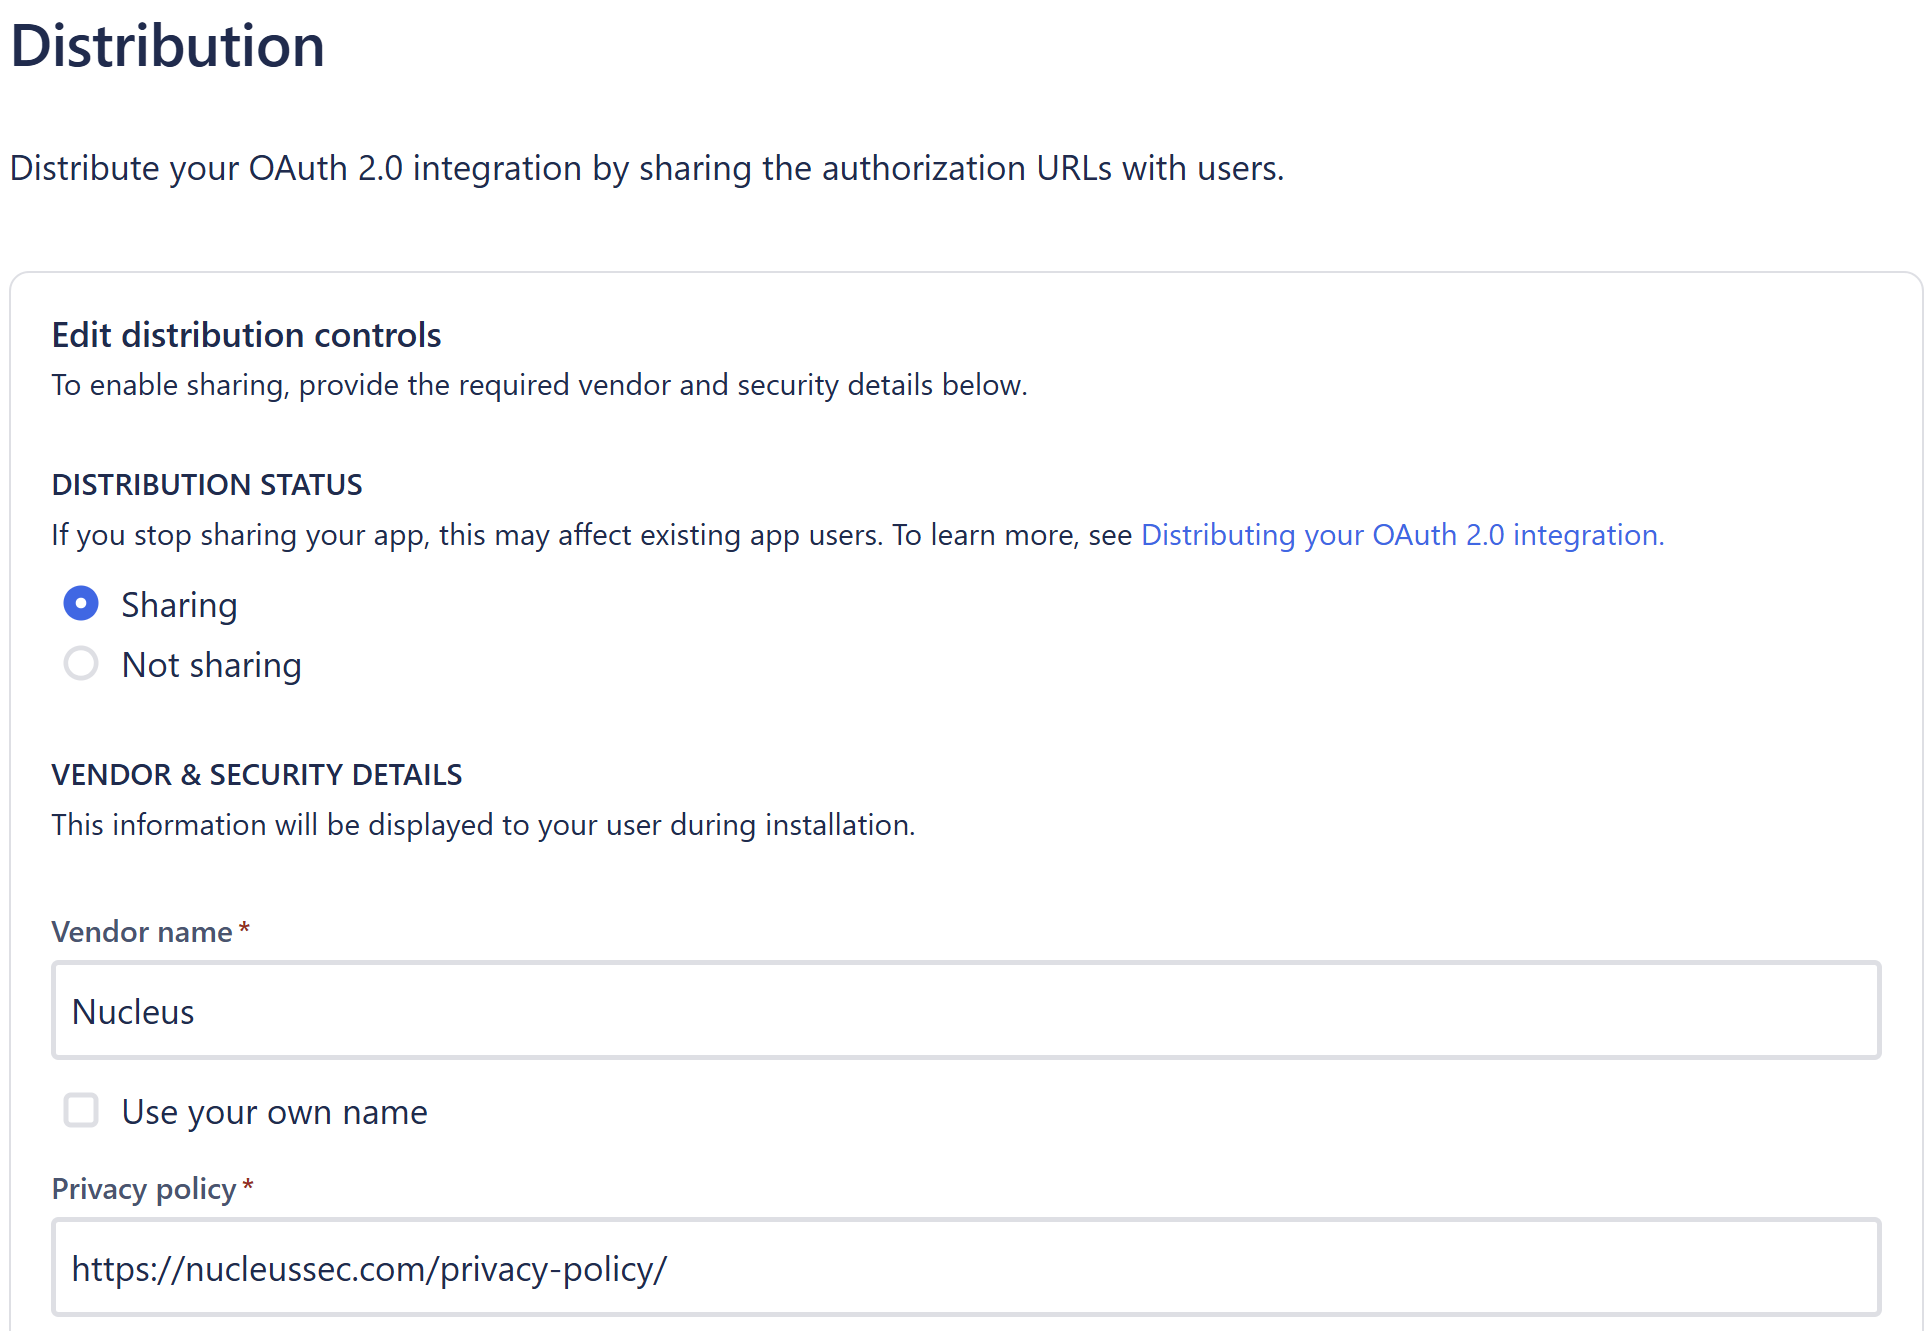
Select Distribution from the left navigation panel.
-
You'll see your app is listed as private by default. To continue:
- Click Edit
- Select the Sharing option
- Enter 'Nucleus' as the Vendor Name and
- Set 'https://nucleussec.com/privacy-policy/' as the Privacy Policy.
- Click Save Changes:
-
Select Permissions from the left navigation panel, then click the Add next to the JIRA API option.
-
Click the Configure button, then click the Edit Scopes button at the top-right of the 'Jira Platform REST API' section.
-
Check the View Jira issue data, View user profiles, and Create and manage issues scopes, then click Save:

-
Select Authorization from the left navigation panel and you'll see OAuth 2.0 listed as an Authorization type. Under Action, click Add.
-
Paste the Redirect URL copied from Nucleus into the Callback URL option, then click Save Changes.
-
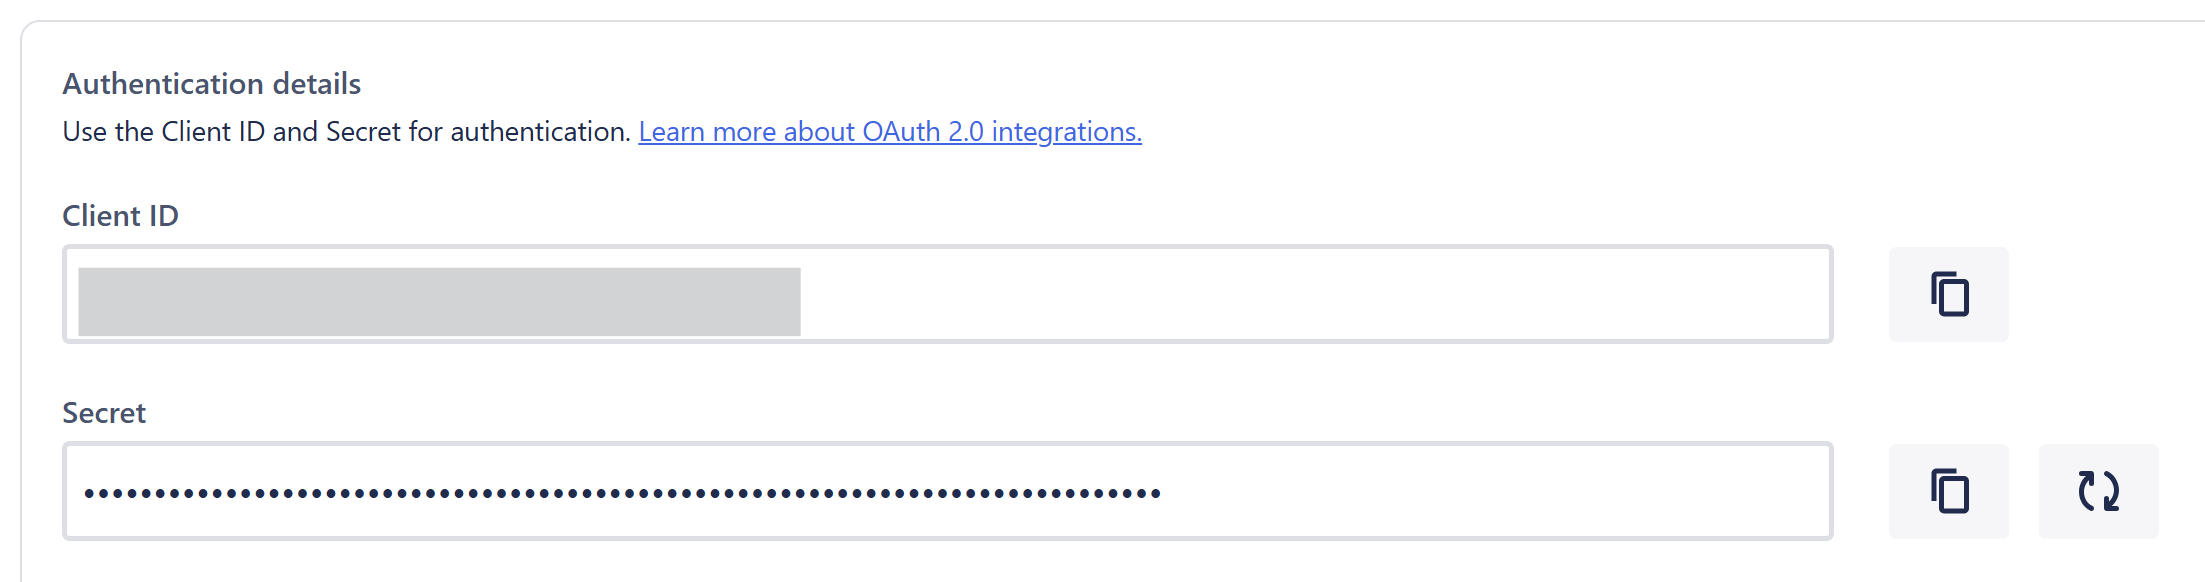
Select Settings from the left navigation panel, then copy the Client ID and Secret, you will need these to complete setting up the connector in Nucleus:
You are now ready to continue creating a Jira connector in Nucleus.
Legacy Authentication Methods
The following authentication methods are supported for backward compatibility but are not recommended for new integrations.
Connecting to Jira using OAuth 1.0a (Legacy)
OAuth 1.0a is a deprecated authentication protocol and should not be used. This method may result in reduced performance, limited support, and weaker security compared to OAuth 2.0.
OAuth 2.0 authentication is highly recommended for new Jira connectors, and existing connections using OAuth 1.0a should be updated.
To migrate an existing connector:
- Navigate to your Nucleus project, then Integrations > Connector Setup
- Edit your Jira connector by clicking the pencil icon
- Select OAuth 2.0 as the authentication method
- Follow the prompt to complete the OAuth 2.0 setup steps
Re-authentication is required when switching authentication methods.
In order for Nucleus to authenticate to Jira using OAuth 1.0a authentication, you must create an application link in Jira. This will be used later when creating a Jira connector in Nucleus.
Follow the steps below to create an application link in Jira:
-
Login to Jira as an administrator and navigate to Jira Settings page.
-
Click on the Products link.
-
Click Application Links
-
Enter the URL of the Nucleus instance you have been assigned then click Create new link.
-
In the popup, click Continue.
-
On the Link Applications popup:
- For Application Name:, enter 'Nucleus'.
- For Application Type:, select 'Generic Application'.
- Check the Create Incoming Link checkbox at the bottom
- Click Continue
-
On the next screen, complete the following fields then click Continue:
- For Consumer Key, enter a 15 character (or more) password of your choice.
- For Consumer Name, enter 'Nucleus'.
- For Public Key, enter the public key displayed in Nucleus on the Properties tab of the New/Edit Connector dialog.
-
Click Continue to finish setting up your application link in Jira.
Note: Support for OAuth 1.0a will be removed in a future release.
When using OAuth 1.0a, Nucleus communicates with your Jira Server over HTTPS and relies on a callback from Jira to complete authentication.
Your Jira Server must be able to establish outbound HTTPS connections (port 443) to your Nucleus instance. If your Jira instance is not internet-facing, firewall or network restrictions may prevent this connection and cause authentication to fail.
Ensure that outbound connectivity to Nucleus over port 443 is allowed. This is not required when using OAuth 2.0.
You are now ready to continue creating a Jira connector in Nucleus.
Basic Authentication
Basic Authentication should only be used when OAuth cannot be supported. Nucleus recommends using a dedicated service account (for example, Nucleus Bot) rather than a personal user account.
- In Jira Cloud, identify the user account that Nucleus will use for ticket creation and updates.
- Generate an API token. This will be used as the password when authenticating via Basic Auth.
- Copy the Email Address and API Token for the account.
- When configuring the connector in Nucleus, select Basic Auth, then enter the Email Address and API Token in the corresponding fields.
For more information, refer to Atlassian’s documentation on managing API tokens for Jira Cloud.
You are now ready to continue creating a Jira connector in Nucleus.