Overview
Nucleus enables you to ingest your Qualys data into Nucleus using the Qualys connector.
The connector uses the APIs provided by Qualys to seamlessly ingest findings from the Qualys Vulnerability Management (VMDR), Policy Compliance Scanning (PCS), Security Configuration Assessment (SCA) and Web Application Scanning (WAS) products into your Nucleus project for use in analysis, triage, automation, and reporting.
Connector Setup
Connector Setup Checklist
Follow the steps in this checklist to successfully setup this connector:
-
API Access
Create a service account in Qualys, login to activate it and configure the account's role and permissions. -
Connector Configuration
Create and configure the connector in your Nucleus project. -
Scan Data Ingestion
Create one or more scan ingest rules to ingest data from Qualys.
1. API Access
The Nucleus Qualys connector requires a user account with a role and permissions to the various modules. This section will explain how to create such a service account in Qualys.
Create and activate the account
- Log into your Qualys portal.
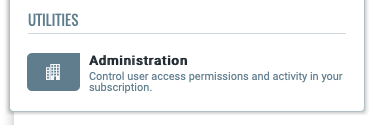
- Click the drop-down menu in the top left-hand corner of the console, and navigate to the Qualys Administration module.
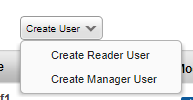
- Click "Create User > Create Manager User".
User must be a Manager User. A Reader User will not have the appropriate permissions to manage reports.
4. A New User popup window will appear to create the user. Navigate through each page of the pop-up and fill out the required fields as described below.
| Page | Field | Value | Description |
|---|---|---|---|
| General Information | Email Address | An email address for this service account. | A valid email address is required in order to activate the account. Nucleus recommends creating a dedicated email address for this service account. |
| User Role | User Role | Manager | This sets permissions for this account. Nucleus requires the ability to import scans. |
| User Role | Allow Access to | GUI & API | Select both of these options for account activation. In a later step GUI access will be disabled. |
| User Role | Business Unit | Select All that you want the service account to have access to import. | This gives permissions to Nucleus to see assets in the selected business units. To see everything, you need to give this service account access to all assets in all business units. |
| Asset Groups | Add Asset groups | Select all asset groups that you want to import. | This gives permission for Nucleus to ingest VM scans by asset group. |
| Options | All | Turn everything to "Off" or "None" | Email notifications are not necessary as this is a service account. |
- Click Save.
- An automated email will be sent to the email address used above containing a link to activate the account (this is why you need GUI access for now). Click the link and follow the prompts to finish setting up the user account.
- In a private browser, login with the newly created service account. On first login, the account's personal information will be presented to be confirmed. Press Save.
- You will be prompted to set a new password. Pick a strong password for the new user and proceed.
- Login once again with the service user account to the Qualys portal. This will complete the user account's activation and setup. Close the window and/or logout.
Configure the account role, permissions and scope
- In your original browser window, refresh the User Management page.
- Select the newly created user account with the checkbox, click Actions and then Edit Basic Details.
- Navigate to the User Role page and uncheck the GUI checkbox. Then click Save.
- Select the user account again, click Actions and then Edit.
- Navigate to Roles And Scopes.
- Remove all assigned roles by clicking the Remove all button, and then create a new role by clicking New role.
- Name this role "Nucleus Connector" and then next to Granted modules, click Edit.
- Tick the API Access checkbox and then add the modules Policy Compliance, Vulnerability Management, Web Application Scanning and Reporting.
- Click Update and then Save to save the role.
- Finally, under Edit Scope tick the checkbox to Allow user view access to all objects, and then click Save.
You now have an activated service account for Nucleus to import data from Qualys! Move on to the next section to set up the Nucleus connector.
2. Connector Configuration
-
Log into your Qualys portal.
-
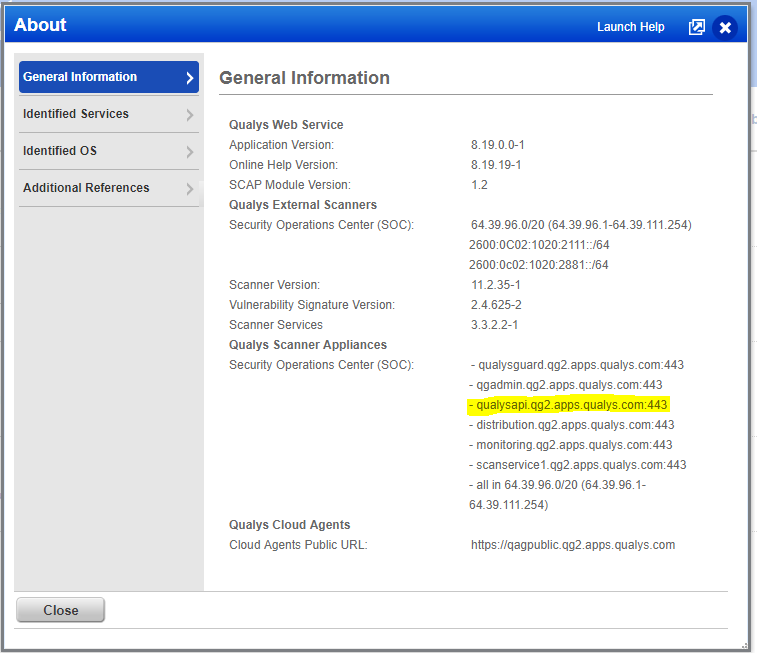
In the top right of the window, navigate to Help > About.
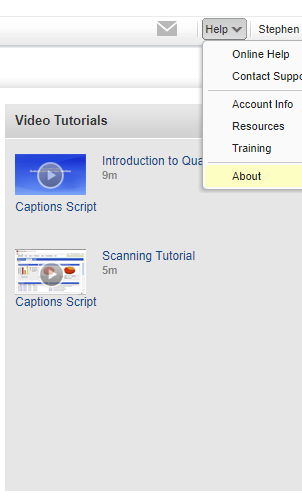
- Copy the URL which contains the string qualysapi.
-
In a new window, open Nucleus and navigate to Project Administration > Connector Setup.
-
Under the Scanners section, click the Qualys icon.
-
In the Setup Qualys Connector popup, complete the following fields:
| Field | Description |
|---|---|
| Name | Enter a short unique name for the connector, such as "Qualys User Account Name". |
| Description | Optionally, enter a description for the connector. |
| API Server URL | Enter the url copied in step 3 (https://qualysapi....). Make sure to use 'https://' |
| API Gateway URL | Lookup the corresponding Gateway URL for your Qualys region here. Note that this requlred for Qualys SCA & PCS to function. |
| Username | Enter the username of the Qualys service account you created earlier. |
| Password | Enter the user password for the username you just entered. |
For Qualys SCA / PCS to function please ensure that the configured URL has a region that matches the API Server URL. If either of these URLs is configured incorrectly, you will be unable to ingest Qualys SCA / PCS data.
Please note that the test connection button only confirms that the API Server URL is correct and does not check that the API Gateway URL has been set correctly.
- [OPTIONAL] Select the following connector configuration options:
| Option | Info |
|---|---|
| Import Groups | Checking this box will sync asset groups from Qualys VMDR module into Nucleus. |
| Import Groups From WAS | Checking this box will sync the asset groups from Qualys WAS assets into Nucleus. |
| Delete Report After Ingest | Checking this box will tell Nucleus to automatically delete the report which was ingested from Qualys in order to reduce report overhead (since Qualys limits report space). Not applicable for Qualys PCS. |
| Use XML Requests | [Use with caution]Checking this box tells Nucleus to import from Qualys using deprecated xml provides some additional information compared to the default method but the endpoint is deprecated Qualys. Not applicable for Qualys PCS. |
Only Qualys users with the "Manager" Role can delete reports which are not their own.
Nucleus will only auto-delete reports it creates and not reports created by Qualys.
-
Click the Save Connection button and wait for the Success message.
-
Click the Test Connection button. You'll see a message notifying you that the connection test was successful. Your connector is now setup properly.
-
Close the popup window.
-
Go to Import Files > From Connector to start selecting scans to import!
3. Scan Data Ingestion
Qualys Security Configuration Assessment (SCA) scans are supported by the PC Policy method.
- Go to Integration Hub > Import via Connector
- Select the Qualys connector you just created.
- Choose to import by VM Scan, VM Asset, VM Asset Group, VM Asset Tag, WAS Scan or PC Policy.
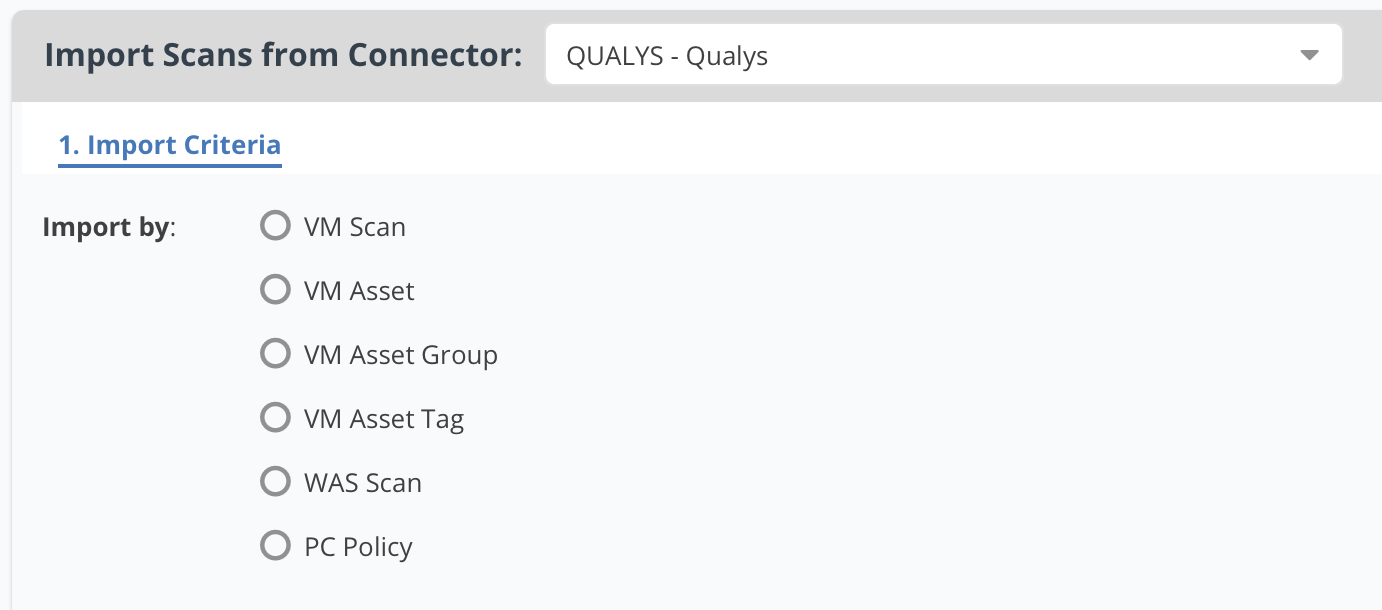
- Click Next and select what you want to import.
In this view Nucleus only displays the last 30 days of scans from Qualys.
- Select a how often you want to import, either one-time or auto-imported on a schedule.
- Click Save & Finish.
Frequently Asked Questions
What are the Import Groups options in the Connector Setup window?
Nucleus can optionally import the Asset Tag and Group structure from Qualys as nested asset groups. When these options are chosen, assets imported from Qualys are automatically added to asset groups with the same names as tags from Qualys. This enables you to implement filters and automation rules from your Qualys data in your vulnerability scan results. This can also be achieved by using dynamic fields in asset processing rules.
if you have a Qualys connector set up, Nucleus will check if the option to import asset tags is enabled.
- If it is enabled, Nucleus will sync tags from the connector (mapped by IP currently).
- If it is not enabled, Nucleus will sync tags from the scan, and if nested tags are used they will not be nested.
- If there is no connector setup, Nucleus will always import the tags from the scan.
Can I keep my assets updated in Nucleus as they change in Qualys?
Yes! Nucleus supports Qualys agent-based tracking of assets to stay in sync with the Qualys asset inventory.
Why can't I view PC Policies?
If you receive the error "Unable to retrieve PC Policies" when importing a PC Policy by scan, this means that the API Gateway URL has not been configured correctly in the connector setup screen. Please double check that the URL is set and that the correct region has been chosen. Both URLs must be set with the correct (same) region for the connector to function.