Overview
Nucleus enables you to sync your Prisma Cloud CWPP data directly from Prisma Cloud into the Nucleus console using an automated connector. The connector uses the APIs provided by Prisma Cloud to seamlessly sync data into various Nucleus projects for use in analysis, triage, automation, and reporting.
Prisma Cloud CWPP is available in two editions, Prisma Cloud Enterprise Edition (SaaS) and Prisma Cloud Compute Edition (self-hosted). Nucleus supports the importing the following data for each edition:
- Vulnerabilities and compliance findings for all actively running virtual machines
- Vulnerabilities and compliance findings for container images scanned in the CI
- Vulnerabilities and compliance findings for all container images that are currently deployed and monitored by a defender
- Vulnerabilities and compliance findings for container images stored in registries
Connector Setup
The connector supports both editions, but must be configured accordingly. Please follow the steps below to ensure that the connector works with your edition of Prisma Cloud Compute.
Connector Setup Checklist
Follow the steps in this checklist to successfully set up this connector:
- API Access
Create an administrator user account in Prisma Cloud. - Connector Configuration
Create and configure the connector in your Nucleus project. - Vulnerability Scan Data Ingestion
Create one or more vulnerability scan ingest rules to ingest vulnerabilities and compliance findings from Prisma Cloud.
1. API Access
Prisma Cloud Enterprise Edition (SaaS)
First we will identify the URL to your Prisma Cloud console for step 2, then create an API access key and secret with the appropriate permissions.
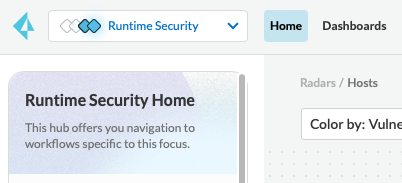
- Navigate to your Prisma Cloud Console, select Runtime Security from the dropdown box and select Home.
- In the navigation column under the Manage section, select System and then select the Utilities tab.
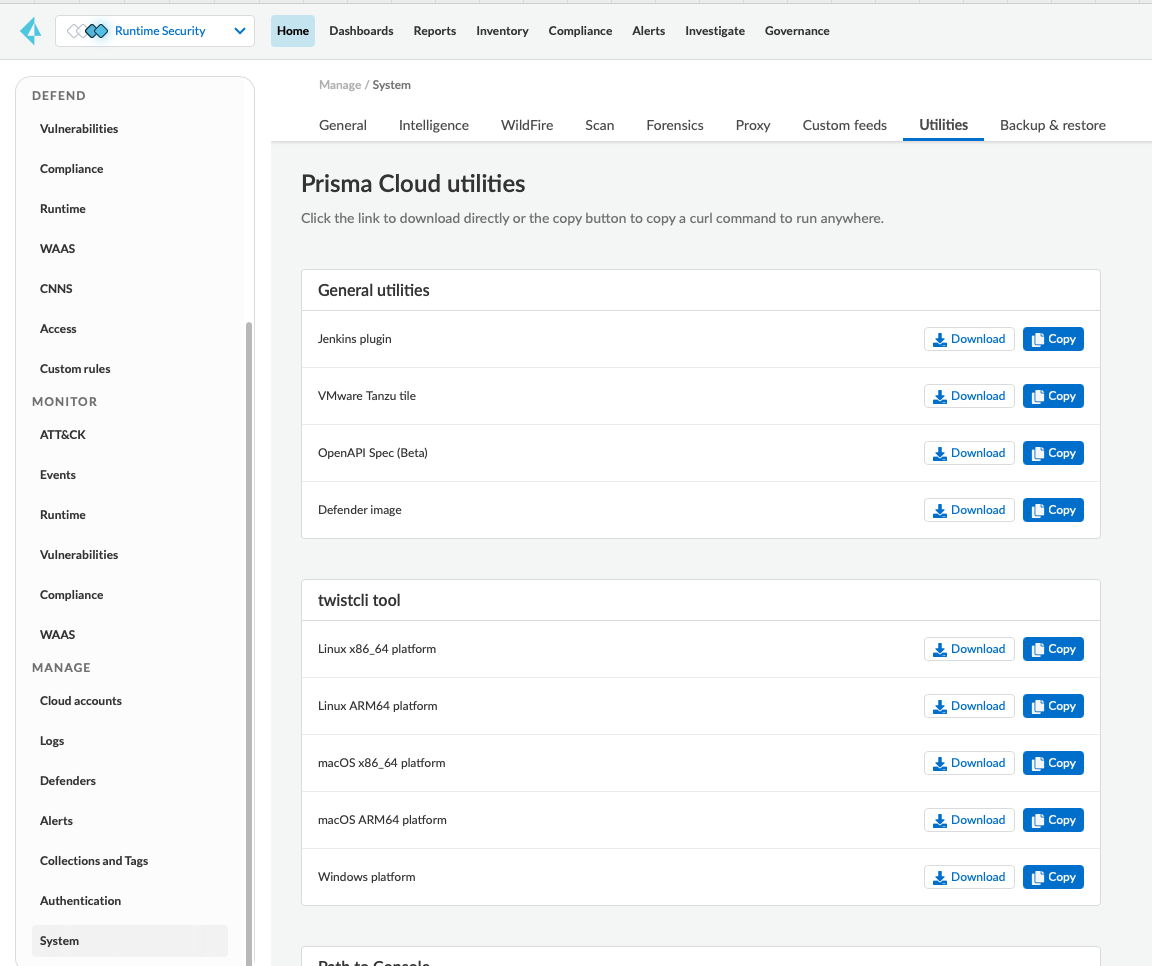
- Scroll down to the Path to Console section and take not of the URL for later.

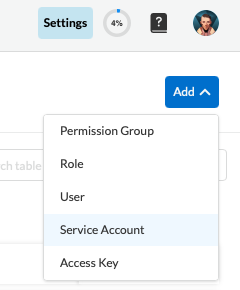
- In the top right of the screen, navigate to Settings.
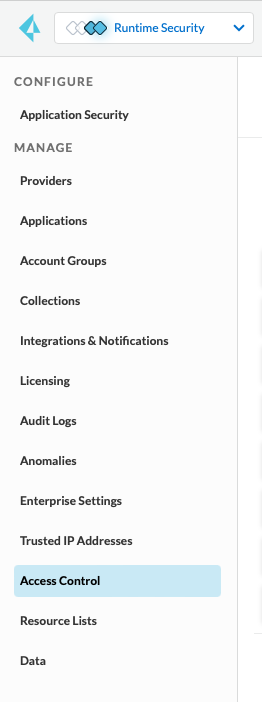
- Select Access Control in the navigation column.
- Add > Service Account.
- Enter a Service Account Name such as Nucleus Connector, choose the System Admin role and click Next.
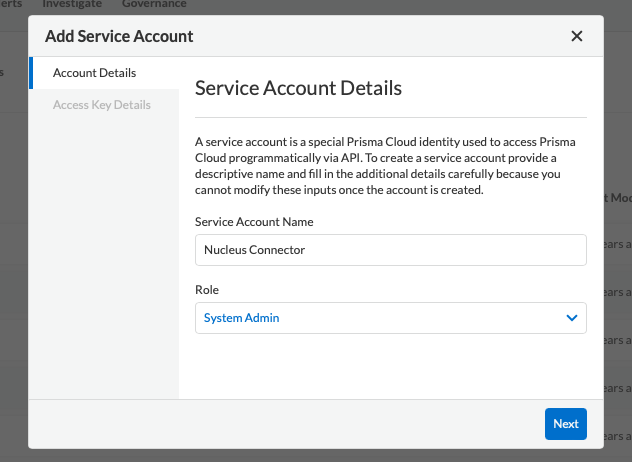
- Take note of the Access Key ID and Secret Access Key for later.
Prisma Cloud Compute Edition (self-hosted)
- Navigate to your Prisma Cloud Central Console.
- Under the Manage section, click Authentication.
- Click the Add User button and create a new user account with the Administrator role and access to All Projects.
Admin user required to pull the list of projects from Prisma. If you are not using an admin user, you will need to enter in the projects you want to pull from manually in the connector setup.
2. Connector Configuration
Prisma Cloud Enterprise Edition (SaaS)
- Open Nucleus and go to Integration Hub > Connector Setup.
- Under the Scanners section, click the Prisma Cloud icon.
- In the Setup Prisma Cloud Connector popup, enter the following information:
| Field | Description |
|---|---|
| Name | Enter a name for your connector. If left blank, this will default to Prisma Cloud. |
| Description | Enter a description for your connector. |
| Prisma Cloud URL | Enter the Path to Console URL that you noted down in step 1 above. |
| Username | Enter the Access Key ID that you created in section 1 above. |
| Password | Enter the Secret Access Key that you created in section 1 above. |
| Pull Central Console Scans | Check this box. |
| Enable Prisma Projects | Leave this box unchecked. |
- Click Connect to Prisma.
- Click Save & Finish.
Prisma Cloud Compute Edition (self-hosted)
- Open Nucleus and go to Integration Hub > Connector Setup.
- Under the Scanners section, click the Prisma Cloud icon.
- In the Setup Prisma Cloud Connector popup, enter the following information:
| Field | Description |
|---|---|
| Name | Enter a name for your connector. If left blank, this will default to Prisma Cloud. |
| Description | Enter a description for your connector. |
| Prisma Cloud URL | Enter the URL to your Prisma Cloud console. |
| Username | Enter the username of the account you created in API Access. |
| Password | Enter the password of the account you created in API Access. |
| Pull Central Console Scans | Leave this box unchecked unless you also use the central console in addition to project consoles for production data. |
| Enable Prisma Projects | Check this box so that you can ingest data from project consoles. |
- Click Connect to Prisma.
- Select the projects that you want to ingest scans from. Scans will be ingested from selected projects only during the scan download phase.
- Click Save & Finish.
3. Vulnerability Scan Data Ingestion
- Go to Integration Hub > Import via Connector.
- Select the Prisma Cloud connector you just created.
- Select the method of import: All CI Image Scans, Containers, Deployed Images or Hosts, or by individual Scan or Project.
- If you selected to import by Scan or Project, click Next and select either the scans or projects you would like to import.
- Select a schedule to import scans into the project.
- Click Save & Finish.
Frequently Asked Questions
What additional metadata is populated?
The following additional metadata is set on assets ingested from Prisma Cloud:
| Key | Description | Asset Type |
|---|---|---|
| prisma.project | The project names that this asset was ingested from. Ordinarily a one to one mapping unless the asset was found in multiple projects. | All |
| prisma.collections | The collections that the asset is in. This will always include the collection All. | All |
| prisma.labels | The docker labels on this image. Each label's key/value is separated by a colon. | Container Image |
| prisma.custom-labels | The custom docker labels on this image. This may overlap or be a sub-list of prisma.labels. Each label's key/value is separated by a colon. | Container Image |