This article provides an explanation of the emails that Nucleus sends and how to ensure that these emails are not blocked or marked as spam by your email infrastructure.
What emails are sent by Nucleus?
As part of your strategy for driving remediation outcomes, Nucleus can be configured to send ad-hoc and automatically generated emails to users within your organization. For example, you can have Nucleus email users to notify them of new findings or to deliver reports generated on a schedule.
Nucleus may also email your users for user lifecycle purposes (such as new invitations, multi-factor authentication and password resets), as well as administration purposes (such as failed data ingestion notifications).
Occasionally emails from Nucleus may mistakenly be marked as spam or junk by your organization's inbound email infrastcuture. We recommend proactively configuring your email infrastructure to always allow emails from Nucleus so that your operations are not interrupted.
Nucleus will always send emails from the following sources:
| Source Type | Value |
|---|---|
| IP Address | 77.32.191.94 |
| Domain | appmail.nucleussec.com |
Configuring Office 365 to allow emails from Nucleus
The below sections explain how to configure Office 365 to ensure that Nucleus emails are always delivered to your end users.
1. Configuring the IP Allow List Connection Filter Policy
- Log in to the Office 365 Security and Compliance Portal (https://protection.office.com/) with a global administrator or exchange administrator account.
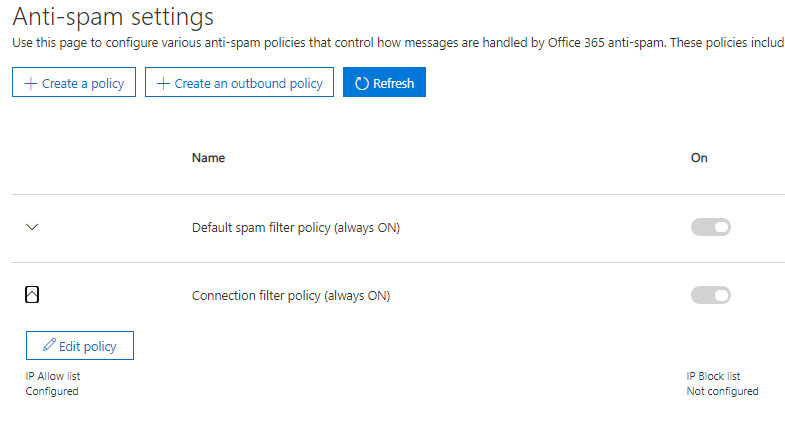
- Go to AntiSpam policies found under Threat Management > Policy > AntiSpam.
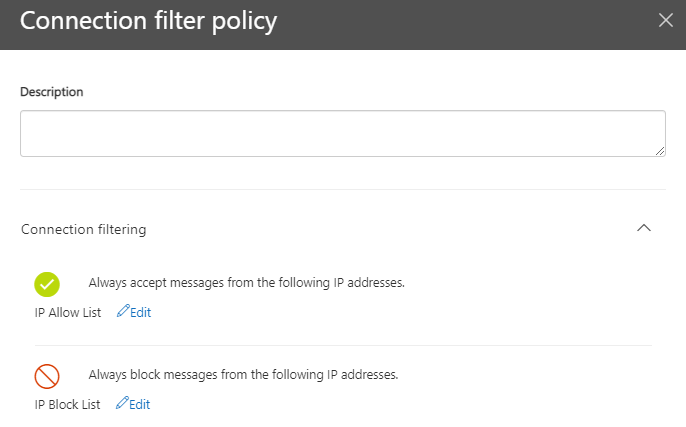
- Expand Connection filter policy and click Edit policy.
- Under the Connection filter policy IP Allow List, click Edit.
- Insert the IP address 77.32.191.94 into the IP address list and click Add.

- Scroll down and click Save.
- Click Save again on the connection filter policy.
- The policy settings should be live and ready to test in the next 60 minutes.
2. Bypassing Spam Filtering
- Log in to the Office 365 Exchange Admin Center Portal (https://admin.exchange.microsoft.com/) with a global administrator or exchange administrator account.
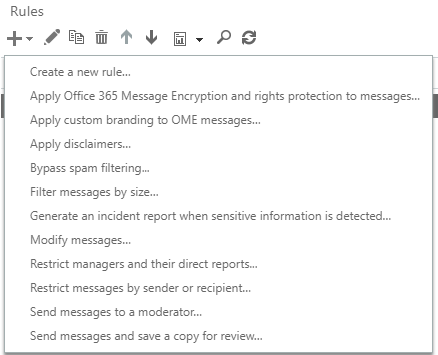
- Go to Mail flow > Rules to see a list of all the Exchange rules in use.
- Click the "+" sign and select Bypass Spam Filtering.
- A popup window will show the options for the new rule. Ensure your browser allows for popups from this domain if this doesn't appear automatically.
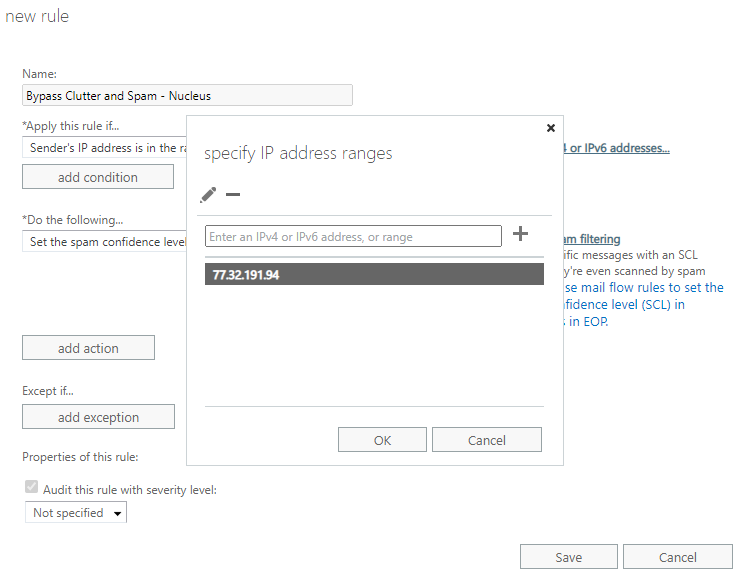
a. Enter a name like "Bypass Clutter and Spam - Nucleus".
b. Apply this rule if the "Sender's IP address is in the range", enter the Nucleus IP address 77.32.191.94 into the IP address list, and click OK.
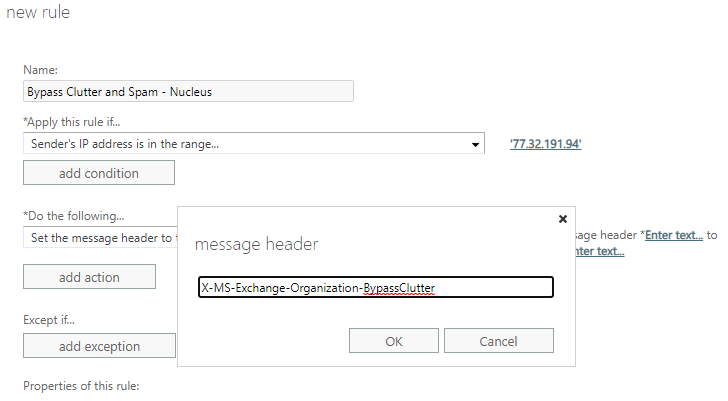
- Click the "Do the following" drop-down, select "Modify the message properties" then click the Set a message header option.
a. Click the Enter text... button and enter the text "X-MS-Exchange-Organization-BypassClutter". This field is case sensitive. Once entered, click OK.
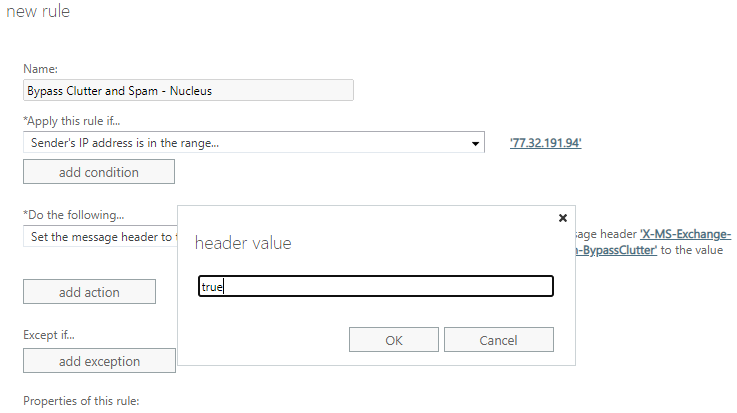
b. Click the Enter text... button after "to the value" and enter "true". This field is case sensitive. Once entered, click OK.
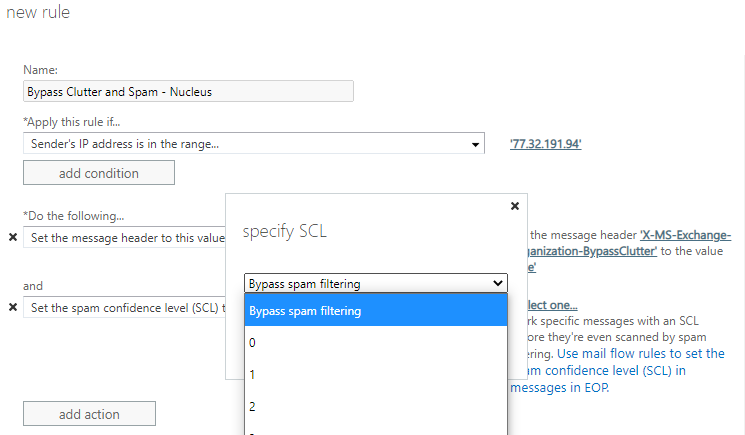
- Click add action.
- From the drop-down menu for "Do the following" select Modify the message properties. Then, click Set the spam confidence level (SCL) to and select Bypass Spam Filtering. Then click OK.
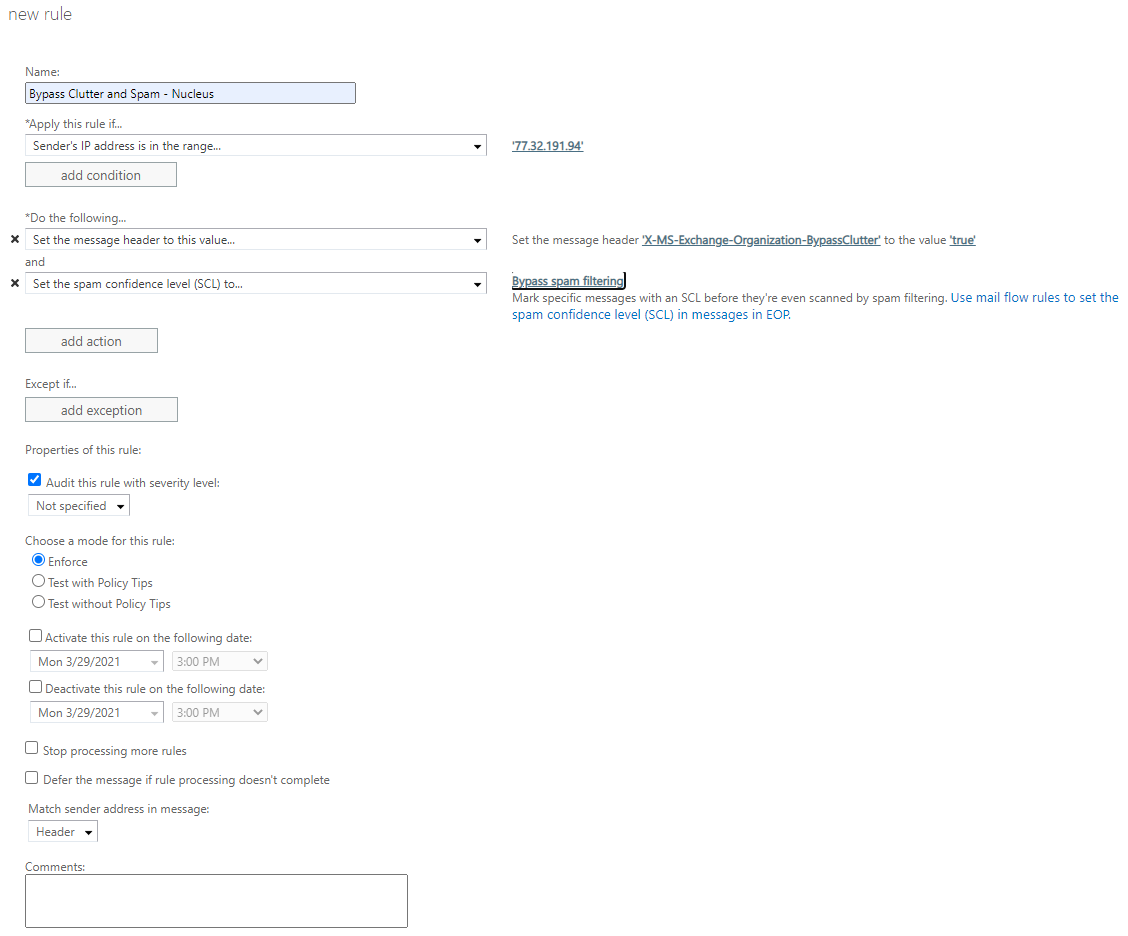
- Click Save. Your full rule should match the example below:
Bypassing the Junk Folder
- Log in to the Office 365 Exchange Admin Center Portal (https://admin.exchange.microsoft.com/) with a global administrator or Exchange administrator account.
- Go to Mail flow > Rules to see a list of all the exchange rules in use.
- Click the "+" sign and select Bypass Spam Filtering.

- A popup window will show the options for the new rule. Ensure your browser allows for popups from this domain if this doesn't appear automatically.
a. Enter a name like "Bypass Junk - Nucleus".
b. Apply this rule if the "Sender's IP address is in the range" and enter the Nucleus IP address 77.32.191.94 into the IP address list and click ok. - Click the "Do the following" drop-down, select "Modify the message properties" then click the Set a message header option.
- Click the Enter text... button and enter the text "X-Forefront-Antispam-Report". This field is case sensitive. Once entered, click OK.
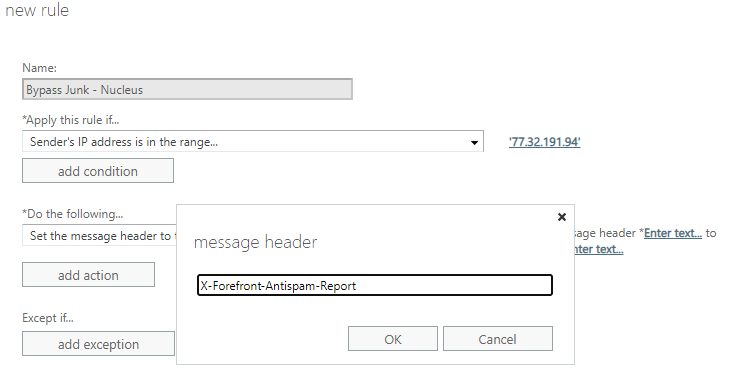
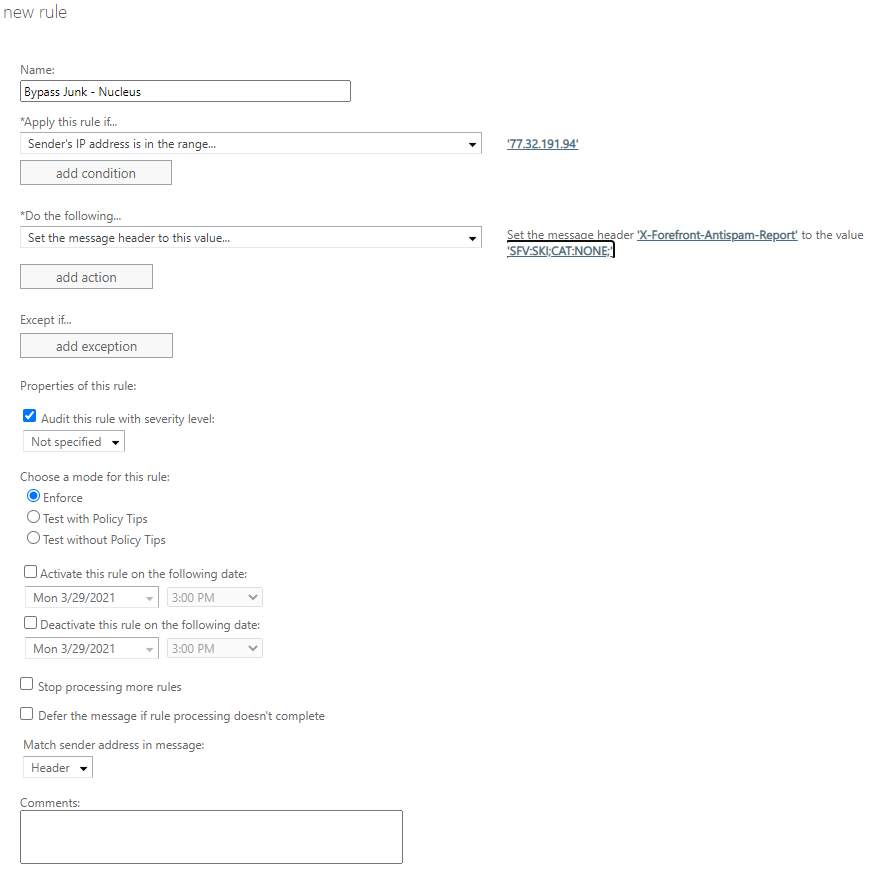
- Click the Enter text... button after "to the value" and enter "SFV:SKI;CAT:NONE;". This field is case sensitive. Once entered, click OK.

- Click on Save. Your full rule should match this example:
If you have any questions, please contact us through the support center.