Overview
Nucleus enables you to sync assets discovered by Tanium into your Nucleus project the Tanium connector. The connector integrates with the Tanium Asset and Connect modules to seamlessly sync data into your Nucleus project to create and enrich assets.
The Tanium Connector leverages the Tanium Connect module to receive data from Tanium at scale.
What is Tanium Connect?
Tanium Connect is a Tanium Product Module designed to integrate Tanium with other systems that you own and operate.
Unlike other Nucleus integrations, the best practices for integrating into Tanium is to setup a connection with Tanium Connect that pushes data to Nucleus on a schedule. As such, Nucleus will not be interacting directly with Tanium. Users within Nucleus will not be able to request fresh data; the data will instead refresh as it is uploaded from Tanium to Nucleus.
The Tanium Connect schedule is completely configurable on the Tanium side. It's important to configure the reports from Tanium to be scoped appropriately so make certain that the Tanium push settings include all the data you want to receive, on the correct schedule, for the data push into Nucleus. For example, should Workstations come in at midnight ET every night? You will need to work with your internal Tanium team to make sure the schedule works for them.
Connector setup
Connector Setup Checklist
Follow the steps in this checklist to successfully setup this connector:
API Access
Create an API key in Nucleus.Tanium Report Setup
Create the Nucleus Tanium report in the Tanium Asset module.Tanium Connect Configuration
Create a connection to push the data to Nucleus. Set the five configurations required for the connection.
1. API Access
Follow the Defining new roles steps to create a new role. During creation, assign the role the permission Import Scans Manually.

Generate a Service Account API Key for the Nucleus project that Tanium will upload data to.
Make a note of the API key for use later.
2. Tanium Report Setup
Log into your Tanium instance.
Navigate to Modules> Asset > Reports.
.png)
In the top right of the screen, select Create Custom Report.
Enter a Name and optional Description for the report, such as Nucleus Asset Report and Asset data that is uploaded to Nucleus via Tanium Connect.
.png)
In the section Select Report Columns from Asset Tables, select the fields that you want to appear in Nucleus. Note that the Asset fields Asset ID, Compute Name and IP Address are required.
.png)
Add an optional Report Filter to limit the assets that are returned.
Click Submit.
3. Tanium Connect Configuration
Now that you have a report, we will set up a Tanium Connection to upload the report to Nucleus on a schedule:
Navigate to Modules > Connect > Connections.
In the top right of the screen, select Create Connection.
In the General Information section, enter a Name and optional Description for the connection, such as Nucleus Asset Report Upload and Daily upload of asset report to Nucleus for asset creation and enrichment.
.png)
In the Configuration section, set the Source to Tanium Asset, the Type to Asset Report, and Available Reports to the report we created in Step 2 above.
Important!
Based on our testing, the Tanium Connect configuration Batch Size must be adjusted to under 200MB. 50,000 rows should be the maximum value.
.png)
Set the Destination to HTTP.
If you have already setup the integration for Tanium Comply, select Existing and use the destination that you already setup, otherwise set the Destination Name to a unique name such as Nucleus-ProdEnv-TaniumAPIOnlyUpload.
Set the URL to
https://{nucleus_instance}/nucleus/api/projects/{project_id}/scans?file_in_body=true&scan_type=TANIUMwhere{nucleus_instance}is the base domain for your Nucleus instance, and{project_id}is the project id of the project that you want Tanium to sync to.Set the Method to POST and check the box Trust on First Use.
Set Use Authentication to Header Authentication, setting Auth Header Name to x-apikey and Secret to the API key that you generated in Step 1 above.
.png)
Next we will configure the output. In the Configure Output section, set the Format to CSV and check both Include Headers and Detect Dynamic Data Exchange (DDE).
.png)
Expand Columns and configure the Destination Labels. Set the following required fields:
ci_item_idtotanium_asset_idci_item_computer_nametohost_nameci_item_ip_addresstoip_address.png)
To include additional fields, simply add a
metadata:string to the front of every field you want pushed into Nucleus for use as additional metadata. In our screenshot above for example, we edited the label forci_item_countrytometadata:country. In Nucleus, this will import on the asset with the additional metadata keytanium.countryand the value will be the country associated with the asset. The screenshot below shows how the Tanium data appears in Nucleus:.png)
In the Schedule section check Enable Schedule and set the Frequency to One run per day, every day. Set the Time to when you want the report to be uploaded to Nucleus.
Click Save, or Save and Run to immediately upload a report for processing.
Connector Behaviour
Troubleshooting Tips
If you see that the job "Failed" in Tanium Connect, check to confirm the report or the Connect job is configured correctly on the Tanium side.
If the connection is not going through, check your outbound firewall rules for potential issues.
If the connection is not going through and the firewall rules are set to support the connection, check the proxy settings for Tanium Connect. Sometimes teams have the Connect module proxied, and the proxy is configured to block HTTPS traffic.
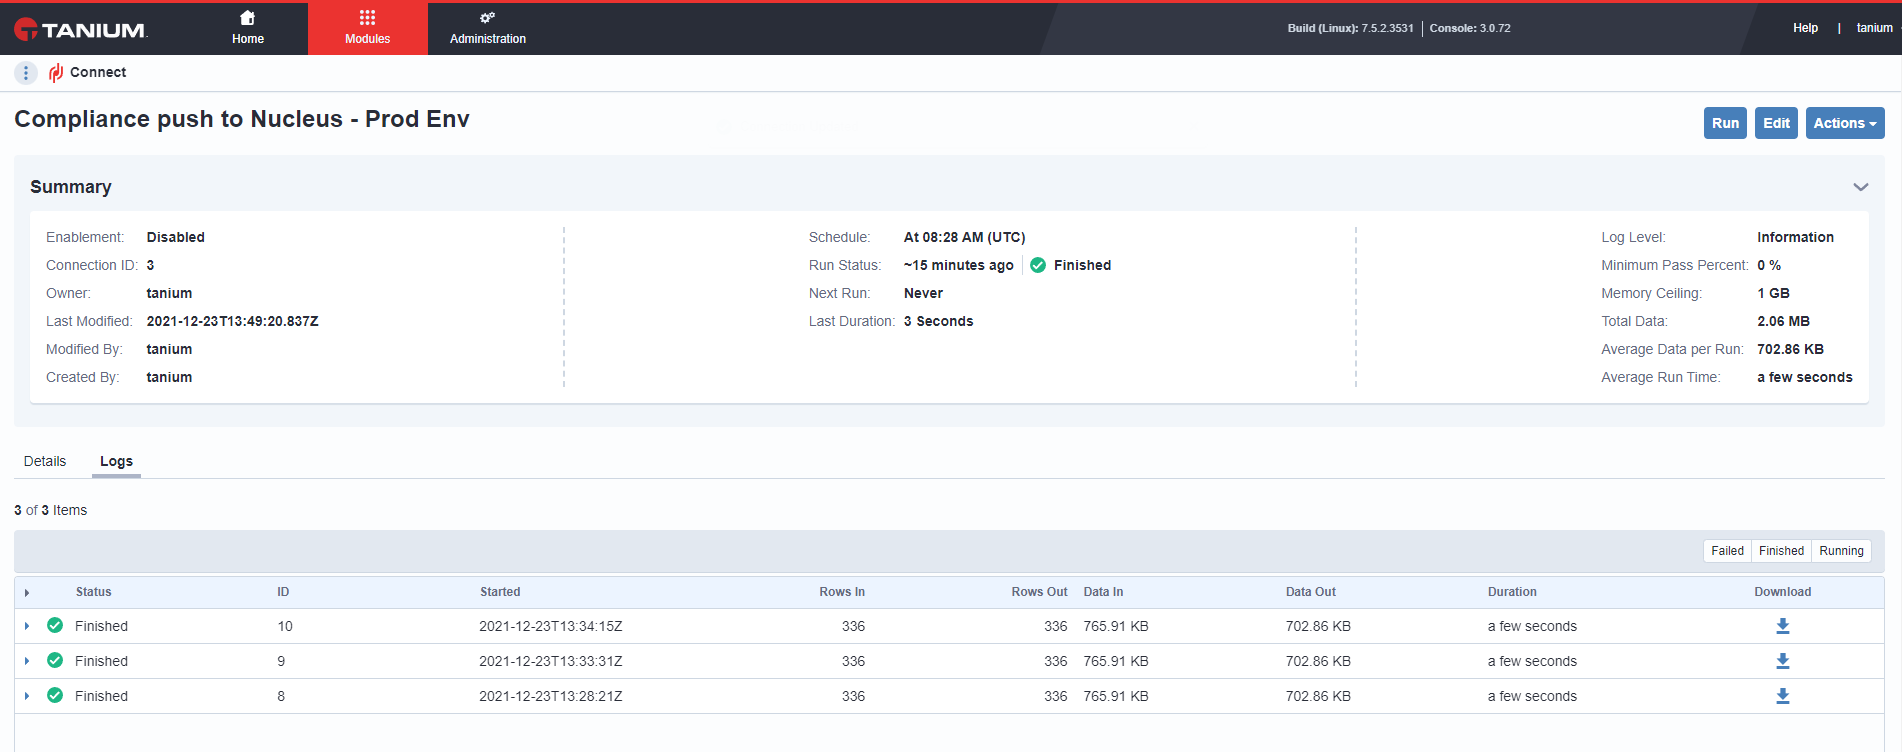
If the resulting job is "Finished", that means that Nucleus successfully received the file, started processing the data, and the Tanium Connect module ran successfully. However, this does NOT mean that the file is correct, so if you do not see the file in Nucleus within an hour of confirming the "Finished" message on the Connect job, check with your Nucleus support team to make sure that the headers are correct and that the file processed successfully.
If you have any questions, please contact us through the support center.