Overview
Required Permissions
Nucleus project admin or role with the "edit connector" permissions are required.
Microsoft Defender for Endpoint (previously Microsoft Defender ATP) is an endpoint solution used by large enterprises to defend and scan their endpoints for vulnerabilities. Defender has many modules, including threat intel, EDR, email inbox monitoring, and vulnerability scanning.
This connector integrates with the Defender Threat and Vulnerability management module to sync the CVE information found in Microsoft Defender into Nucleus in an automated way.
Microsoft offers a few different packages for Defender, so if you're trying to figure out if your version of Defender is compatible with Nucleus, make sure that your version of Defender includes the Vulnerability Assessment and Device Discovery features.
Set up Azure AD App
Microsoft requires an app registration in order to set up the connection to Nucleus. To set up the app, do the following:
Step 1: Register app
Log on to Azure through a user account that has the "Global Administrator" role.
Go to Azure Active Directory > App registrations > + New registration.
Enter in a descriptive name for this app, such as "Nucleus VRM".
Leave the rest as defaults
Click Register to complete the registration.
Step 2: Allow API permissions to Defender endpoints
On the new page shown after you register the Azure app, go to API Permissions.
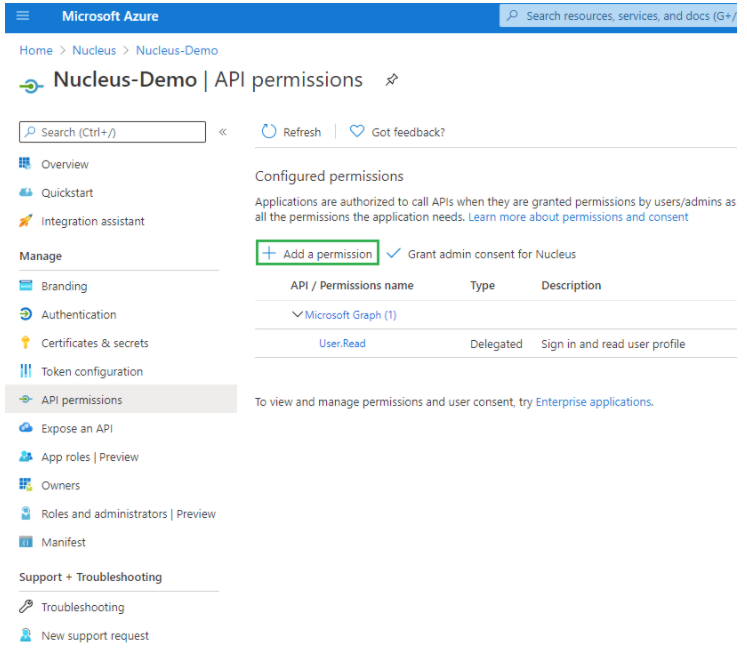
Click + Add a permission.
Click on the tab APIs my organization uses.
In the search bar below, type in "Windows" and look for the item "WindowsDefenderATP" in the list below.
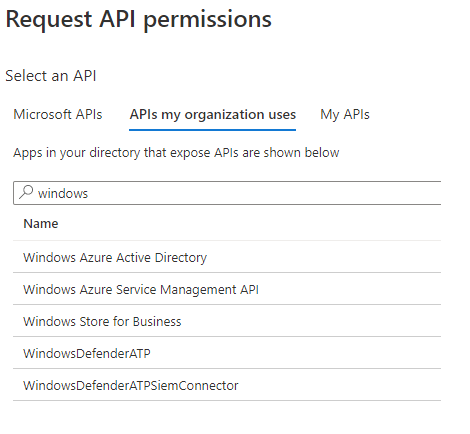
Click on "WindowsDefenderATP".
Click "Application permissions".
In the list, select the following permissions:
Microsoft Permission | Use |
|---|---|
Vulnerability.Read.All | Used by Nucleus to pull down the vulnerability information from Microsoft Defender. |
Machine.Read.All | Used by Nucleus to pull down the list of assets from Microsoft and all associated asset metadata for use in Nucleus asset inventory and automation rules. |
Software.Read.All | Used by Nucleus to retrieve software information |
Click Add permissions.
Step 3: Grant Admin consent for app
You now need to go to a different section in Microsoft to grant admin permission for this registered application.
After granting the above permissions, your API permissions page will look like this:
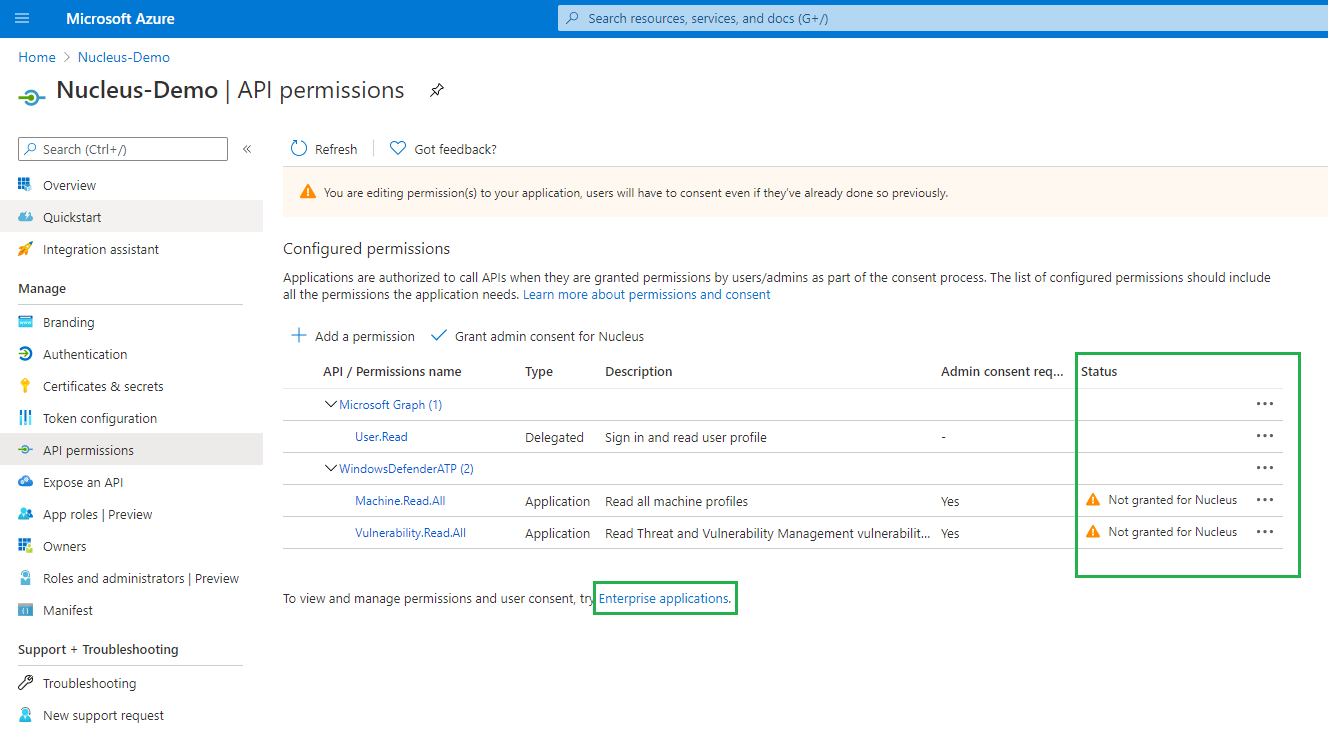
Click on the hyperlink Enterprise applications as noted in the screenshot above.
Click Grant admin consent for Nucleus. This will enable the permissions you set up in Step 2.
Step 4: Configure client secret and gather authentication information
Still in Microsoft, go to Azure portal > Azure App directory > App registrations > Nucleus (or the name of the application you registered in step 1 of the Microsoft setup).
Copy the following information from the "Overview" page:
Application (client) ID
Directory (tenant) ID
Go to "Certificates & secrets" page.
Click "New client secret".
Add a description for the client secret to remember, such as "Secret for Nucleus to authenticate to Microsoft Defender ATP".
Set expiration date. Note that you will need to renew this client secret and the Nucleus connector will stop working if this secret expires.
.png)
7. Click "Add".
8. Copy the Client Secret "Value".
All done! You have completed the configuration on the Microsoft side. Now you'll move to the Nucleus configuration.
Microsoft Documentation
For more information and screenshots on this process, use this Microsoft Guide: Microsoft Defender App Registration
Configure connector
In another browser tab, log into Nucleus and go to your project to set up the Microsoft connector.
Go to Integration Hub > Connector Setup.
Click on the "Windows" logo with the title "Defender for Endpoint".
Enter in the following information copied from above:
Application (client) ID
Directory (tenant) ID
Client Secret
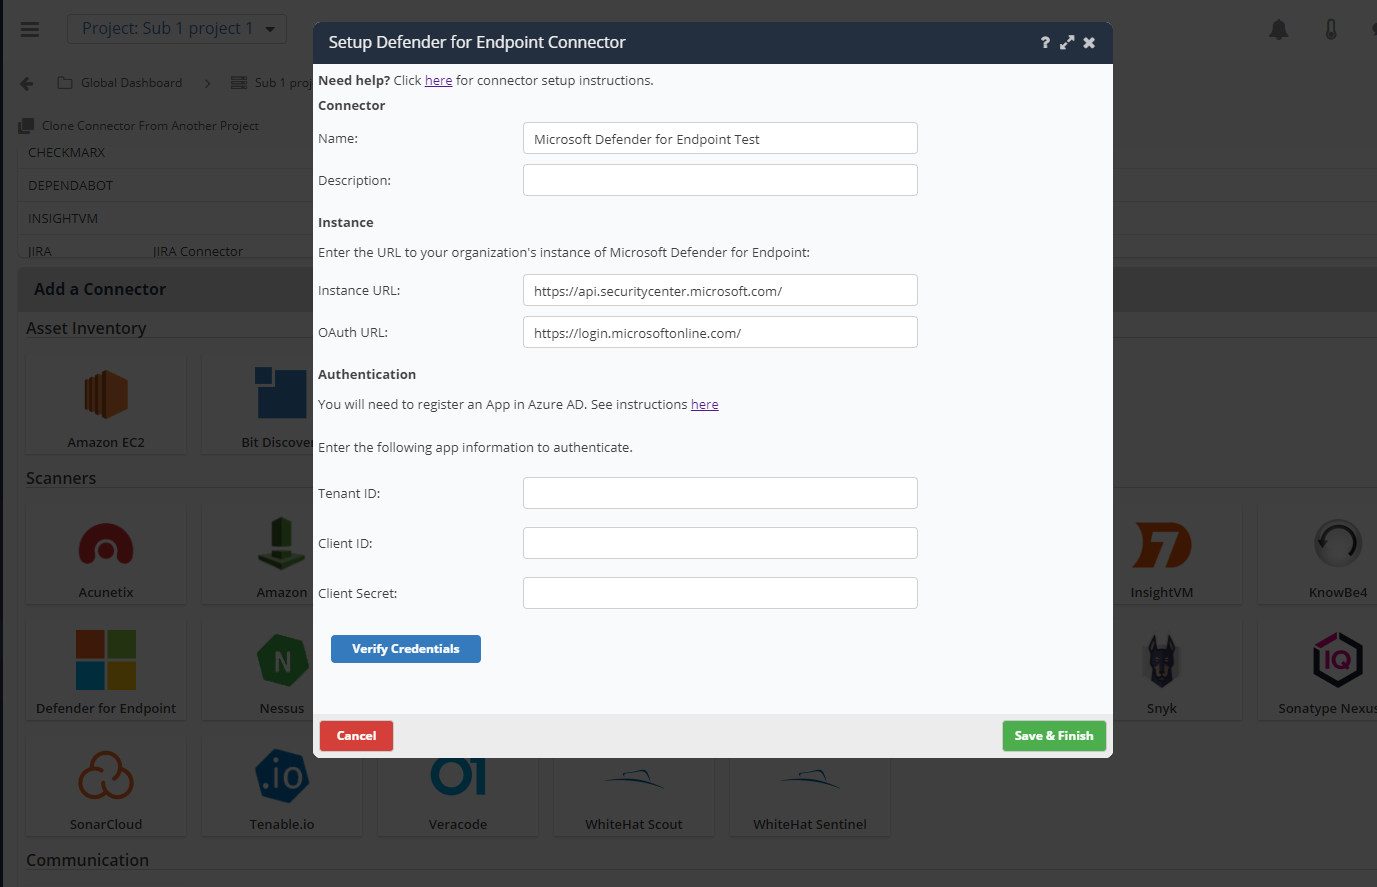
Click "Verify Credentials".
You will see a green success message if the connector is authenticating correctly to Microsoft.
The configuration of the connector is now complete! Time to start importing some data!
Import data
⚠️ Important: Asset Health Status Behavior
When importing data from Microsoft Defender for Endpoint, Nucleus monitors the health status of assets.
If an asset that was previously ingested has its health status changed to Inactive in Defender, Nucleus will automatically deactivate that asset on the next ingest. This deactivation:
- Archives all findings associated with the asset
- Closes any open tickets linked to those findings (marked as mitigated)
If the asset is subsequently detected as active by another scan source (e.g., InsightVM, Qualys), the asset will be reactivated, and new tickets may be created for the same findings.
Recommendation:
If you are running multiple scan sources on the same assets, consider filtering which Defender assets Nucleus ingests to prevent unintended global state changes caused by Defender health status updates.
Go to Integration Hub > Import via Connector (or click the success message in the connector verification).
Select the Microsoft Defender connector you just created.
Choose to import by any of the following choices:
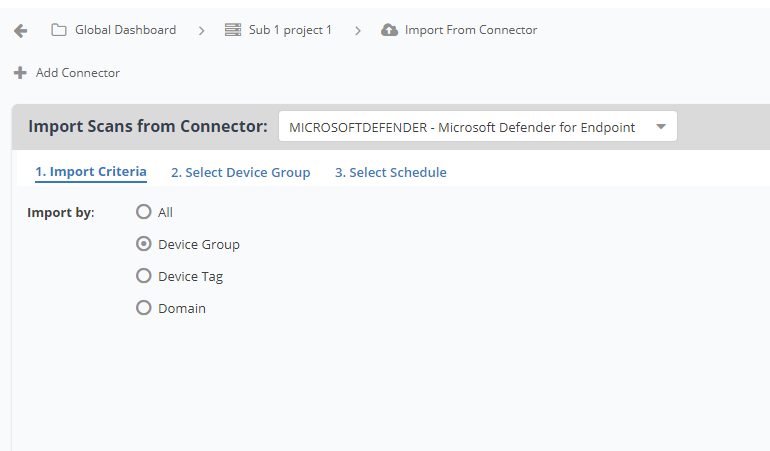
Option | Value |
|---|---|
All | Nucleus will automatically import all assets and vulnerability information from Microsoft. |
Device Group | Sync assets into Nucleus with certain Microsoft groups. |
Device Tag | Sync assets into Nucleus with certain Microsoft tags. |
Domain | Sync assets into within certain domains. |
Click Next and select the assets you would like to import.
Click Next and select a how often you want to import, either one-time or auto-imported on a schedule.
Click Save & Finish.
Additional Metadata
Nucleus will automatically pull in asset metadata from Microsoft as additional metadata within Nucleus for use in Nucleus automation rules.
If you have any questions, please contact Nucleus support at [email protected].