Overview
Nucleus has bidirectional communication with the most widely-used external ticketing systems.
Using the APIs of external ticketing systems, Nucleus enables you to create and manage tickets in external systems for true collaboration with real-time syncing between Nucleus and the systems you use for remediation.
All ticketing connectors are bidirectional, so as you update a ticket in an external system that was created by Nucleus, the status and comments are updated in the Nucleus platform in real-time.
Availability
The Azure DevOps ticketing connector is currently in beta. We are actively looking for customers to trial their connector in Nucleus. Please contact support to have the connector enabled for your organization.
Connector Setup
Connector Setup Checklist
Follow the steps in this checklist to successfully set up this connector:
API Access to Microsoft
Create an App Registration in Microsoft Azure and generate an OAuth 2.0 client id and secret key
Required permissions:
Permission | Level | Purpose |
|---|---|---|
user_impersonation | N/A | Access to Visual Studio Team Services REST APIs |
vso.profile | Read | Used to read the information about the ADO organization and its top level information |
vso.project | Read | Used to read the work item types available in a project to ensure Nucleus creates the correct work items with the correct fields inside ADO |
vso.work_write | Read & Write | Used to create and update the work items in ADO projects |
User.read | Read | Used for general authentication of the application |
Setup AD Account and AD User Account
Create and setup the AD Account within Azure.
Connector Configuration
Create and configure the connector in your Nucleus project.
Create tickets in ADO from Nucleus
Create a vulnerability scan ingest rules to ingest vulnerabilities from Microsoft Defender for Cloud.
1. API Access
Part 1, AD Account Setup:
Log on to Azure (https://portal.azure.com) through a user account that has the "Global Administrator" role.
Go to Azure Active Directory (Now called "Entra ID" > Manage > App registrations > + New registration.
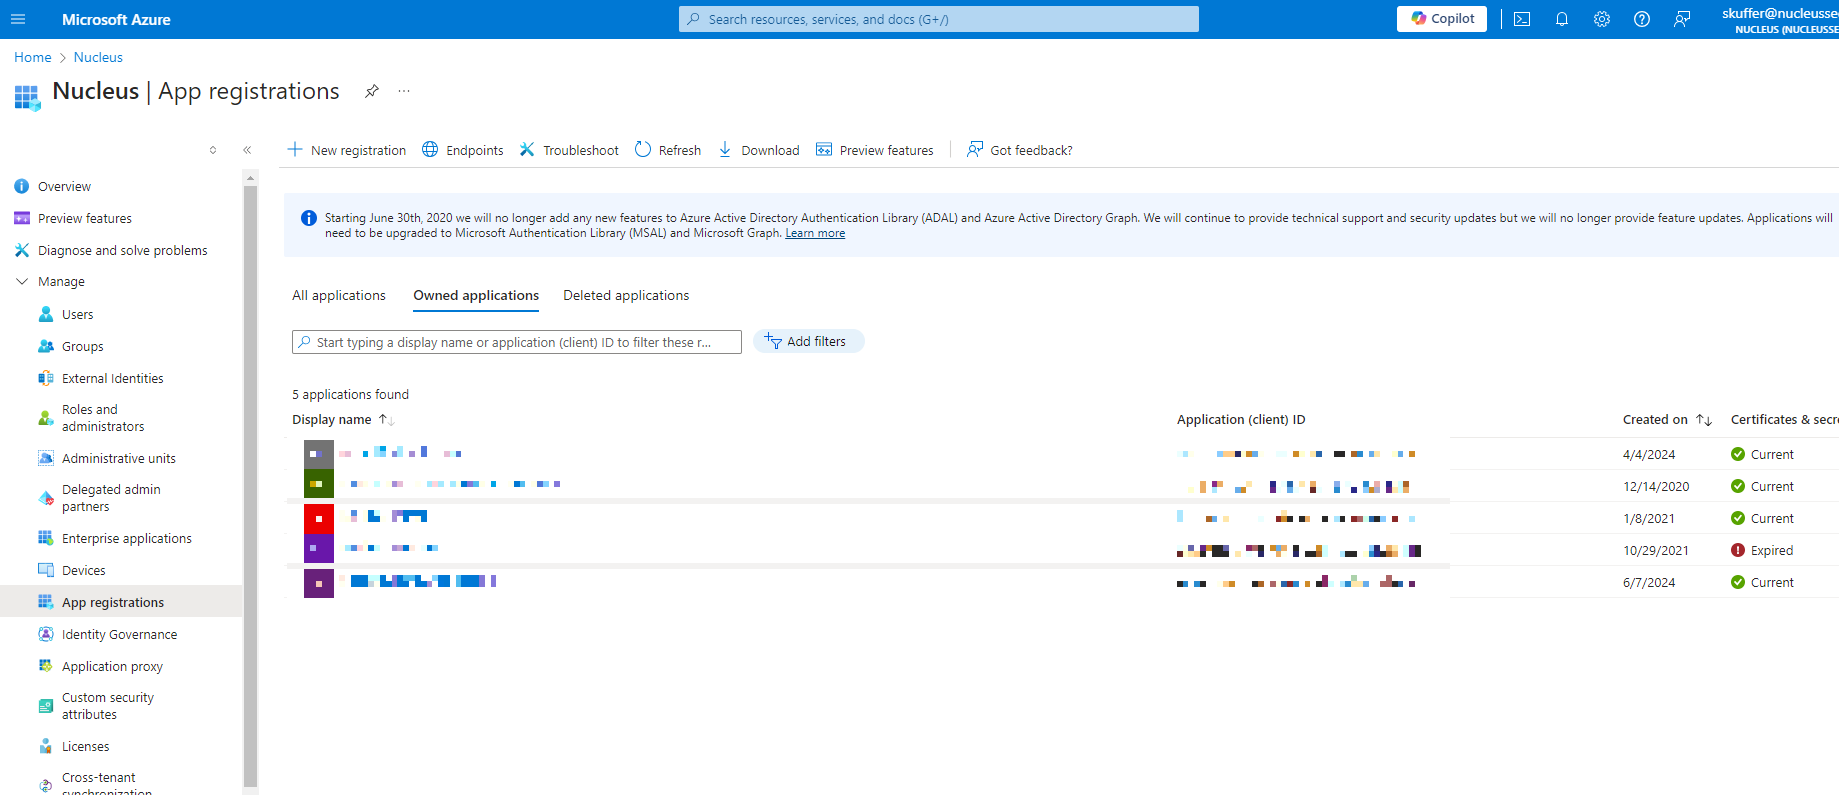
Enter in a descriptive name for this app, such as "Nucleus Security" and click Register to complete the registration.
Navigate to "API Permissions" within the app you just created
Click "Add a permission"
Click "Azure DevOps" from the slide out
Select the following required permissions
Azure DevOps > user_impersonation
Azure DevOps > vso.profile
Azure DevOps > vso.project
Azure DevOps > vso.work_write
Microsoft Graph > User.read
Click "Add permissions"
Navigate back to the app registration that you created, Certificates & Secrets > Client secrets > + New client secret.
Save the secret value for future use. This is your Client Secret.
Navigate to Overview, and take note of the Directory (tenant) ID and Application (client) ID.
Part 2, AD User Setup:
Navigate to Azure DevOps
Select "Organization settings" then "Users" from nav bar
Click "Add users" button and add the application id as the user
Finally, add the permission to the project.
2. Connector Configuration
Open Nucleus and go to Project Administration > Connector Setup.
Under the Cloud Connectors section, click the Azure DevOps icon. You will see the following popup:
.png "image(348).png")
In the Setup Azure DevOps Connector popup, enter the following information:
Field | Description |
|---|---|
Name | (Optional) enter a name for your connector. If left blank, this will default to Azure. |
Description | (Optional) Enter a description for your connector. |
Instance URL | (Default) Enter |
Azure Organization | Enter your Azure Organization name, found at the end of your Instance URL Note: The organization field is case sensitive. If you are having issues Verifying Credentials, make sure the organization uses exact casing. |
Tenant ID | Enter the Directory (tenant) ID from above. |
Client ID | Enter the Application (client) ID from above. |
Client secret | Enter the Client Secret from above. |
Click Verify Credentials.
Click Save.
3. Create ticket in external system
All ticketing systems are treated with the same workflow inside Nucleus. In order to create tickets, you will want to use the steps found here: External Tickets.
4. Azure DevOps Ticketing - Auto-Close and Ticket State Selection
The Azure DevOps connector supports selecting a work item state during ticket creation and when automatically closing tickets.
Ticket Creation and State Selection
When creating tickets (manually or through ticketing rules), a state can be selected from a dropdown. The available states are retrieved from the Azure DevOps project configuration.
⚠️ Note: Not all available states may be valid for newly created work items based on your Azure DevOps workflow configuration.
If a selected state is not allowed at creation, ticket creation may fail. In this case:
Select a state that is valid for new work items (commonly a state in the “Proposed” category), or
Update your Azure DevOps workflow configuration to allow the desired state
Auto-Close Behavior and State Selection
When configuring ticketing rules, you can enable automatic ticket closure and select the state used when closing tickets.
Enable auto-close of tickets in the rule configuration
Select a value from the Set ticket status to dropdown
When enabled:
Tickets are automatically transitioned to the selected state when all associated findings are remediated
Auto-close occurs during ticketing automation processing (for example, during scan ingest or update events)
If Do not close tickets for temporary status changes is enabled:
Tickets will not close when findings are in a temporary mitigated state
Tickets will close only when findings reach a fully remediated state
Bulk Ticket Closure
From the Tickets page:
Multiple tickets can be selected and closed in bulk
A state can be selected and applied to all selected tickets
⚠️ Note: If tickets belong to multiple Azure DevOps projects or to multiple external ticketing systems, with different available states, bulk closure may be limited.