Overview
The Nucleus ServiceNow App connector integrates directly with ServiceNow through the Nucleus Security for Vulnerability Response app. It runs directly on your ServiceNow environment and enables integration with Vulnerability Response.
The Nucleus Security for Vulnerability Response ServiceNow app has several different integrations including assets, third party vulnerabilities, and vulnerable items. It is intended to be installed and configured by a Nucleus Security for Vulnerability Response specialist alongside a ServiceNow administrator with experience with ServiceNow SecOps Vulnerability Response, as an intimate knowledge of both ServiceNow, SecOps, and Nucleus is required to configure the app correctly. As such, the connector must be manually enabled for your Nucleus organization prior to installing the app.
Reach out to your Nucleus customer success representative to have the app enabled and set up an onboarding call between yourself, Nucleus and one of your ServiceNow administrators.
Prerequisites
- Admin permission in your ServiceNow instance to install and configure the app.
- Vulnerability Response installed in ServiceNow.
- The ServiceNow App connector has been enabled for your Nucleus organization.
Connector setup
We strongly recommend you first complete this entire installation in a non-production Nucleus project (e.g., Sandbox project with sample data) and non-production ServiceNow environment (e.g., Dev or UAT instance) prior to configuring in production.
Install the Nucleus Security for Vulnerability Response app in ServiceNow
- Navigate to the Nucleus Security for Vulnerability Response app in the ServiceNow App Store.
- Click Get.
- Log in with your ServiceNow ID using admin permissions.
### Create and configure the local integration user - Log in to your ServiceNow instance with admin permissions.
- From the navigation bar on the left, under User Administration, select Users.
- Click New.
- In the User ID field, enter the username
nucleussec.projector any custom username of your choice. - In the First Name field, enter any first name.
- In the Last Name field, enter any last name.
- Optionally, in the Title and Department fields, enter any values of your choice.
- In the Password field, enter a password for the user and make a note of it.
- Click Submit.
- In the list of users, select the new user you created.
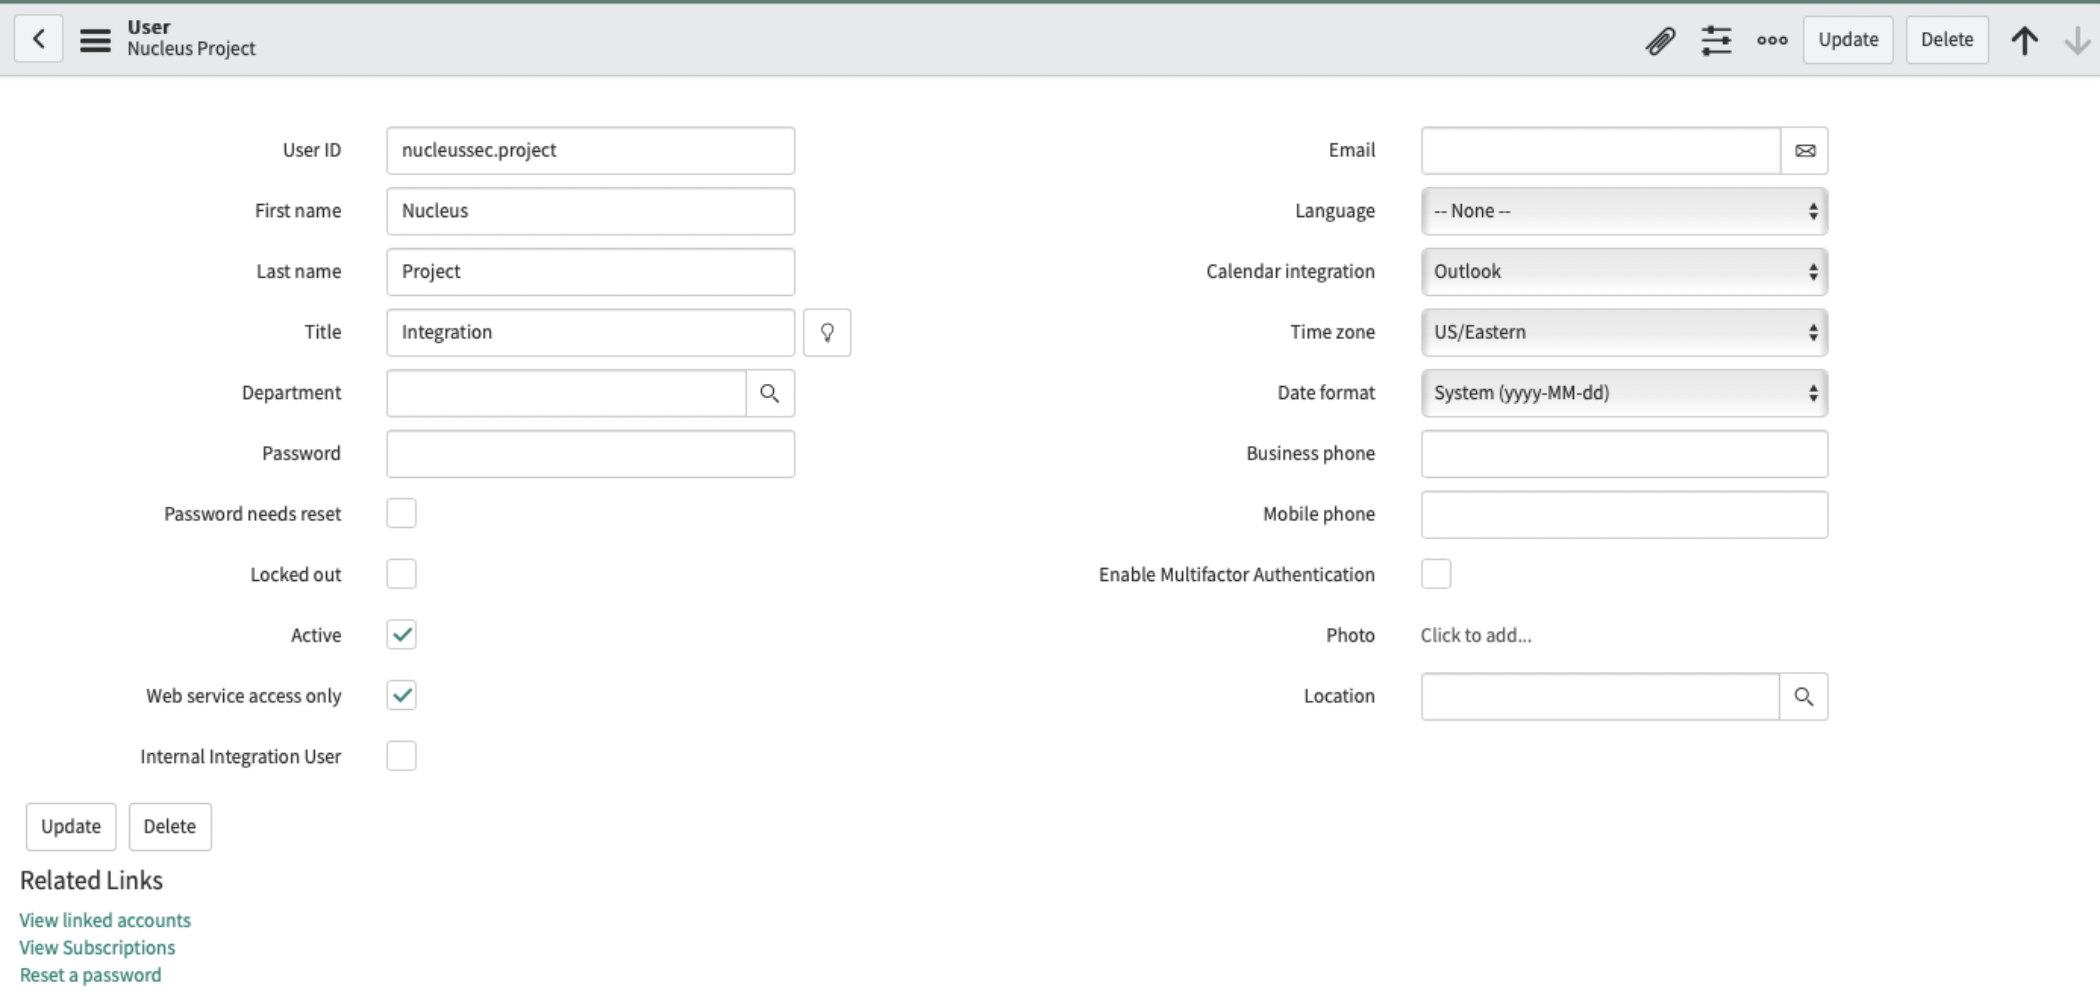
- Ensure Active is selected.
- Disable Web service access only. This setting must be disabled for the user impersonation check to pass. After that check has passed you can then choose to enable Web service access only.
- Select the Roles tab.
- Click Edit....
- Ensure the user has the following non-inherited roles applied to it:
- x_nucse_nucleus_vr.admin
- sn_vul.vulnerability_admin
- Click Save.
- From the navigation bar on the left, select Nucleus Integrations.
- Here you can choose which what integration you would like to enable, by default all integrations should be enabled.
Integrations were built using the native Vulnerability Response Integration factory scripts. It is not recommended to modify or customize the out of the box functionality unless you are familiar with ServiceNow Vulnerability Response integrations.
Set up the ServiceNow App connector in Nucleus
- Log in to your Nucleus project.
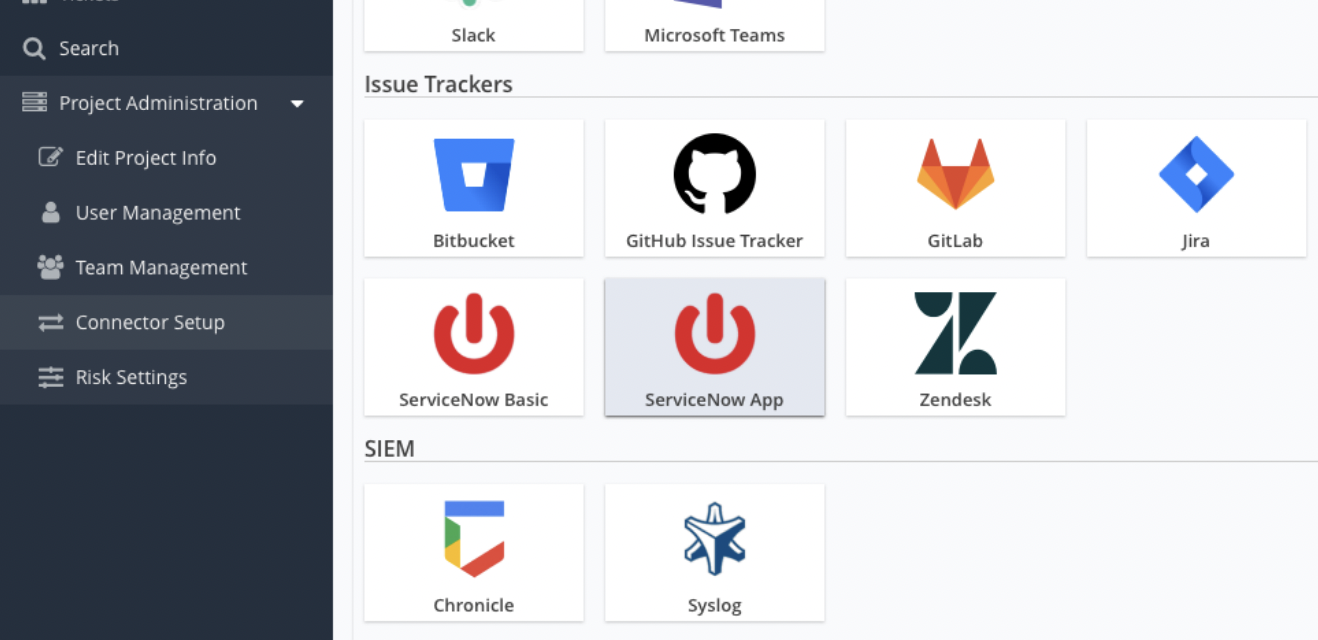
- From the navigation bar on the left, under Project Administration, select Connector Setup.
- Select ServiceNow App.
- In the Name field, enter a name for this connector.
- Optionally, in the Description field, enter a description for this connector.
- In the Instance URL field, enter the URL of your ServiceNow instance. Enter the base path only (e.g.,
https://my-instance.service-now.com). - Select the preferred authentication method: Basic Auth or OAuth2.
- Basic Auth:
- In the Username field, enter the username you chose when creating the user earlier enter that username instead.
- In the Password field, enter the password of the user you created earlier.
- OAuth2:
- Log in to your ServiceNow instance admin permissions.
- From the navigation bar on the left, under System OAuth, select Application Registry.
- Click New.
- Click Create an OAuth API endpoint for external clients.
- In the Name field, enter a name.
- Ensure the Application is set to Nucleus Security for Vulnerability Response.
- Click Submit.
- Click on the name of the new application registry you created.
- Copy the Client ID.
- Copy the Client Secret.
- Return to the Nucleus app.
- In the Username field, enter
nucleussec.project. If you chose a different username when creating the user earlier enter that username instead. - In the Password field, enter the password of the user you created earlier.
- In the Client ID field, enter the Client ID you copied from ServiceNow.
- In the Client Secret field, enter Client Secret you copied from ServiceNow.
- In the Username field, enter
- Log in to your ServiceNow instance admin permissions.
- Basic Auth:
- Click Connect To ServiceNow.
- Click Save & Finish.
Test the configuration
The Nucleus platform requires successful communication with ServiceNow. The following steps outline how to test the connection and ensure successful configuration of the Nucleus Security for Vulnerability Response application coming in to ServiceNow and out to the Nucleus platform.
- Log in to your Nucleus project.
- From the navigation bar on the left, under Vulnerabilities, select Active.
- Select a vulnerability.
- Click Create Ticket.
- Select the ServiceNow App connector.
- Make sure Vulnerability Response module is selected.
- Click Submit to ServiceNow to test the ticket creation. You should see a success message.
- In the vulnerability, click on the Tickets tab.
- Click the arrow on the far right side of the ticket. A side window will extend out.
- Verify the description loads correctly.
- In the Comment field, enter a comment.
- Click Comment.
- In the External ID column on the far left, click on the incident number for the ticket. The ticket will open in ServiceNow.
- Verify the ticket is correctly listed.