Overview
Asset groups are a flexible way to create a hierarchy of all the assets across your entire organization. You can organize your assets however you like and set up workflows so that newly discovered assets automatically get added to the appropriate groups.
Assets are a many-to-many relationship with the option to create nested groups for maximum flexibility. You can represent your responsibilities and org structure in any way you like using nested asset groups.
Assets can be part of an unlimited number of groups. Use parent groups to categorize sub-groups, such as compliance-related, or ownership-related.
View your existing groups
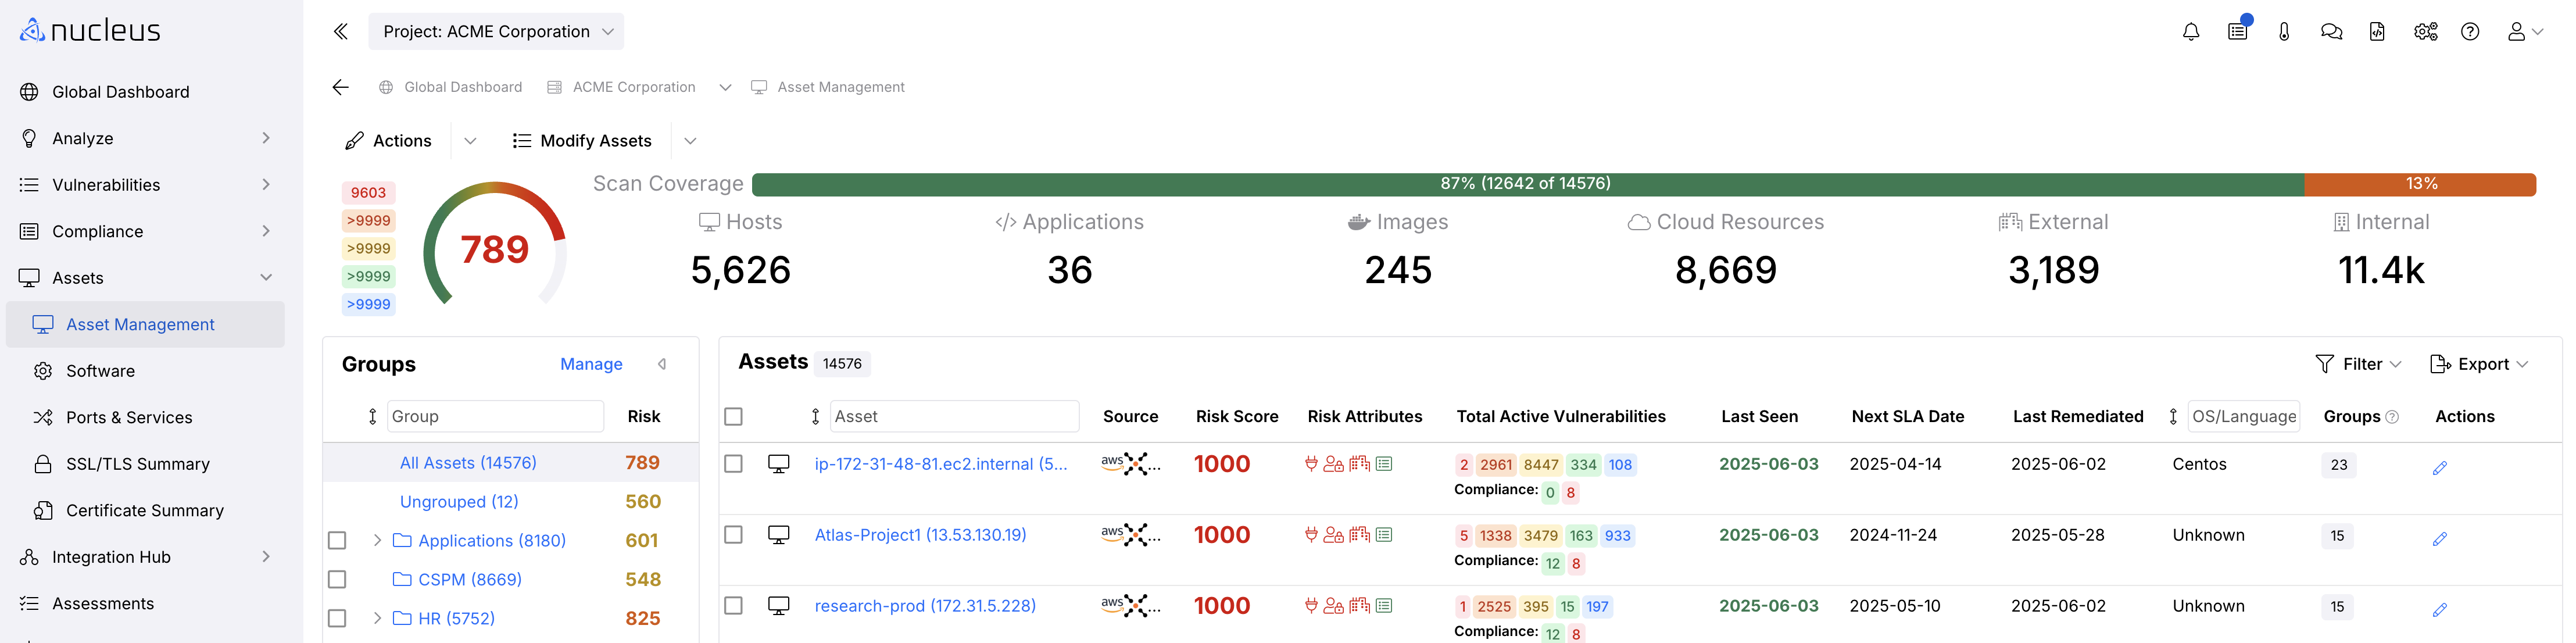
- Navigate to Global Dashboard > Select your project > Assets > Asset Management page of your project.
- You'll see your groups panel along the left-hand side of the window. 'All Assets' is selected by default.
When you click on an asset group in the left-hand panel, the asset list and summary information on the right will update to reflect the selected asset group.
Create top-level groups
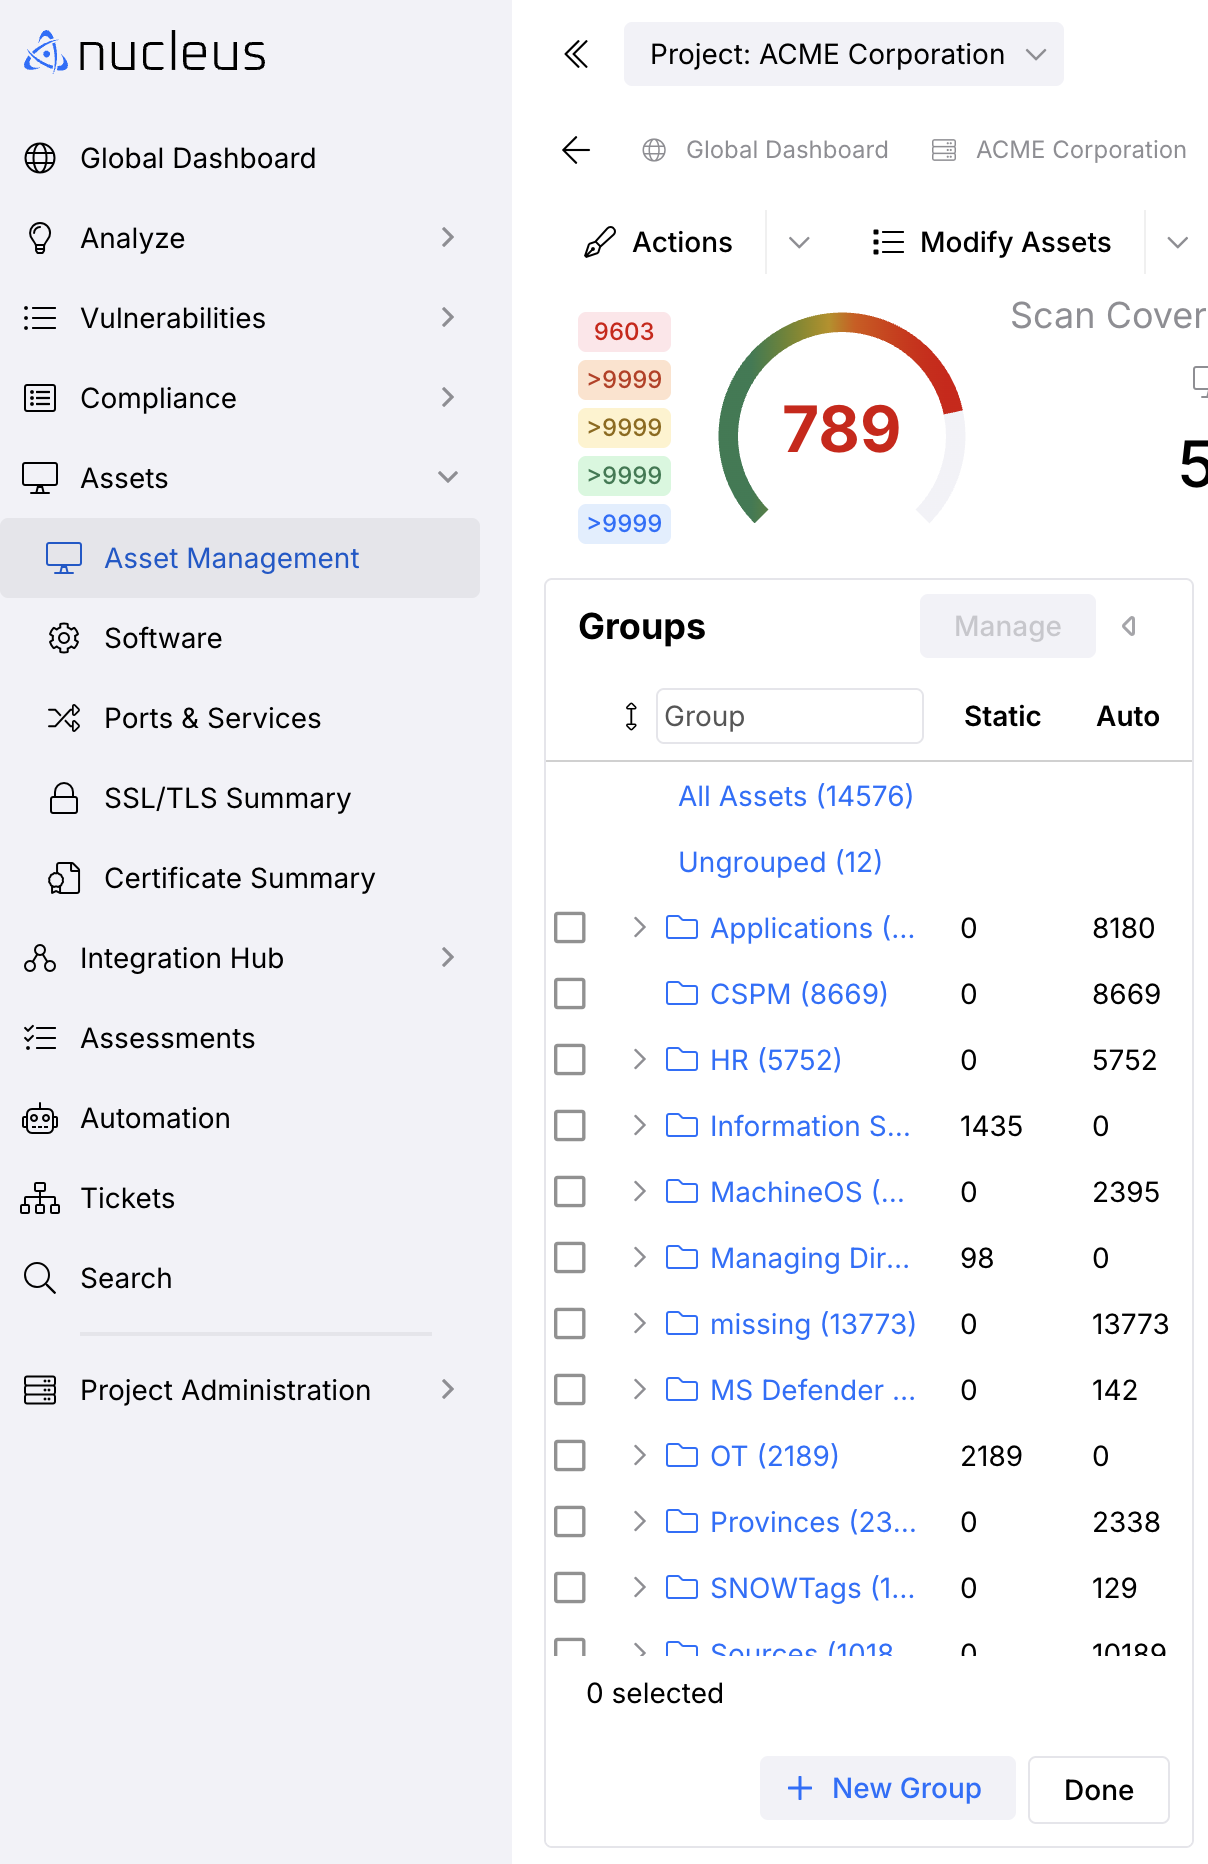
- On the Assets > Asset Management page, click the + New Group button at the bottom of the Groups panel.
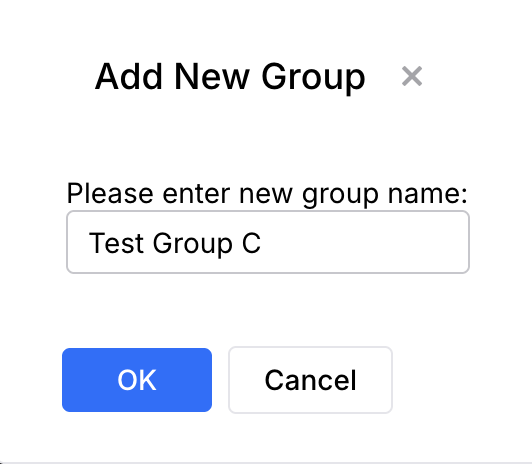
- In the pop-up modal Add New Group enter the new group name and click OK.
Create nested asset groups
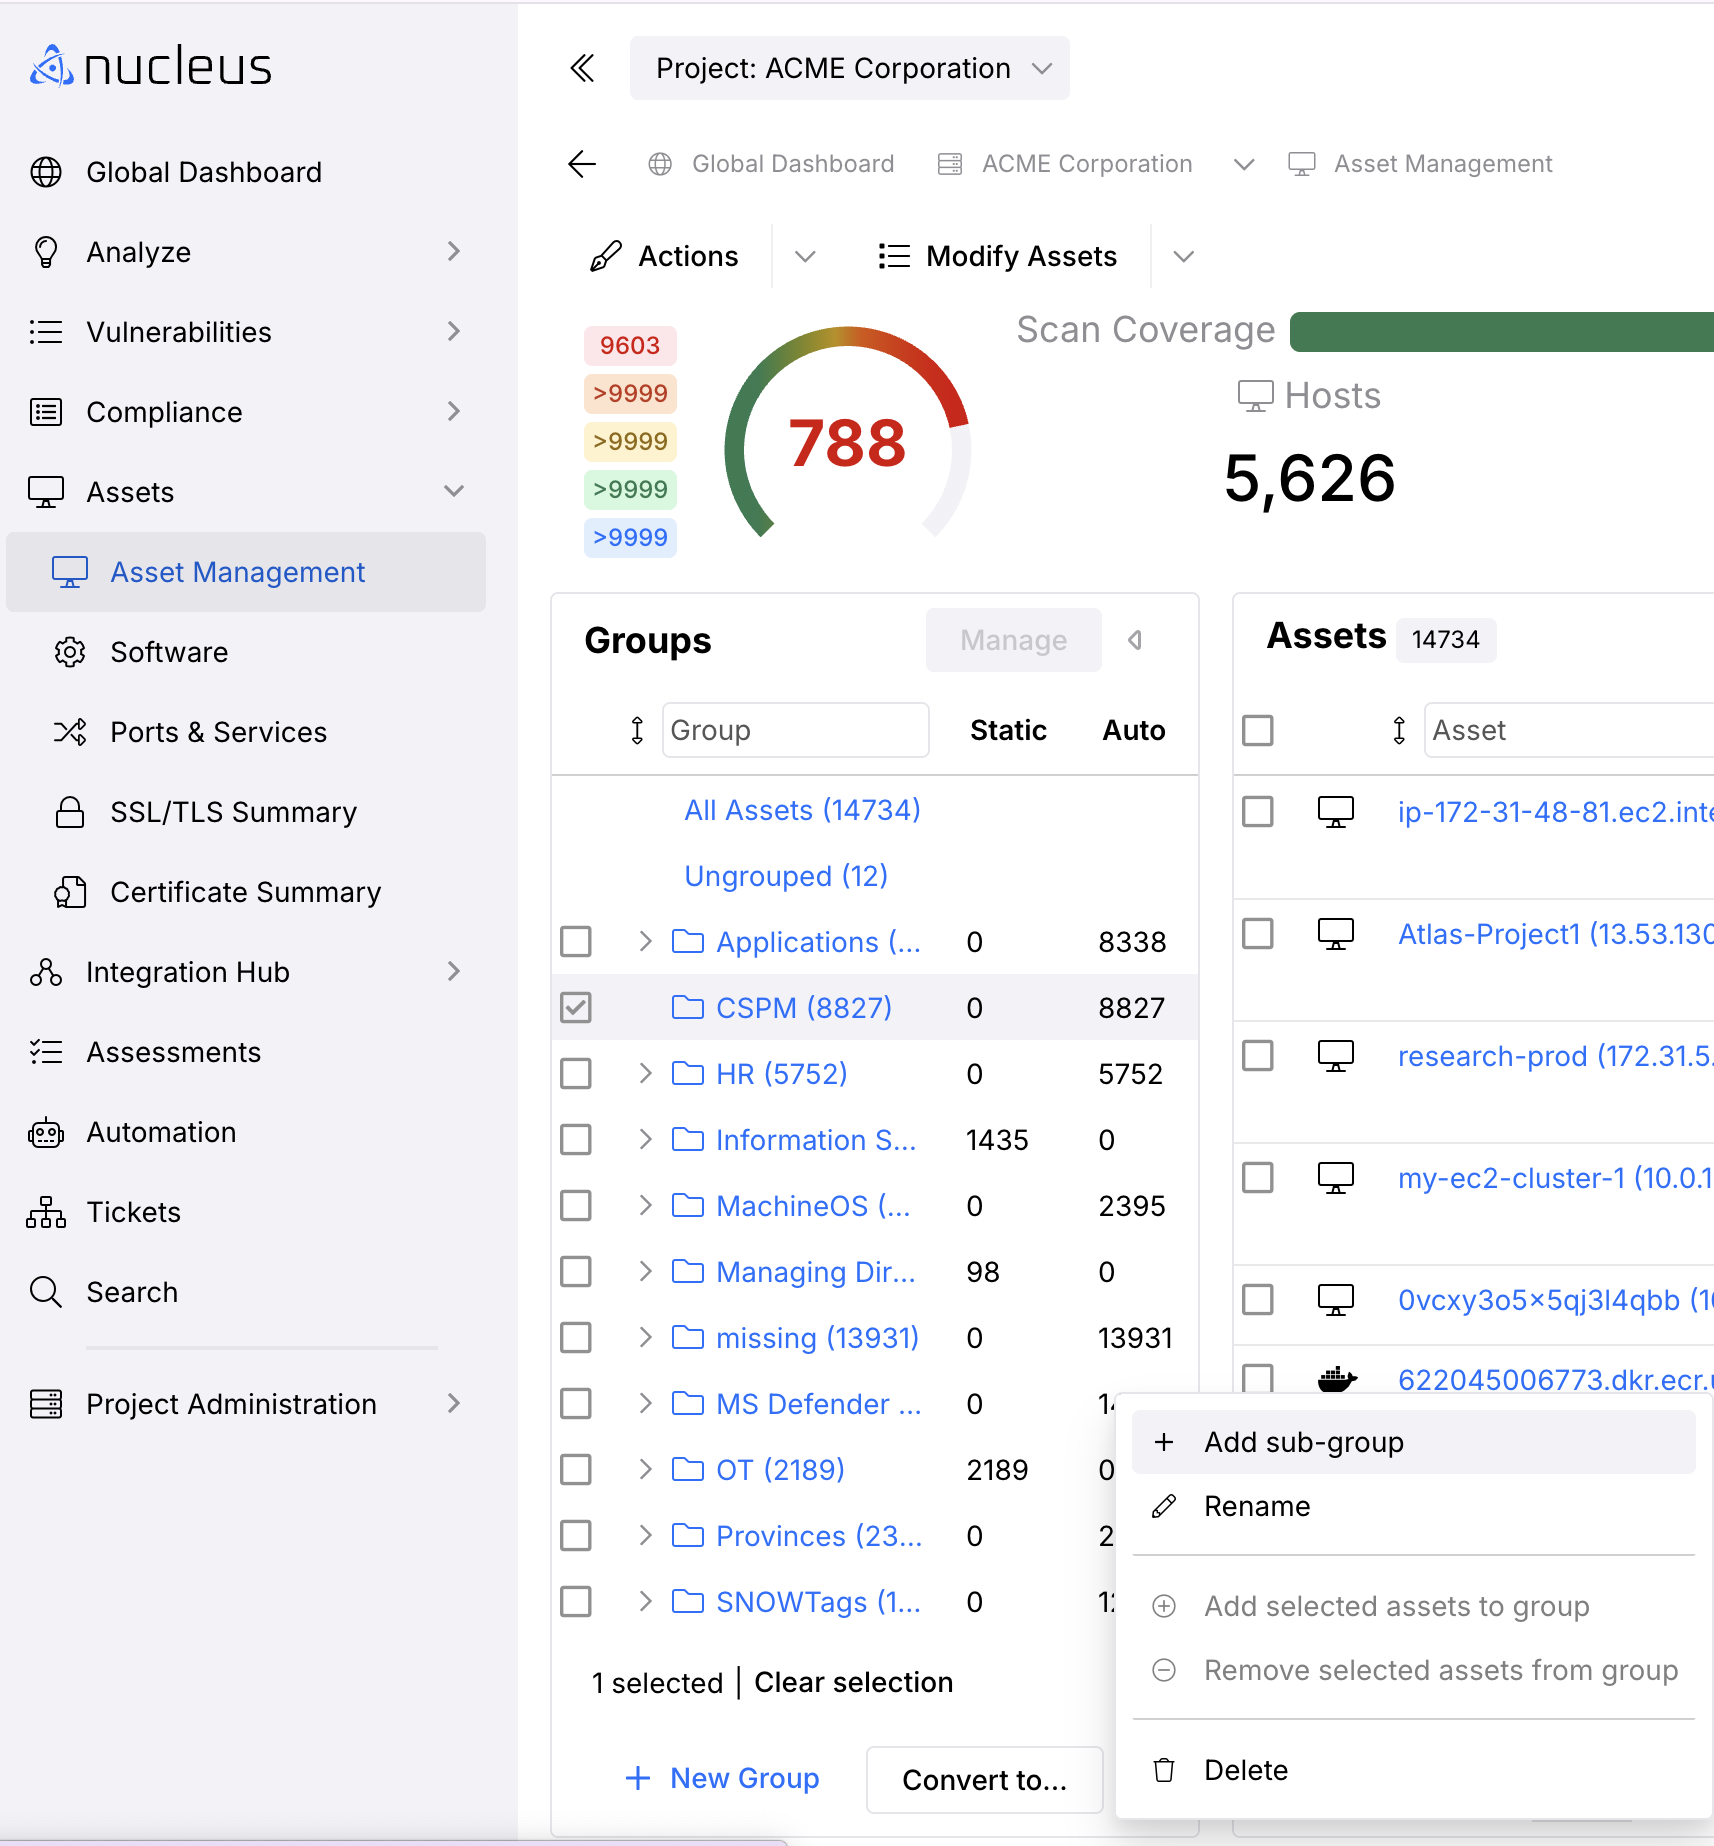
- From the Assets > Asset Management page in the Groups panel, select Manage. Use the checkbox to select any existing group.
- In the Groups panel lower far right corner (right of the Convert to button) click the Menu icon (Hamburger) for additional options.
- In the Menu icon list click + Add Sub-group.
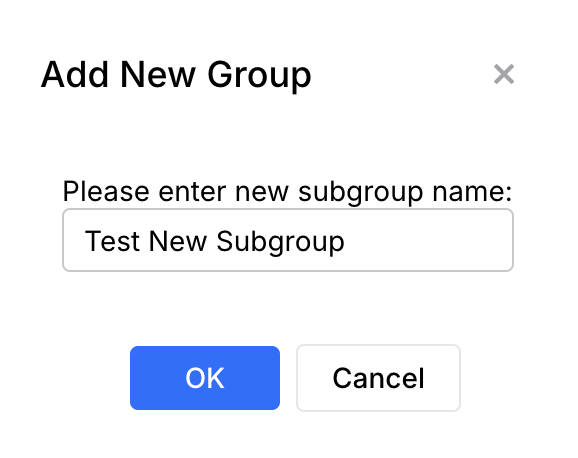
- In the pop-up modal Add New Group enter the name for your new Sub-group and click OK.
You've created your first asset sub-group!
If you'd like to make nested groups via the API, please use a double tilde as shown below:
{"asset_group": "~~Parent~~SubGroup"}
Create a top-level group with nested asset groups at the same time
- On the Assets > Asset Management page in the Groups panel, select Manage and then click the + New Group button at the bottom of the Groups panel.
- Enter in the new group name into the Add New Group pop-up modal followed by a
/and then the new nested subgroup name. To save time, you can add as many nested subgroups as you choose in this step by using the/to separate the names. For example: Test Group 4/Test 10/Test 11/Test 12
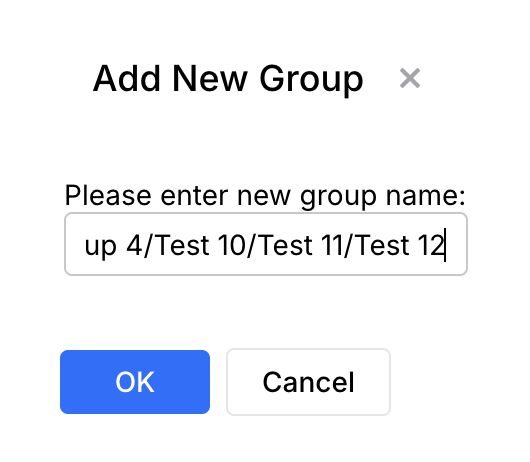
- Click OK.
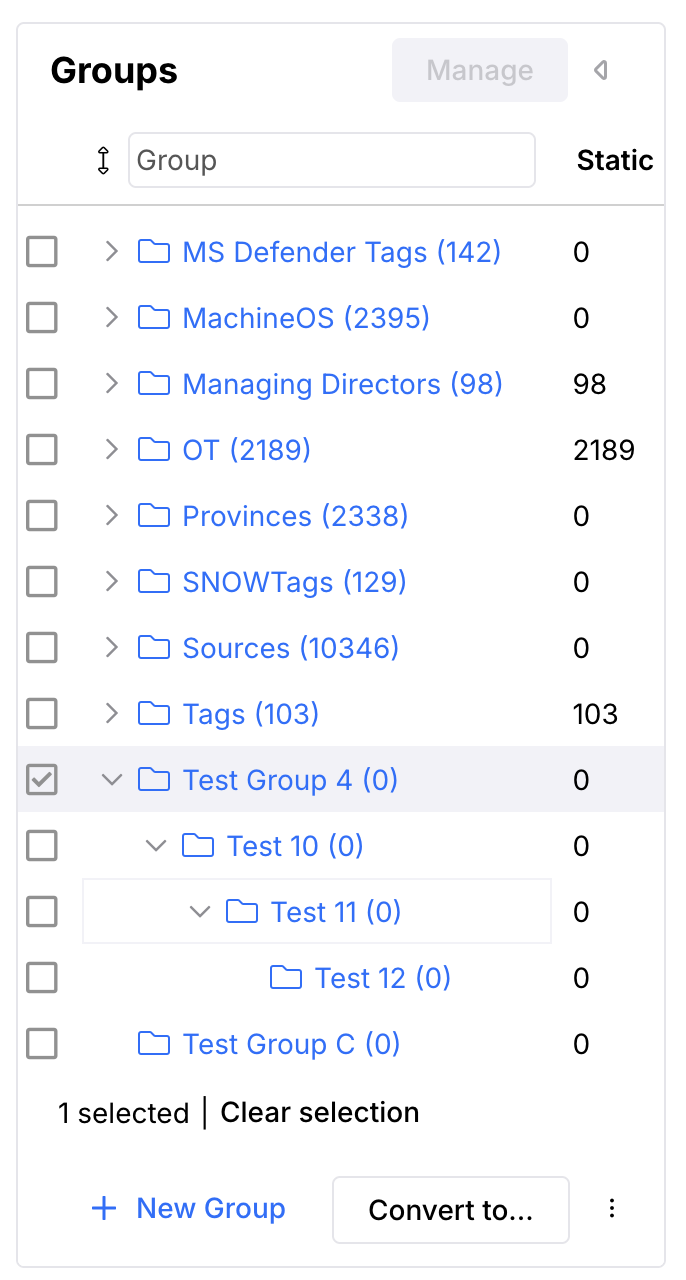
- Your new Group and nested subgroups are now added to the Groups panel.
Delete asset groups
-
From the Assets > Asset Management page, right click on any existing group to open the menu with the Add sub-group option.
-
Click the Delete option.
If you delete an asset group that has sub-groups, all nested groups for that parent group will also be deleted. Assets will automatically be removed from the deleted groups.
Purge unused asset groups
You can quickly purge asset groups that are no longer being used (i.e. empty asset groups that don't contain any assets) by following these steps:
- From the Assets > Assets Management page, click the Actions drop down.
- Select the Purge Unused Groups option and all unused groups will be purged.
Manually add assets to nested asset groups
Assets manually added to groups will not be dynamically updated by asset management rules. You will need to manually move or remove these assets from groups.
You can manually add assets to nested sub-groups one of two ways:
Option 1: Add to sub-groups using drag and drop
- From the Assets > Asset Management page, open the Groups panel.
- In the Assets panel list, use the checkboxes to select the assets you want to add.
- Click and drag your mouse to the sub-group you where want to add the selected assets.
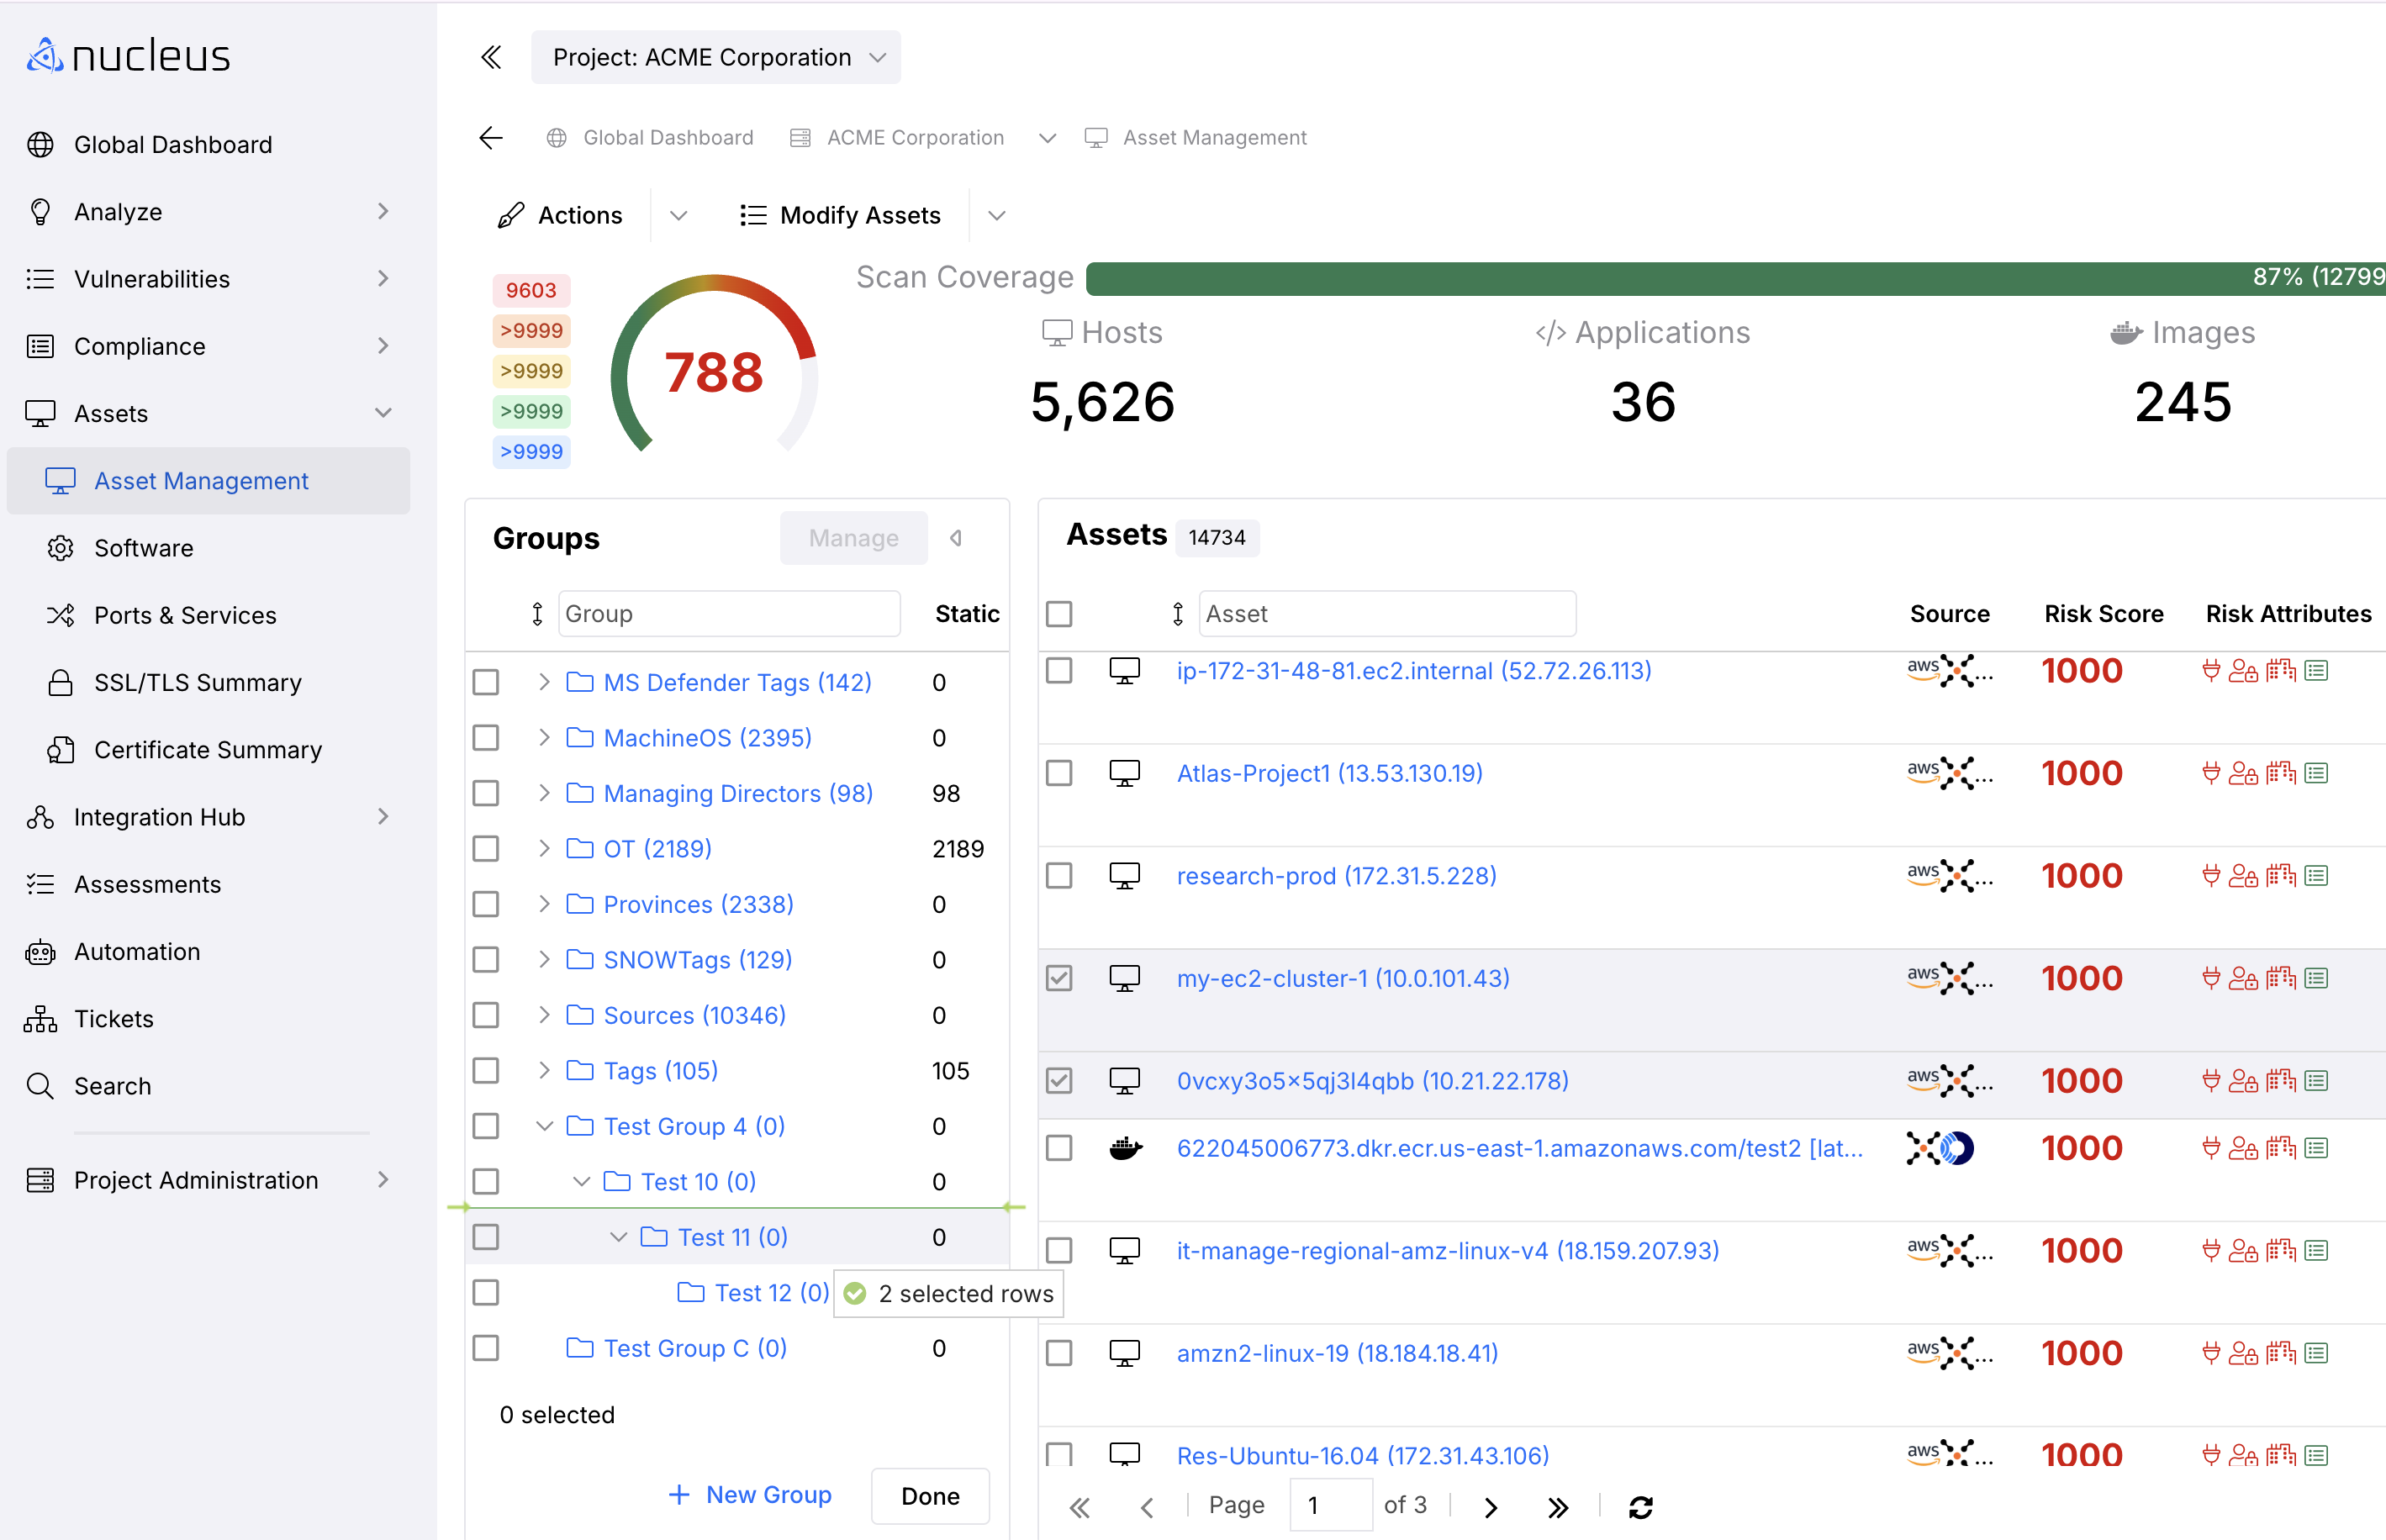
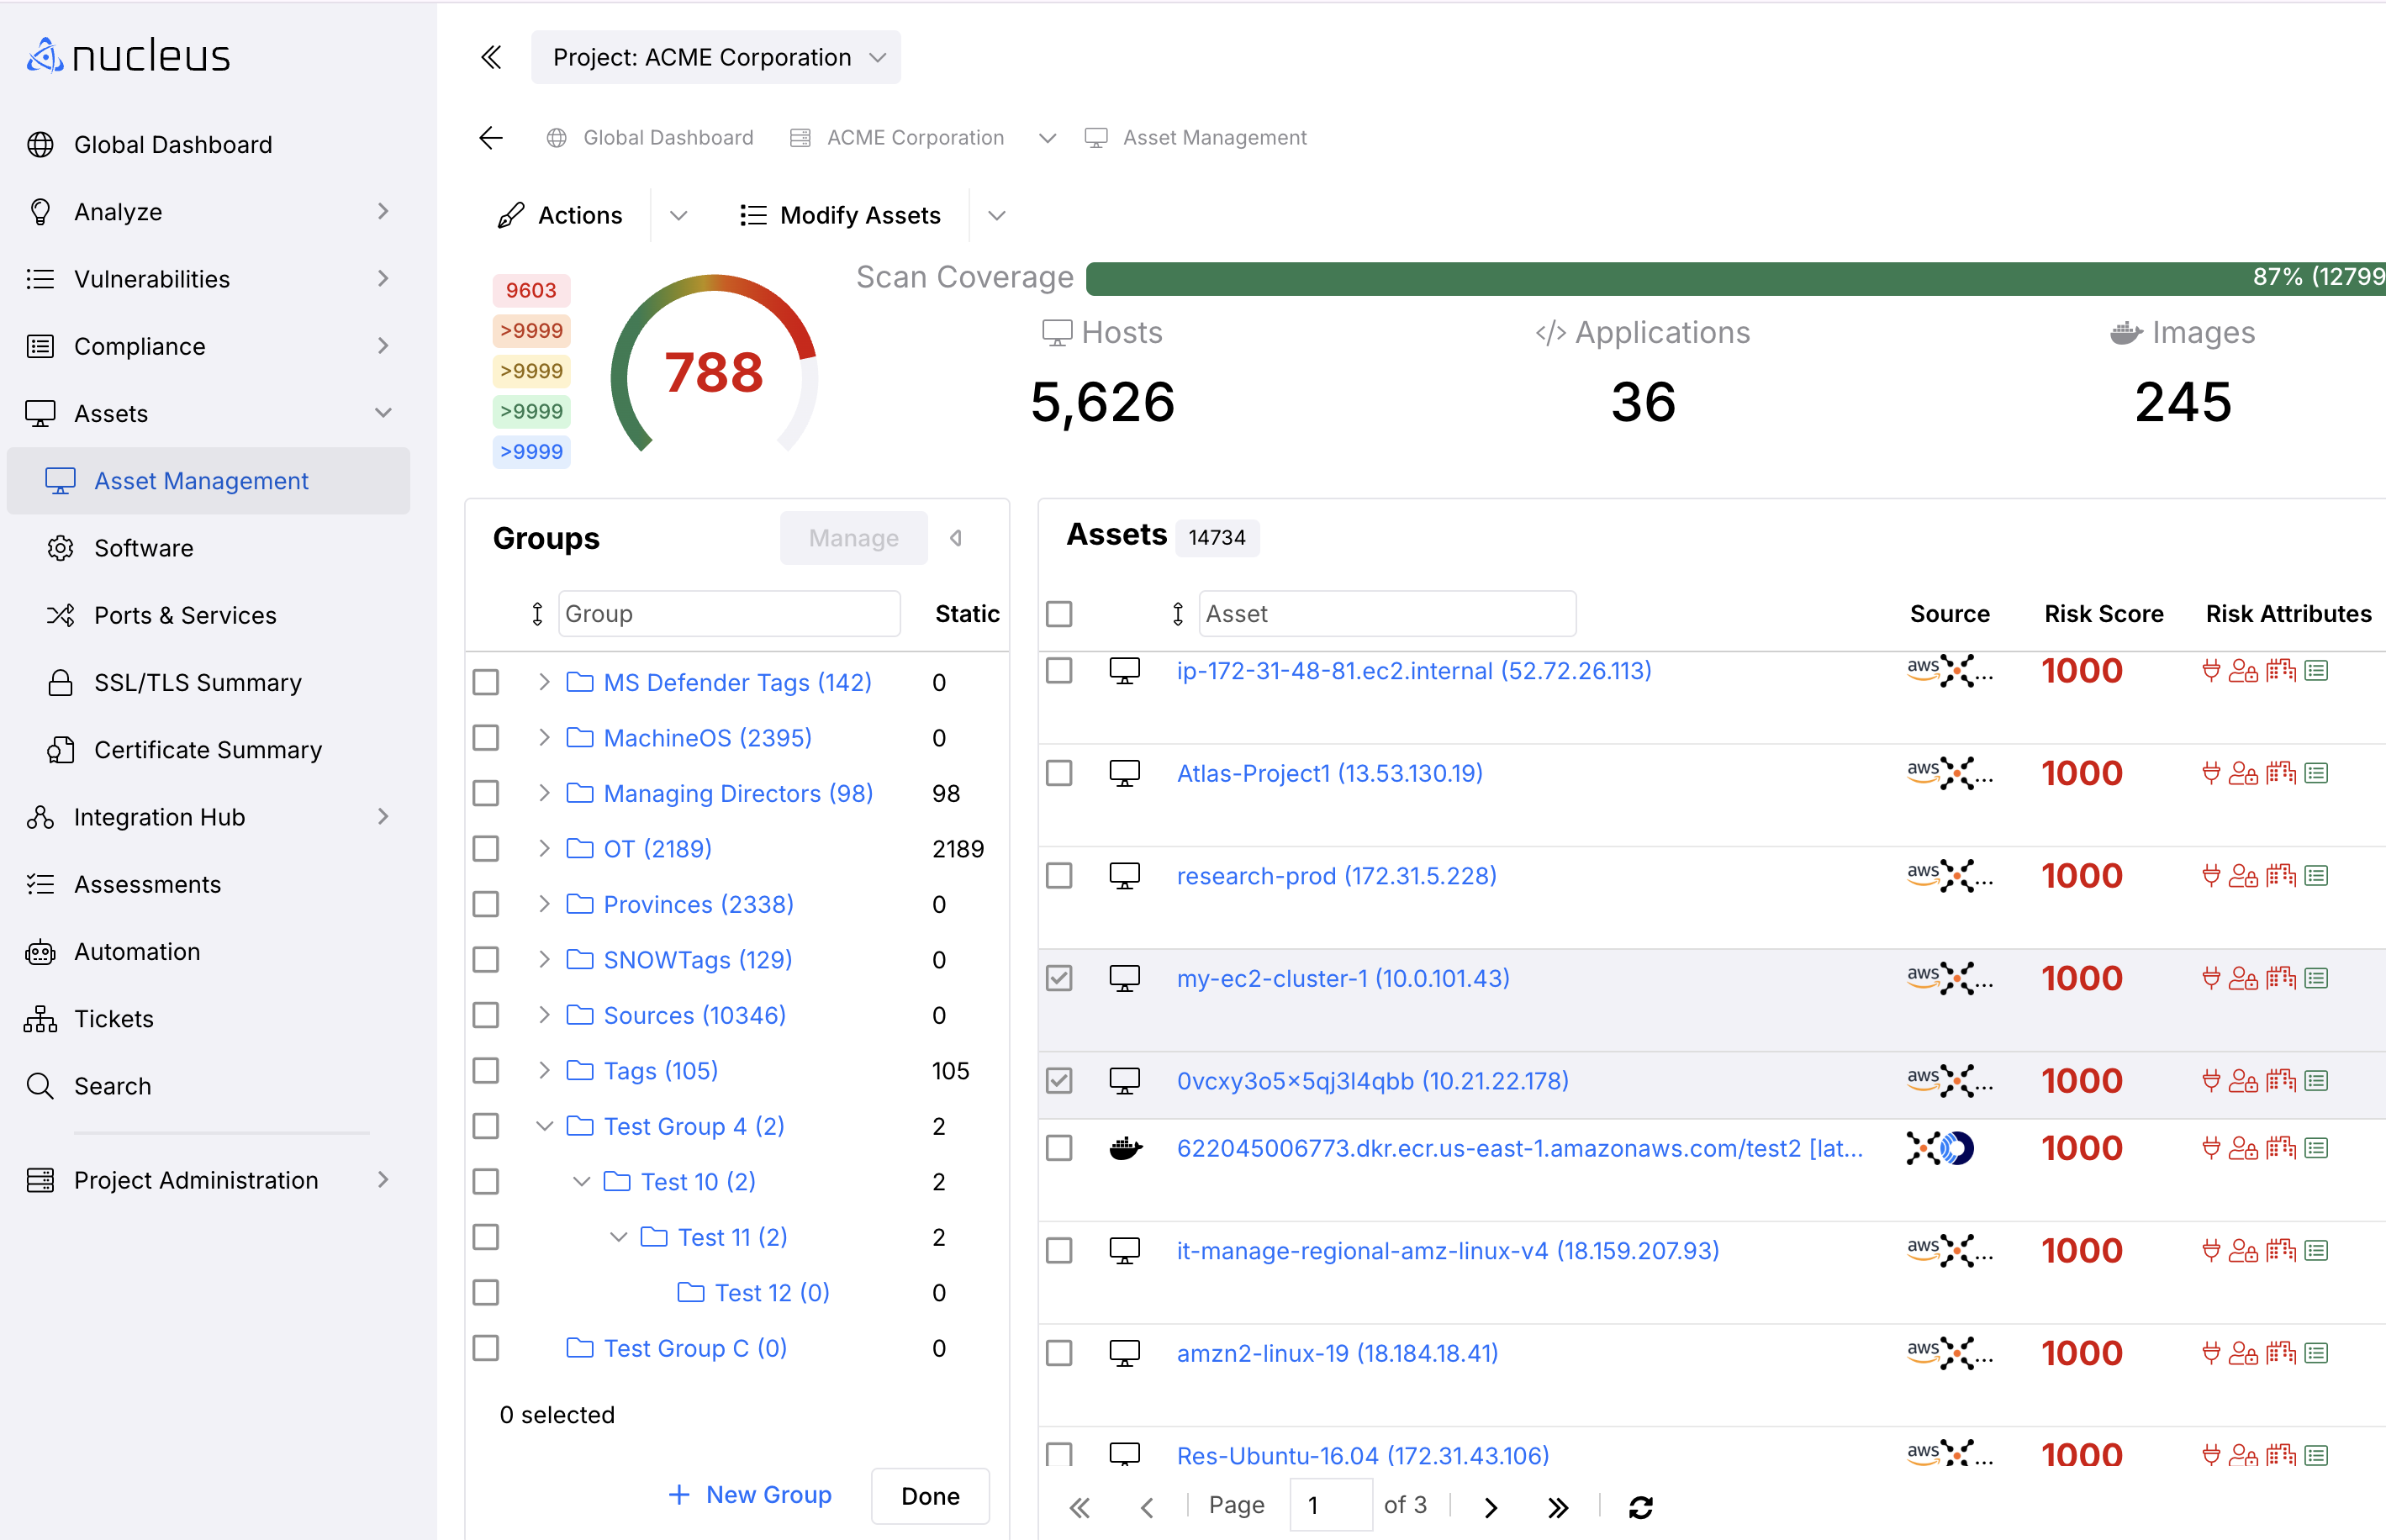
- The selected Assets are added to the sub-group and appear in the expanded Group hierarchy.
Option 2: Add to sub-groups using the right-click option
-
From the Assets > Asset Management page, use the checkboxes in the list to select the assets that you want to add.
-
Right-click on the sub-group you want to move the selected assets to and choose the Add selected to group option.
Use automation rules to add to nested groups
You can set up automation rules in Nucleus to organize assets into groups as data is ingested into Nucleus.
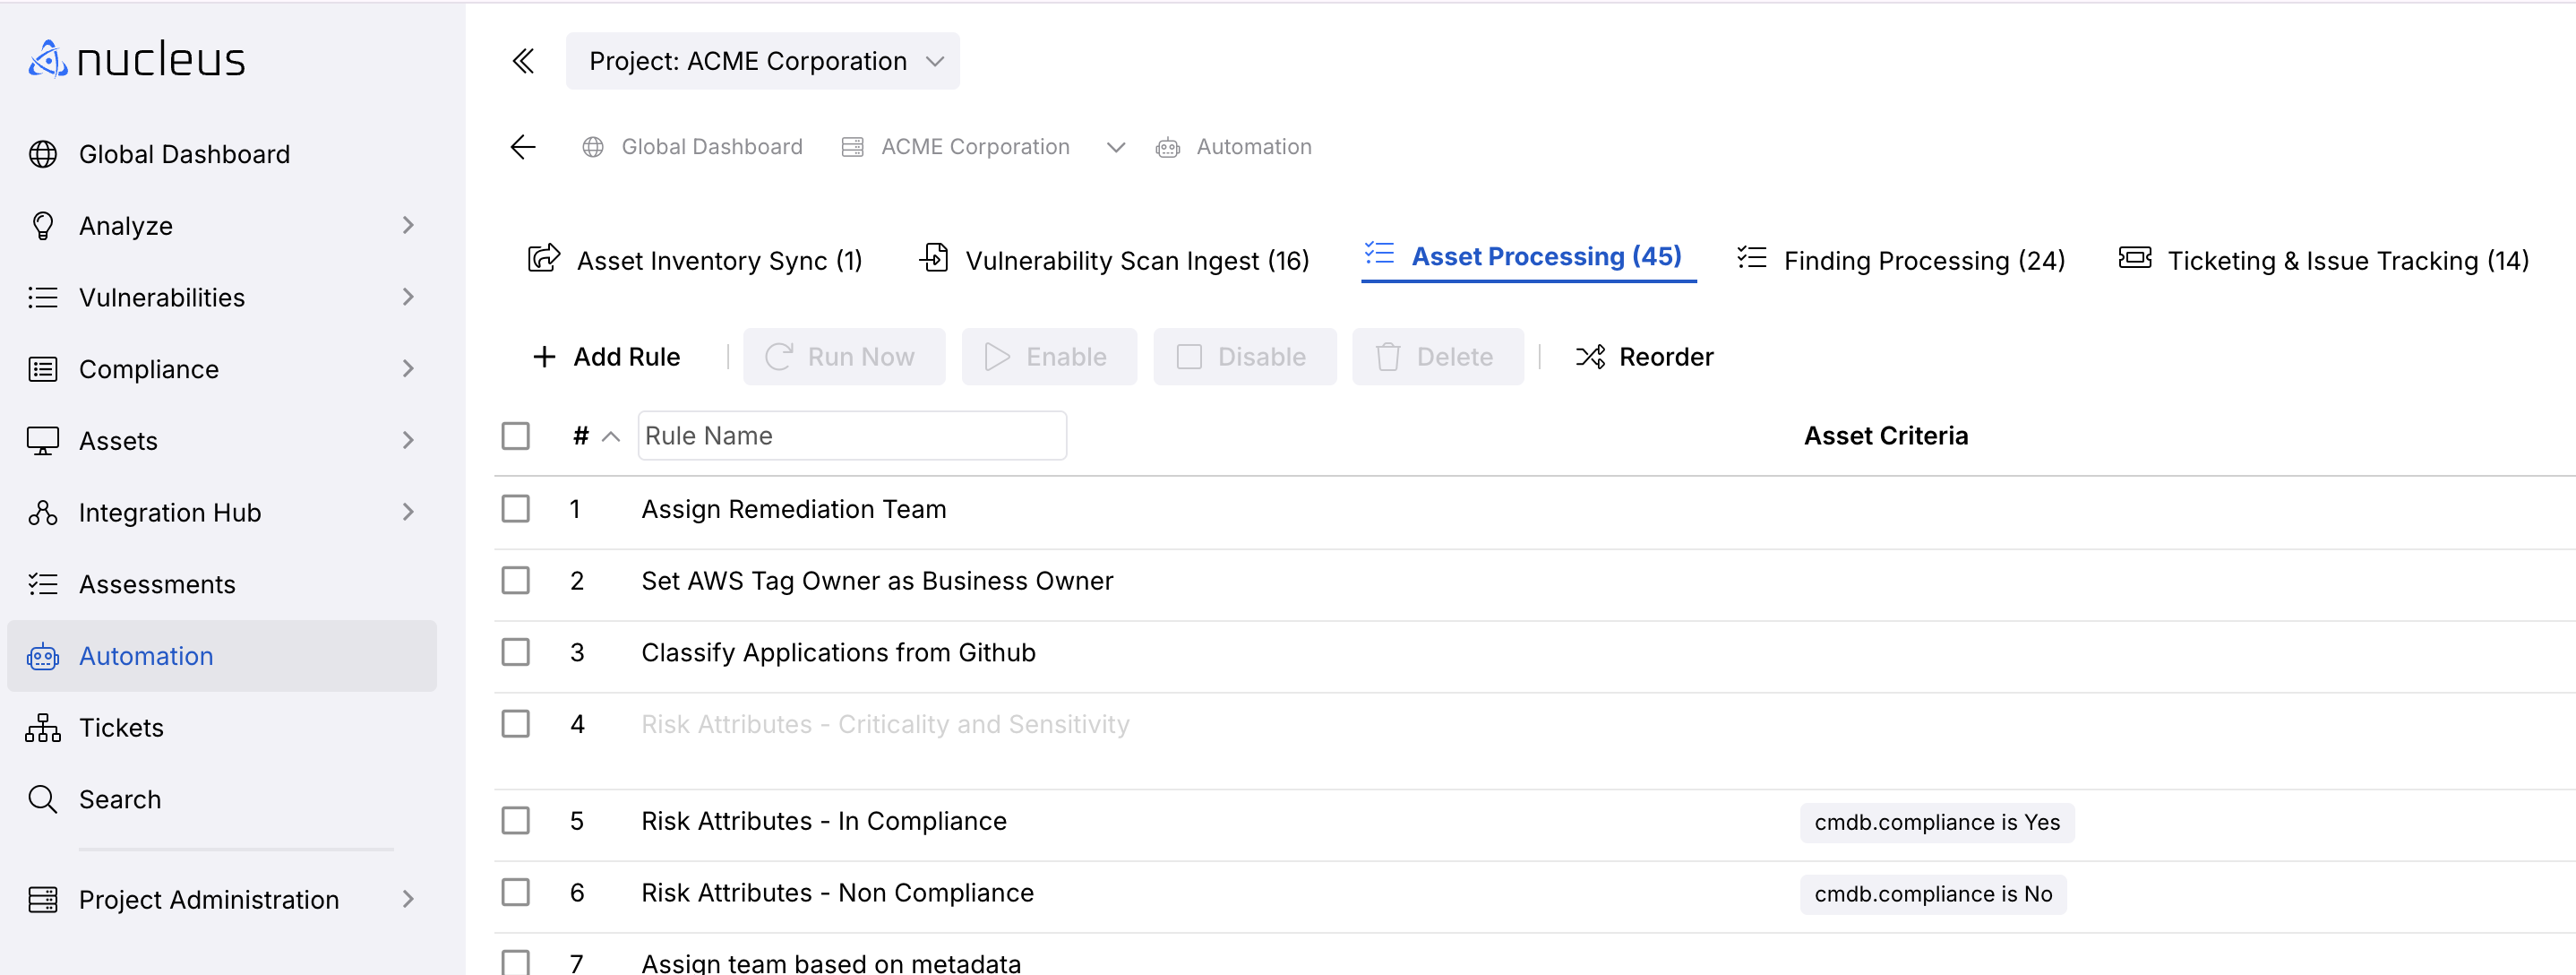
- Navigate to the Global Dashboard > Select project name > Automation page.
- Click the Asset Processing tab.
- Click the + Add Rule button.
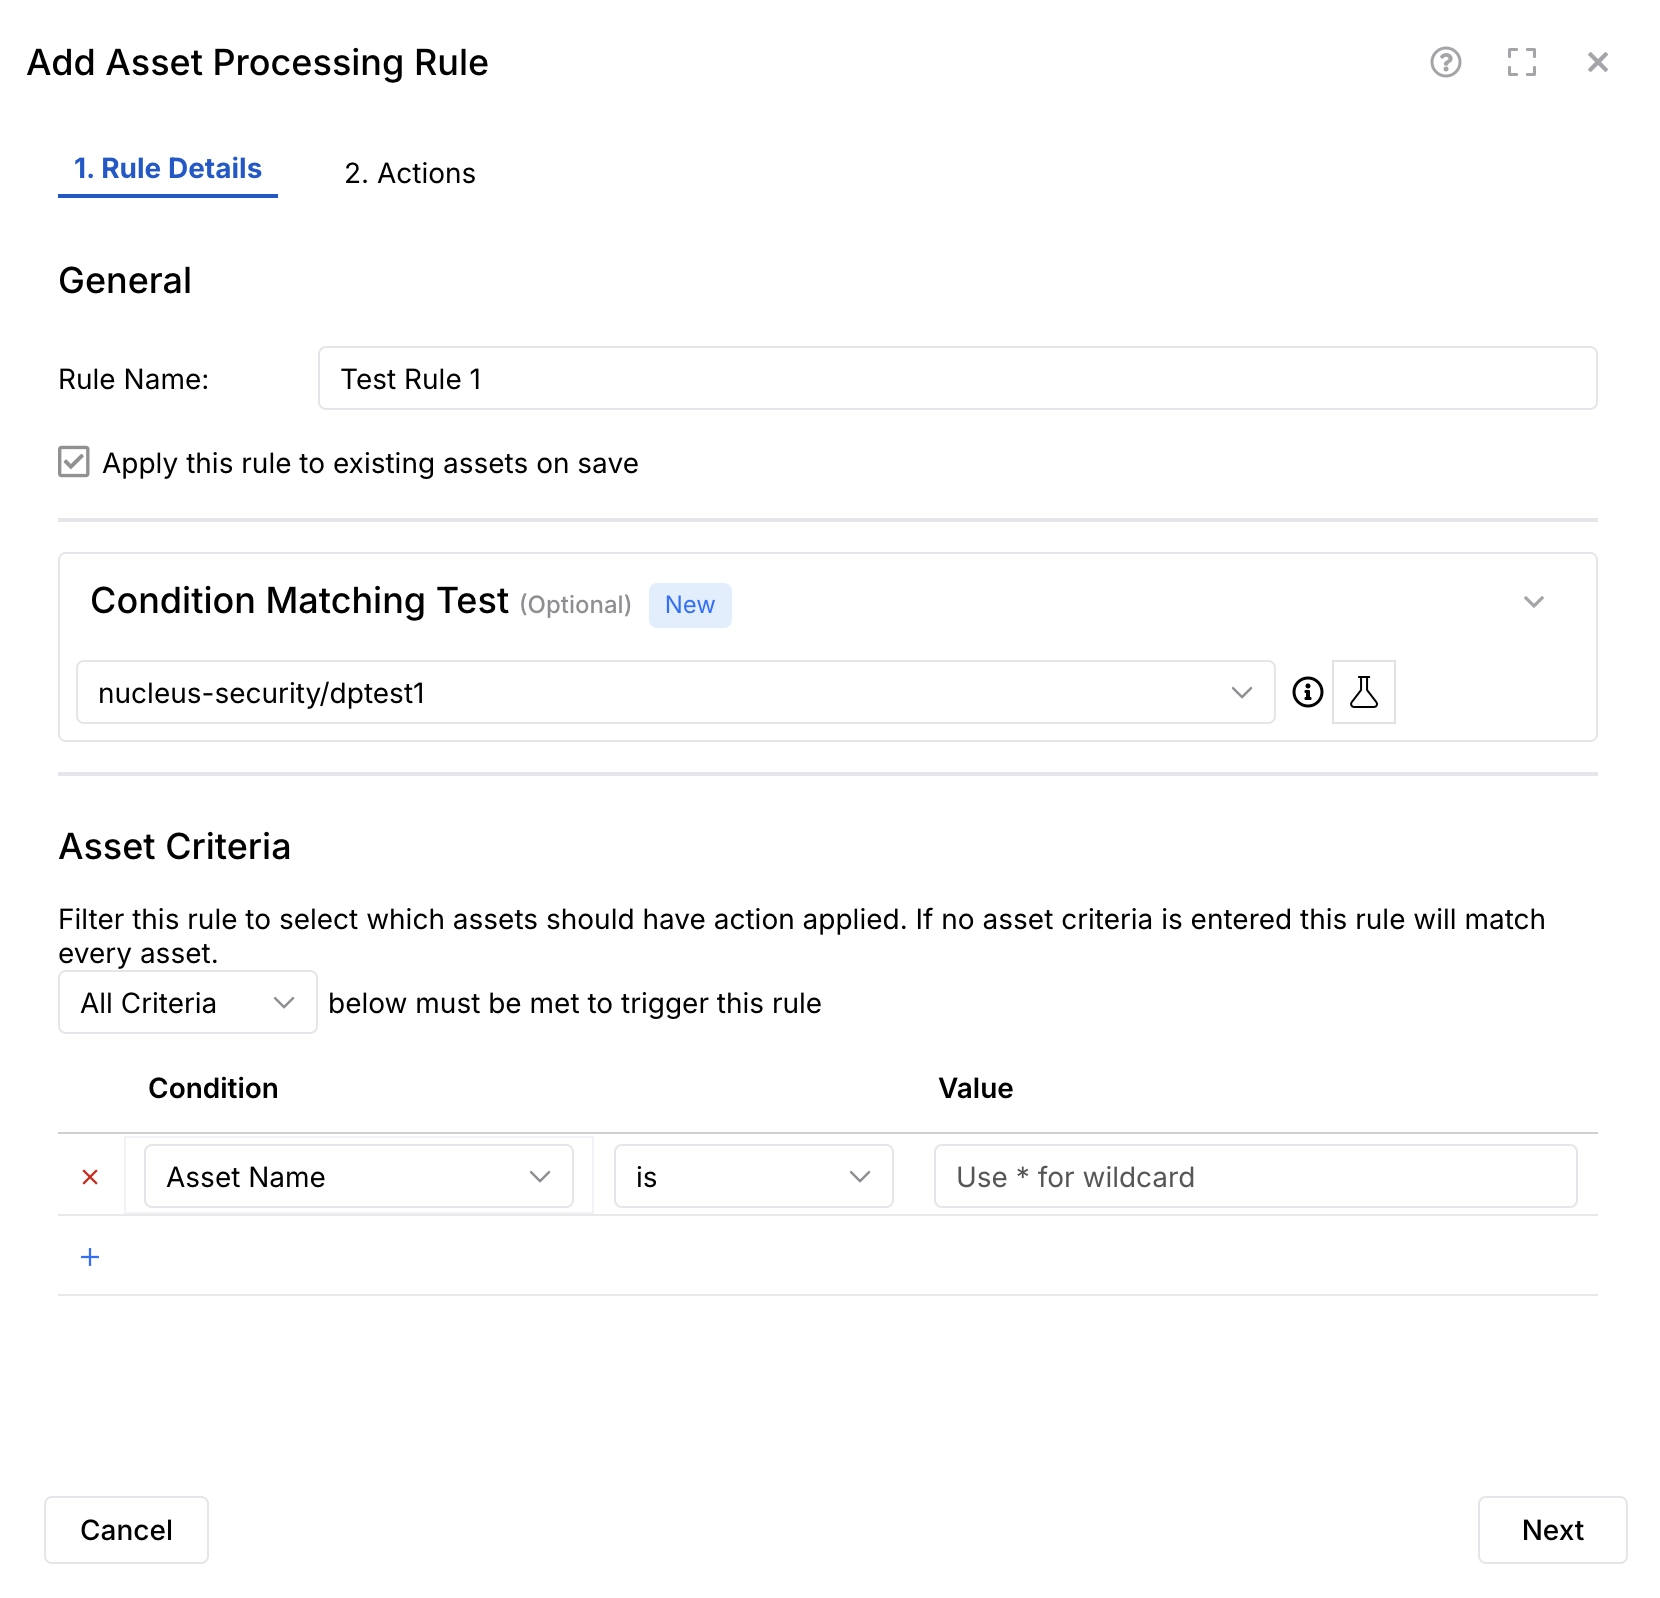
- In the pop-up modal Add Asset Processing Rule, select the 1. Rule Details tab.
- Enter a Rule Name.
- (Optional) If you want to apply this automation rule immediately, check the box to "Apply this rule to existing assets on save".
- (Optional) Set a Condition Matching Test using the drop-down.
- To set Asset Criteria for the rule, use the Condition fields drop-downs and enter a Value.
- Click Next to view the 2. Actions tab.
You can create a new group dynamically in this field by just typing in a group name. Nested groups are denoted with a "/".
- In the 2.Actions tab, you will Choose an Action for your rule.
- The Asset Properties and Risk Attributes each offer 4x options for your rule.
- In Asset Properties click one of the 4x options and set the conditions. To add more conditions, click the + sign in the blue circle.
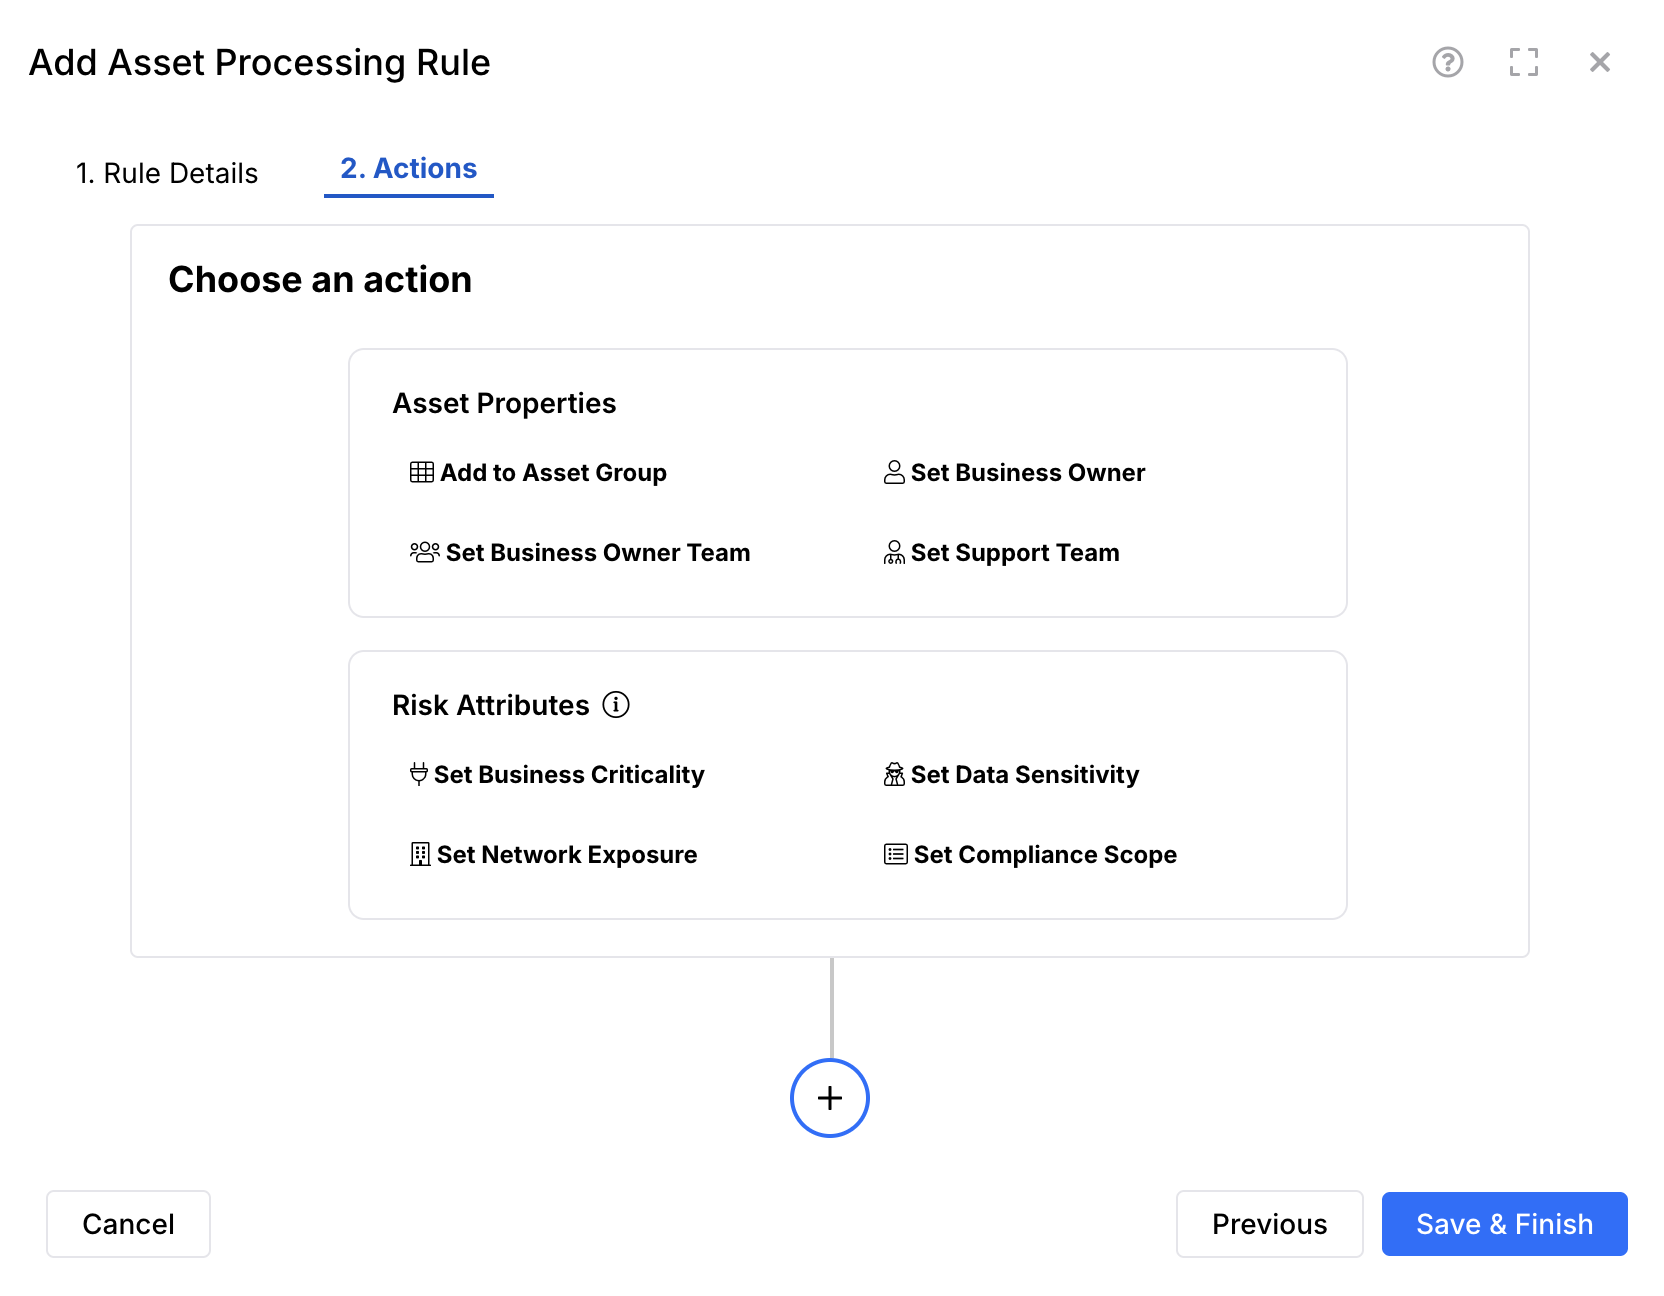
- In Risk Attributes click one of the 4x options and set the conditions. You now see both conditions added to your rule. To add more conditions, click the +sign in the blue circle.
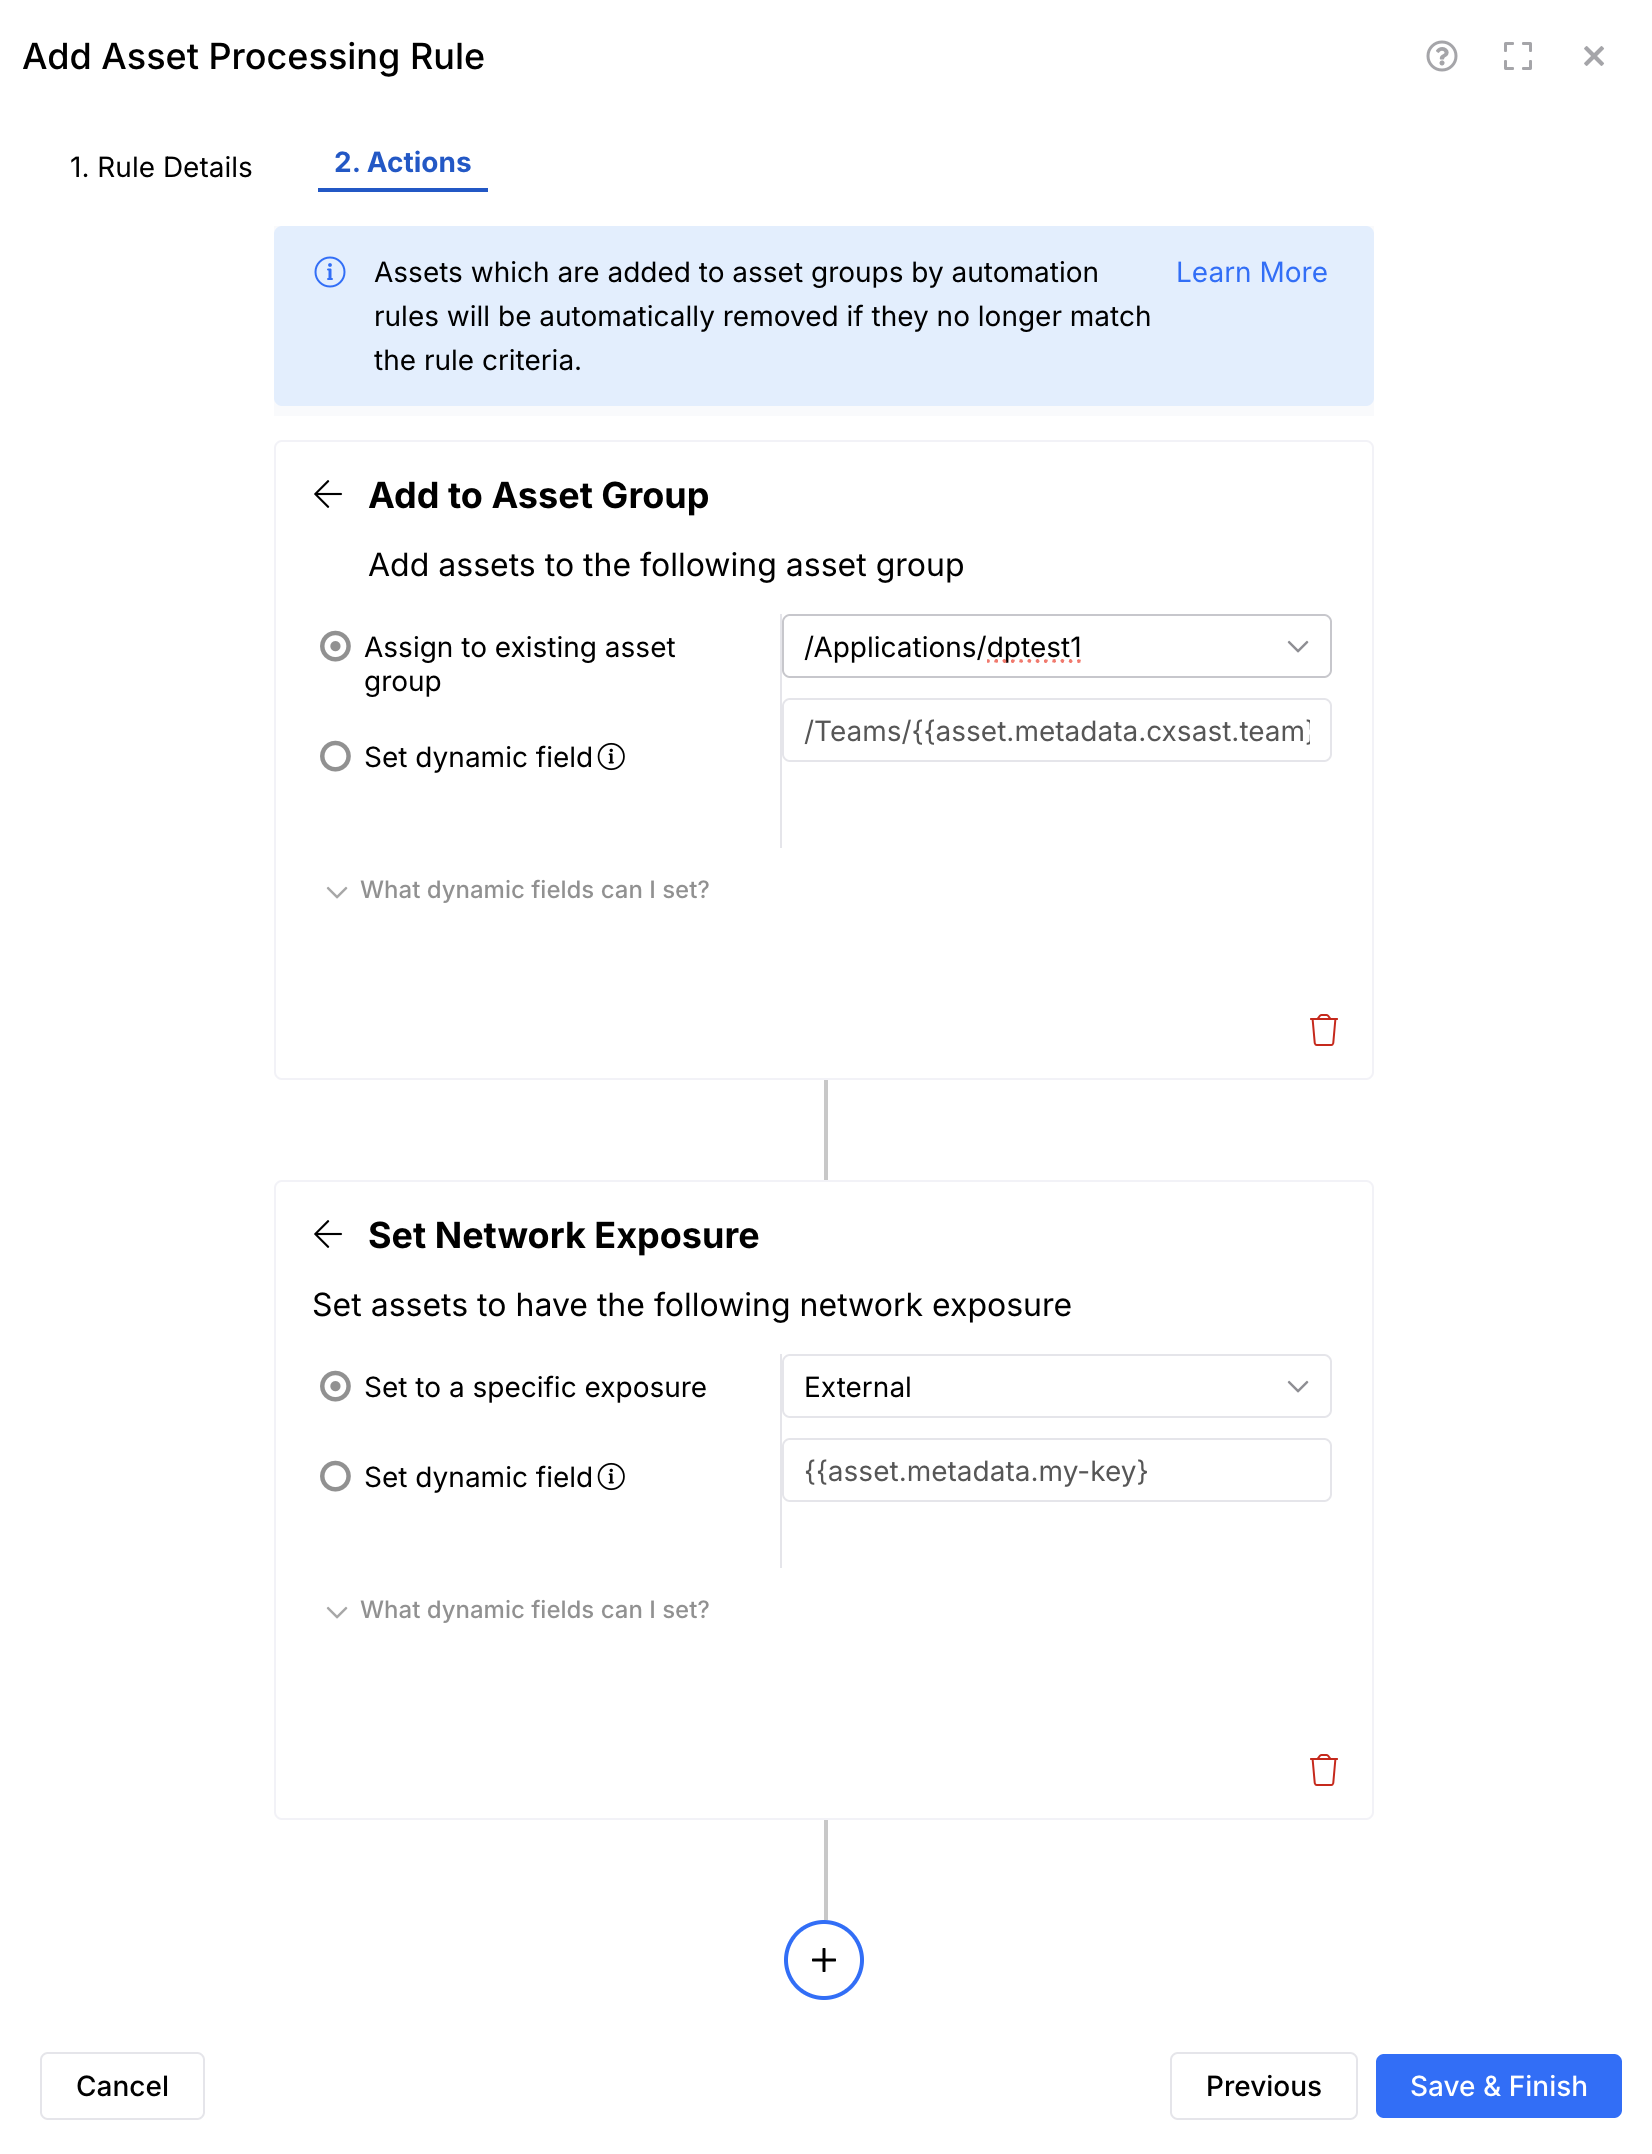
- Click Save & Finish and your rule is added to the Asset Processing Rules list. Assets matching this processing rule will automatically be added to the asset group you defined.
For more information on asset processing rules, check out this article.
About automatic asset grouping
Because the properties of assets may change over time, assets will automatically be removed from asset groups if they no longer match the criteria for the automation rule that originally assigned them to that group.
For example, you can use asset group automation rules to manage which assets are assigned to each of your teams. If ownership of an asset changes teams, that asset will automatically move to the asset group for that new team.
This behavior applies to all automation rule conditions except one: If a rule condition is asset group = empty, that condition will not be considered when automatically removing an asset from a group.
Additionally, assets that were added to a group manually or via scan will not automatically update. In these cases, you will need to manually move or remove the assets accordingly.
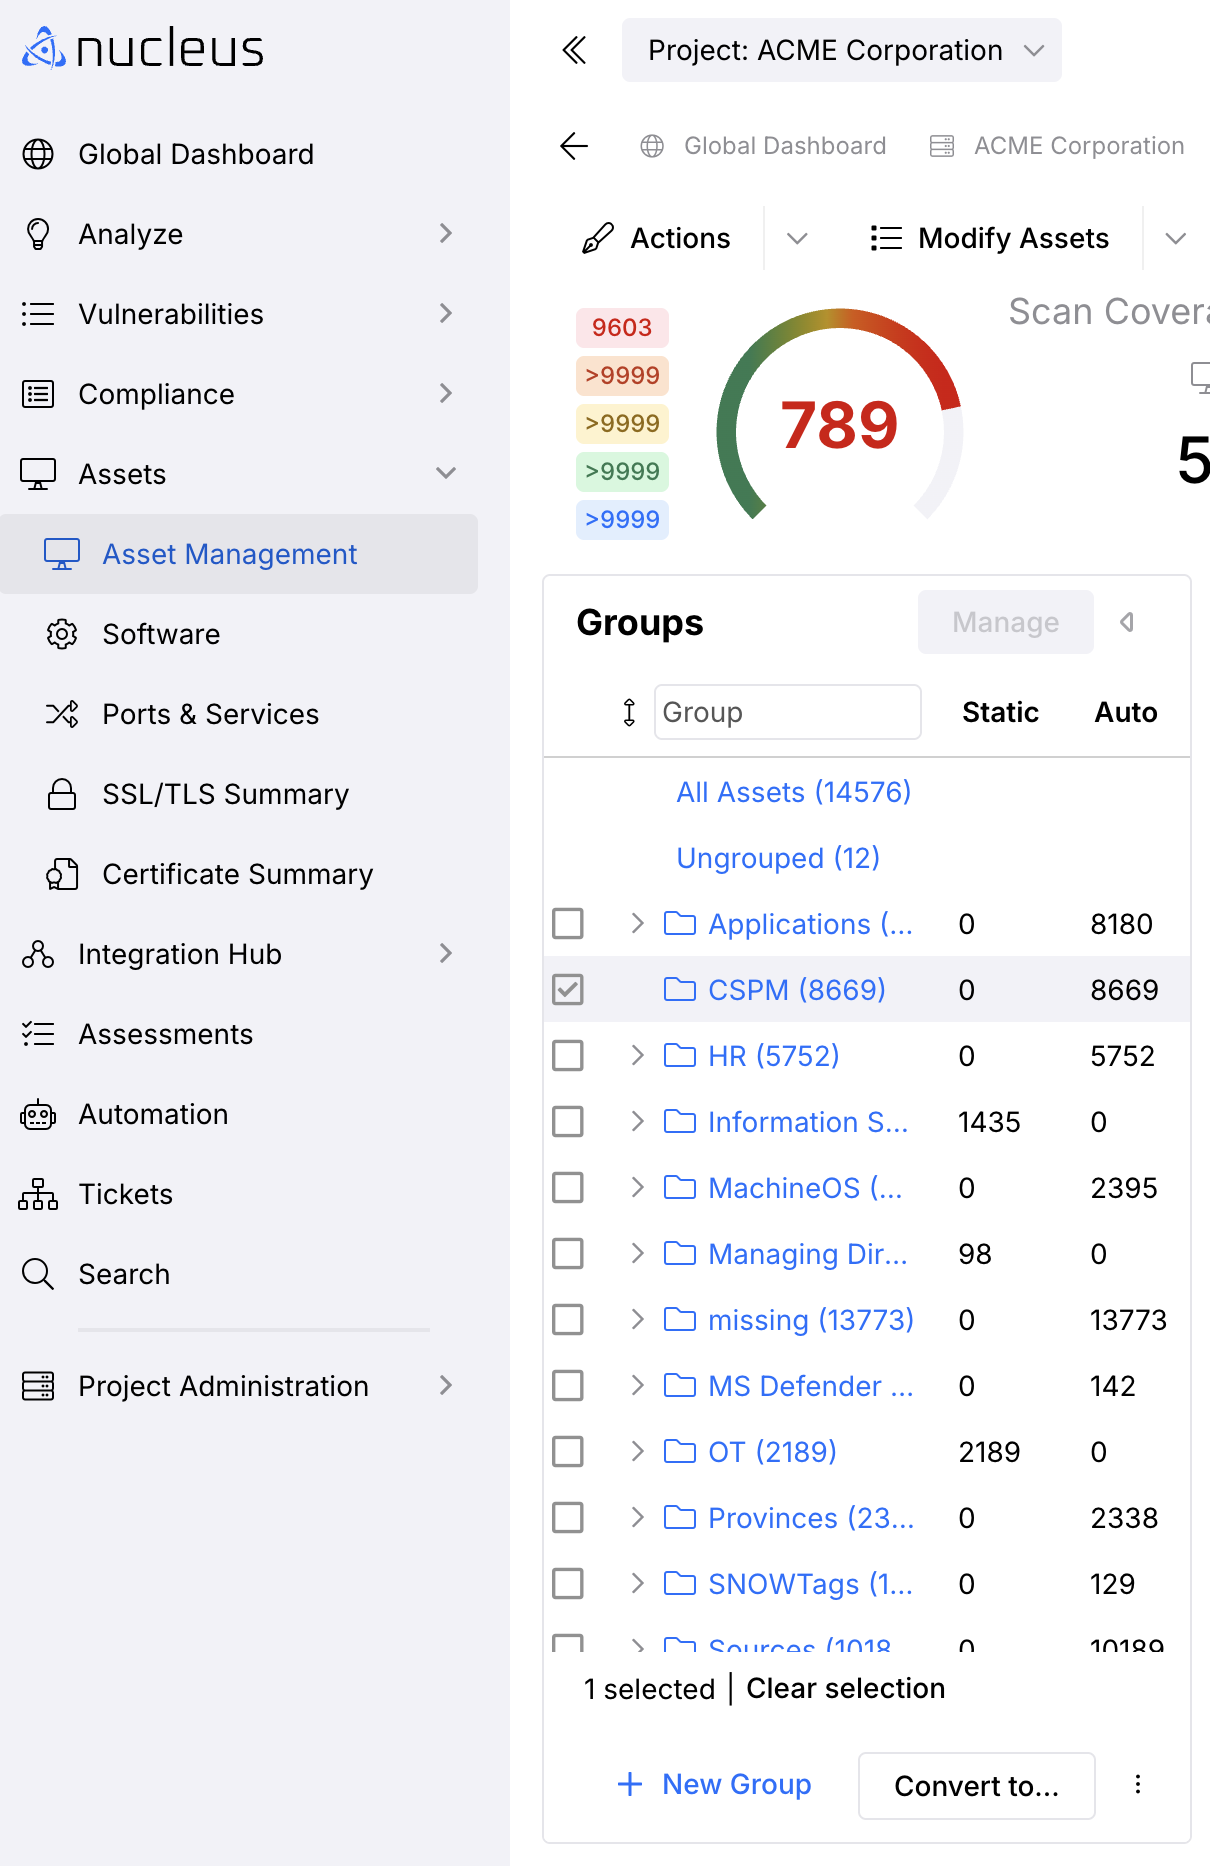
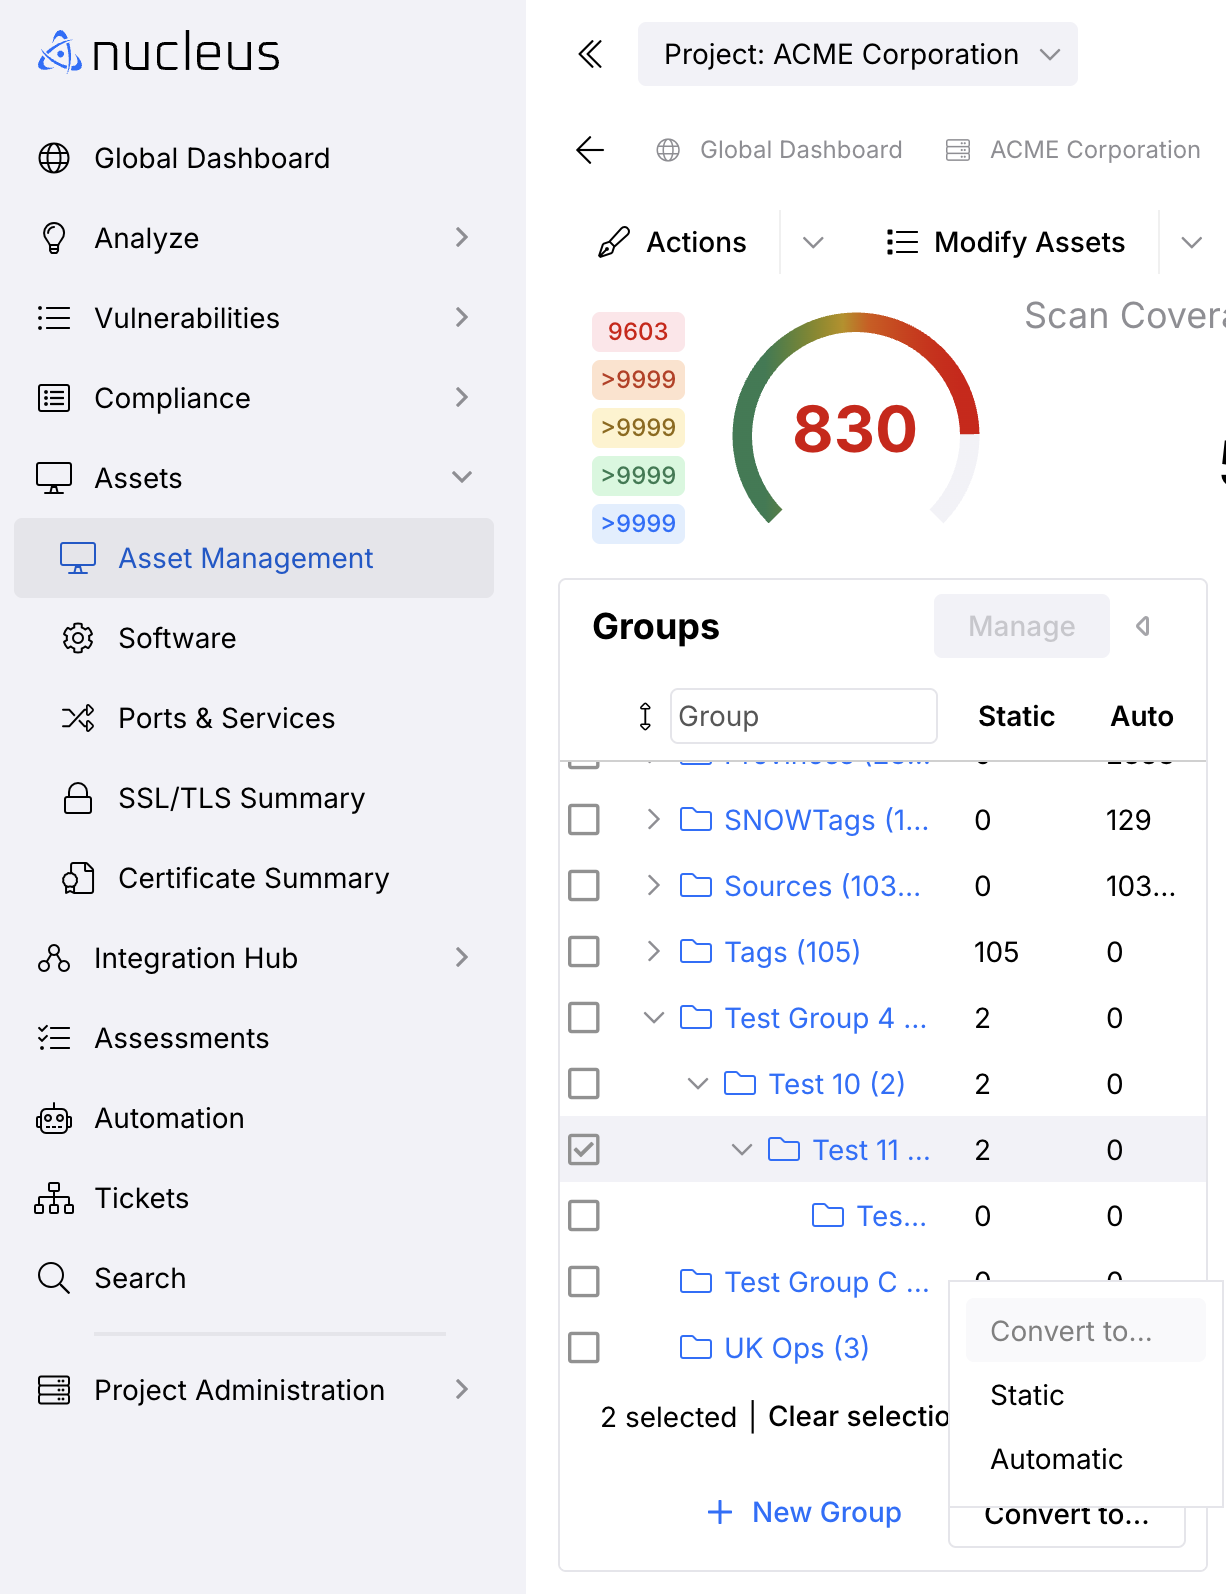
Managing the association that an asset has to its group, whether it's a static association (placed into a group manually through the interface), or automatic association (placed via an automation rule), can be done through the asset management interface. Simply select "Manage", select the asset group and use the "convert to" button to switch between static and automatic.
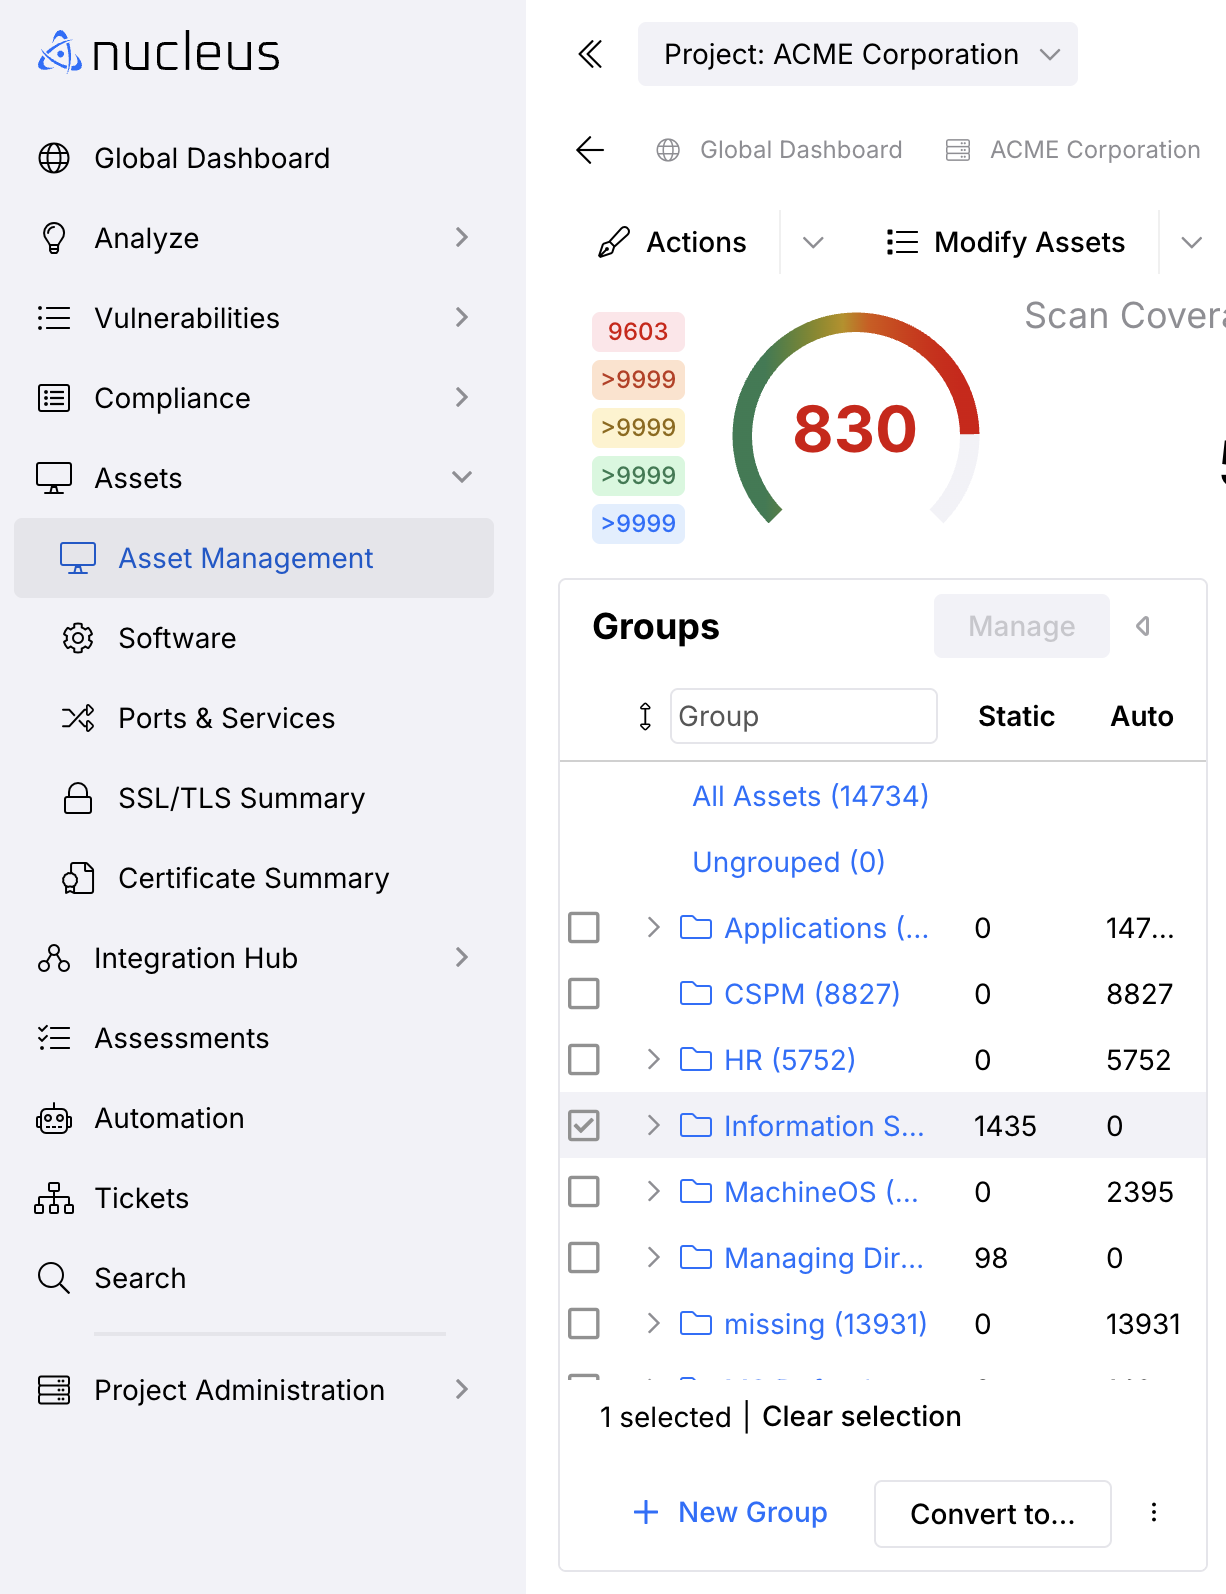
- Navigate to the Global Dashboard > Select your project > Assets > Asset Management.
- On the Asset Managment page, open the Groups panel.
- Select the Asset Group using the checkbox.
- Click the Manage button.
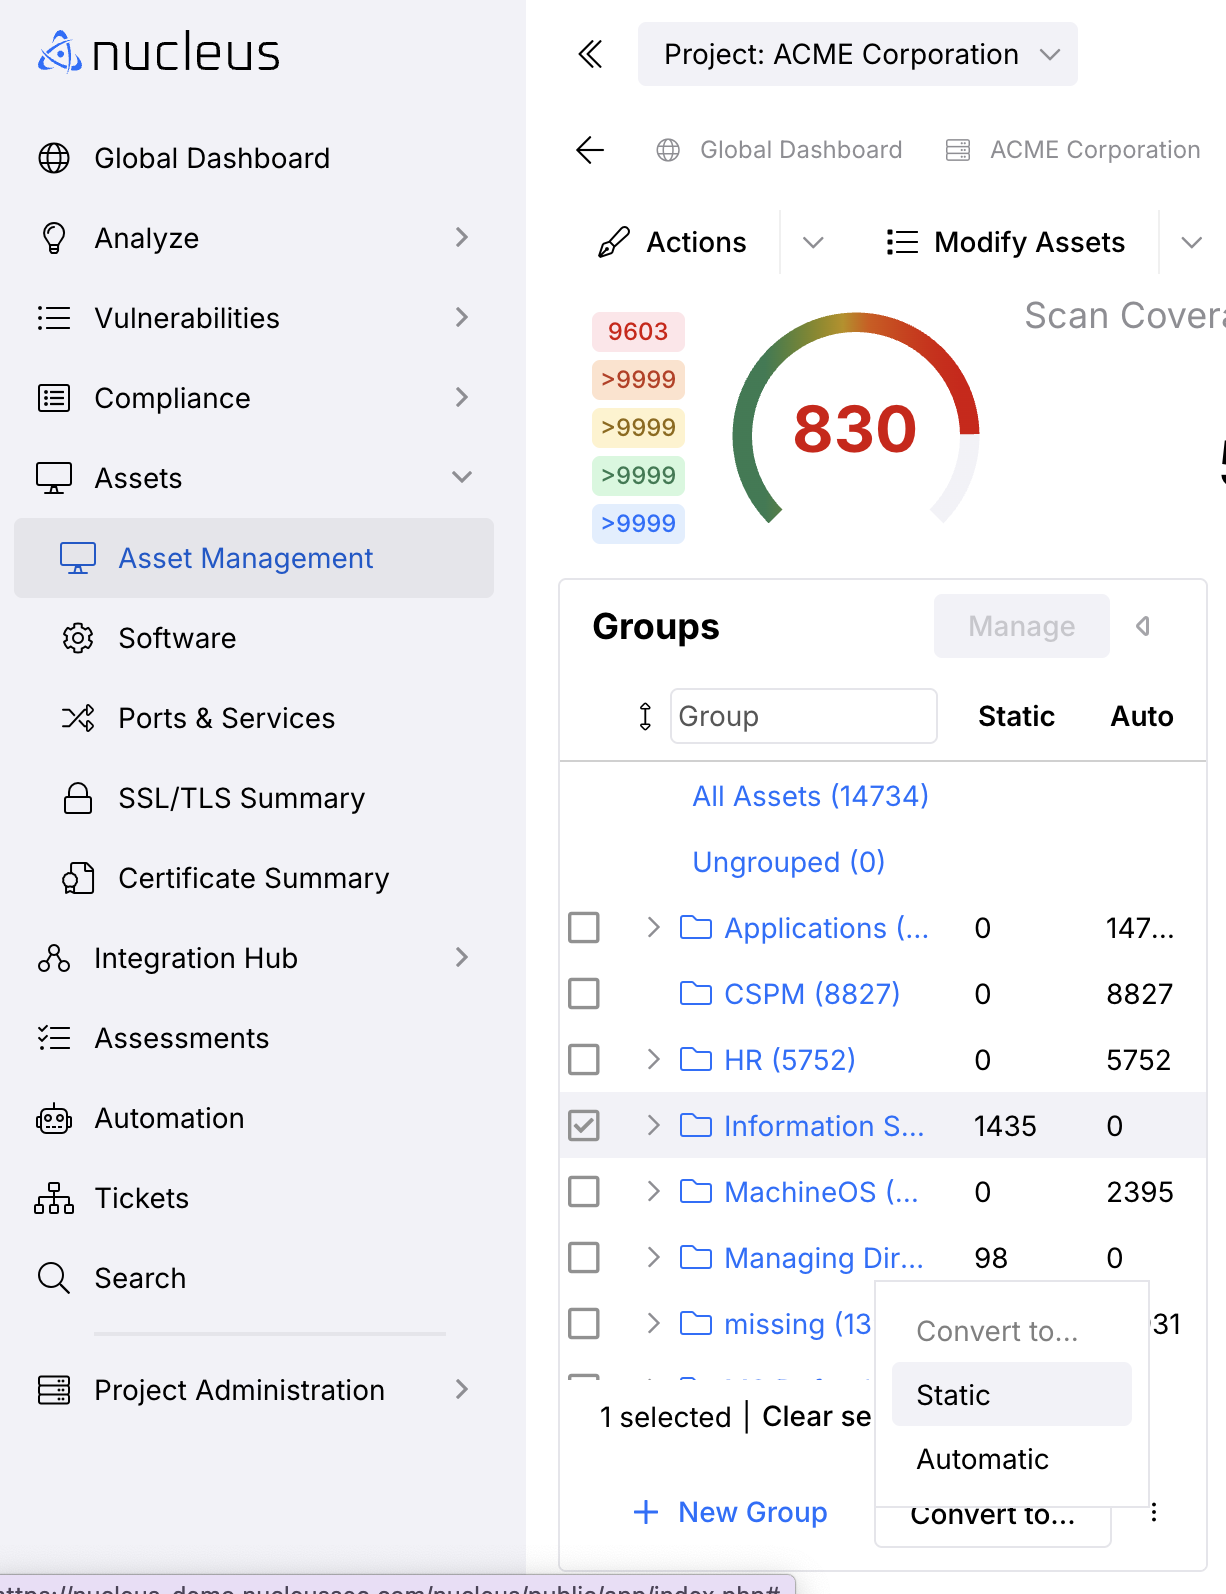
- Click the Convert to button.
- Click the Static or Automatic option.
Notes when switching between Static and Automatic
When switching the association of an asset to its group from static to automatic, if there is not an automation rule relevant to placing and maintaining that asset, then it will be ungrouped until a rule is created, or updated with the relevant conditions for grouping that particular asset.
When switching an asset's association to static, the association will change to static for that asset if it exists in any super groups above as well. Alternatively, when switching an asset's association to automatic, the association will change to automatic if that asset exists in any subgroups below.
Remove assets from a group
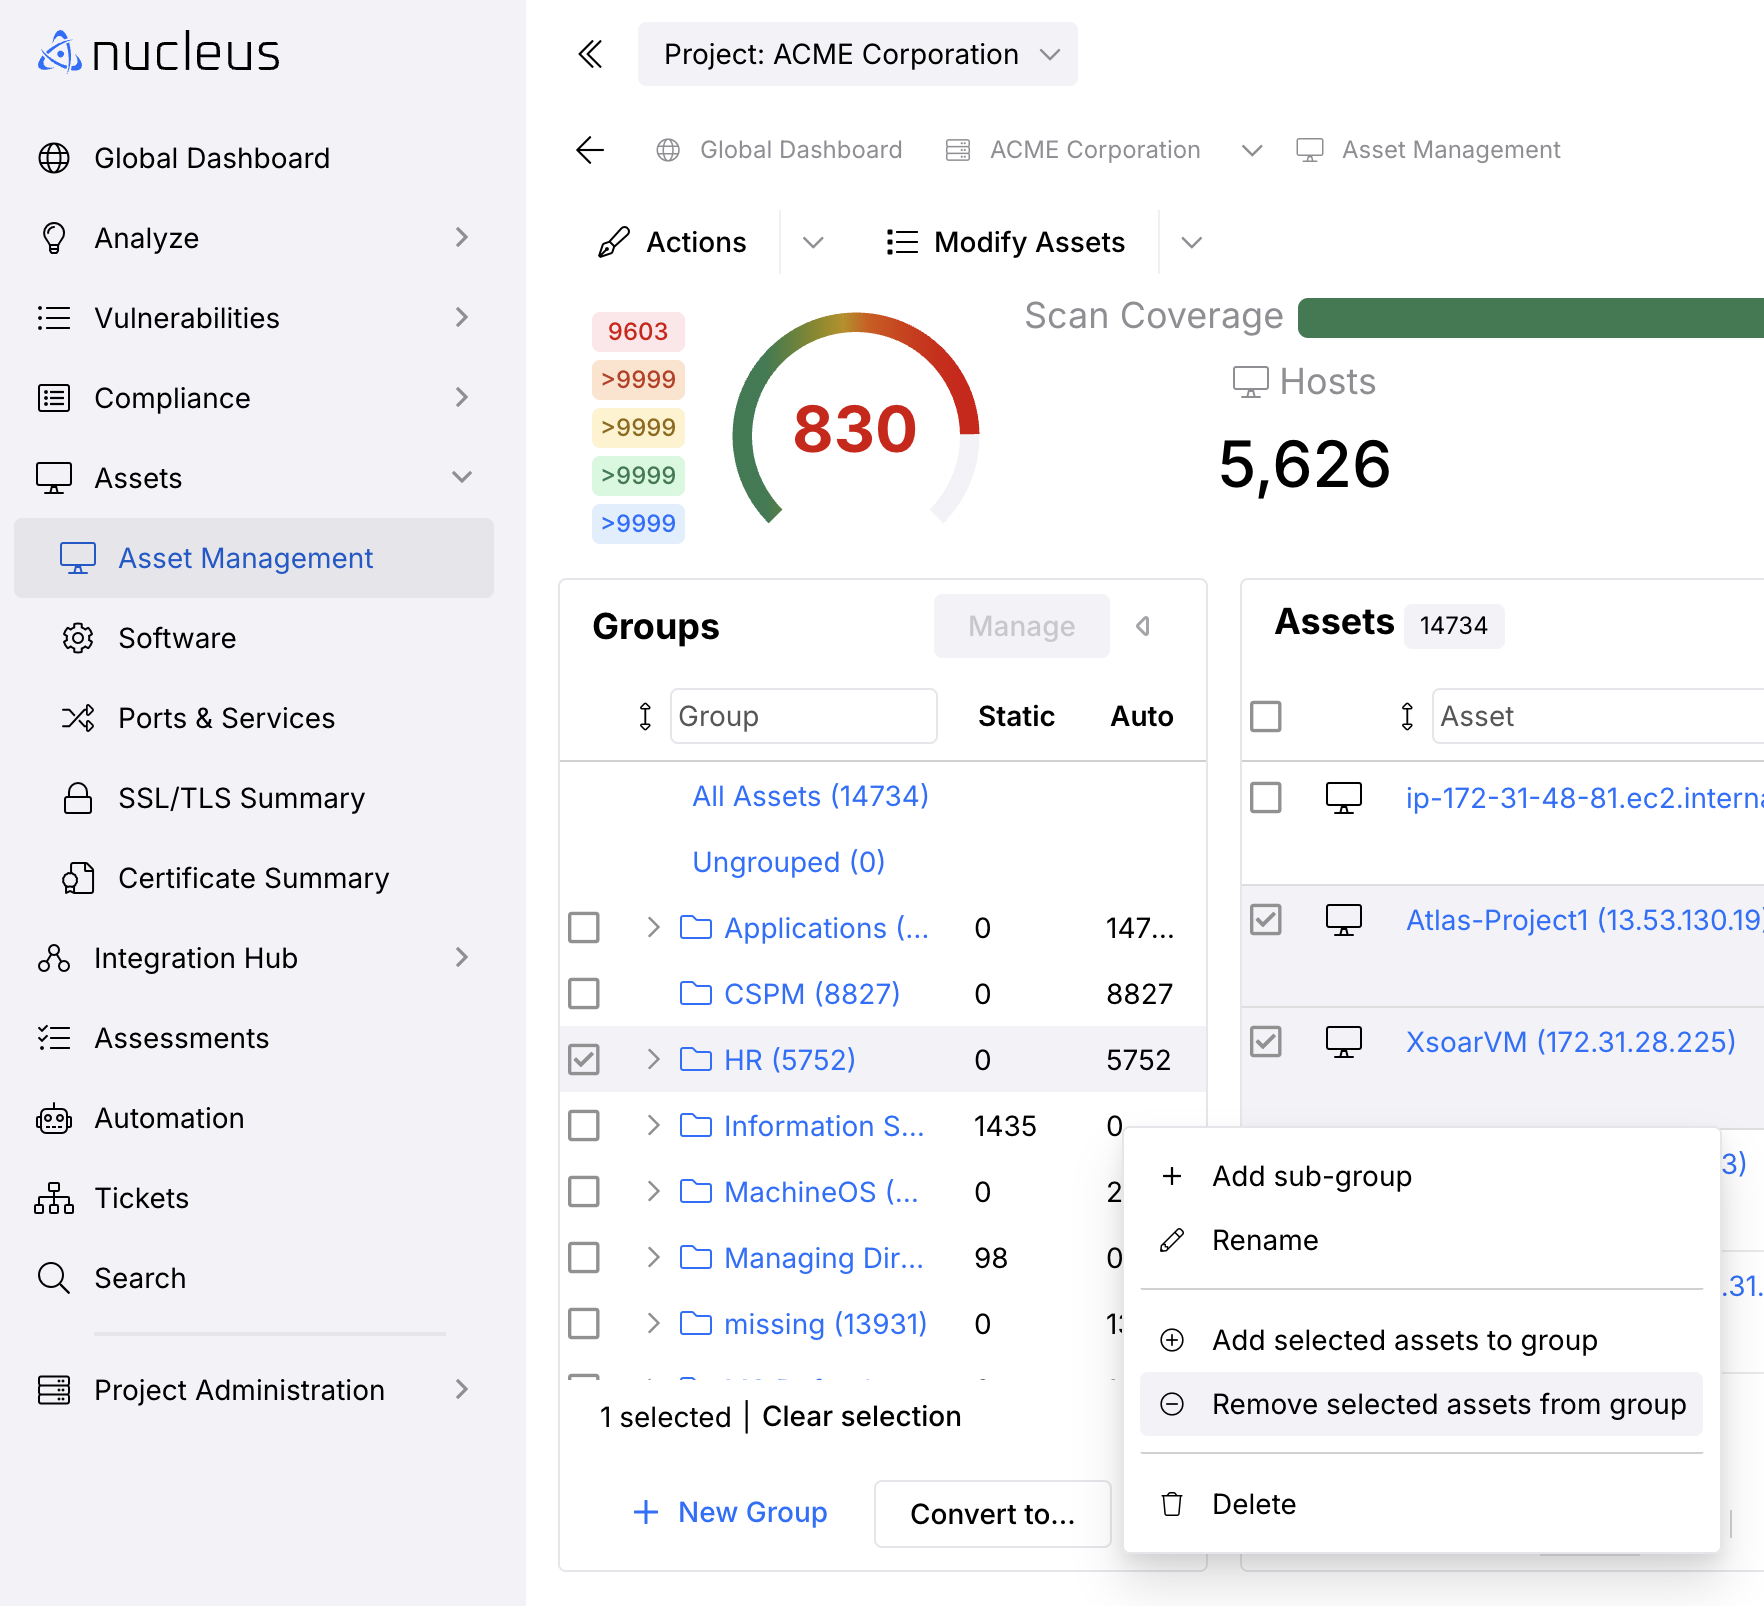
- Go to the Global Dashboard > Select your project > Assets > Asset Management page.
- Select the assets that you'd like to remove.
- In the Groups panel, click the Manage button.
- Select the asset group that you want to remove the asset from using the checkbox.
- Select the Menu icon (Hamburger) and then select Remove assets from group.
If you have any questions, please contact us through the support center.